… or not.
Unfortunately, our Dream has East/West exposure. That means it gets wicked* hot in the back of the house at the end of the day.
Also unfortunate, what is located in the back of The Dream. Yep, our “target” area — kitchen and family room. As we’ve said, we’re focusing on those areas first — to save money and our sanity. So, it gets really hot back there. That’s basically what we’re trying to say, people. Wicked* hot.
Clearly, we needed something to block out the scorching Arizona sun. Something that was functional and (in our opinion) home-fashionable. We went back and forth for a l-o-n-g time on what exactly that should be – Roman shades? Curtains? Roller shades? Blinds? Valances? The options are ENDLESS!
In the end, we chose a combo… the French doors got some Ikea panel curtains with a decorative rod, while the three windows along that back wall were outfitted with custom vinyl (but they look like wood!) blinds, which were surprisingly inexpensive at Home Depot. (You’ll have to wait for photos – we’d be giving away our Family Room “after” if we showed you now!)… and along with the blinds, custom-made cornice boards… which we’ve also seen referred to as box valances.
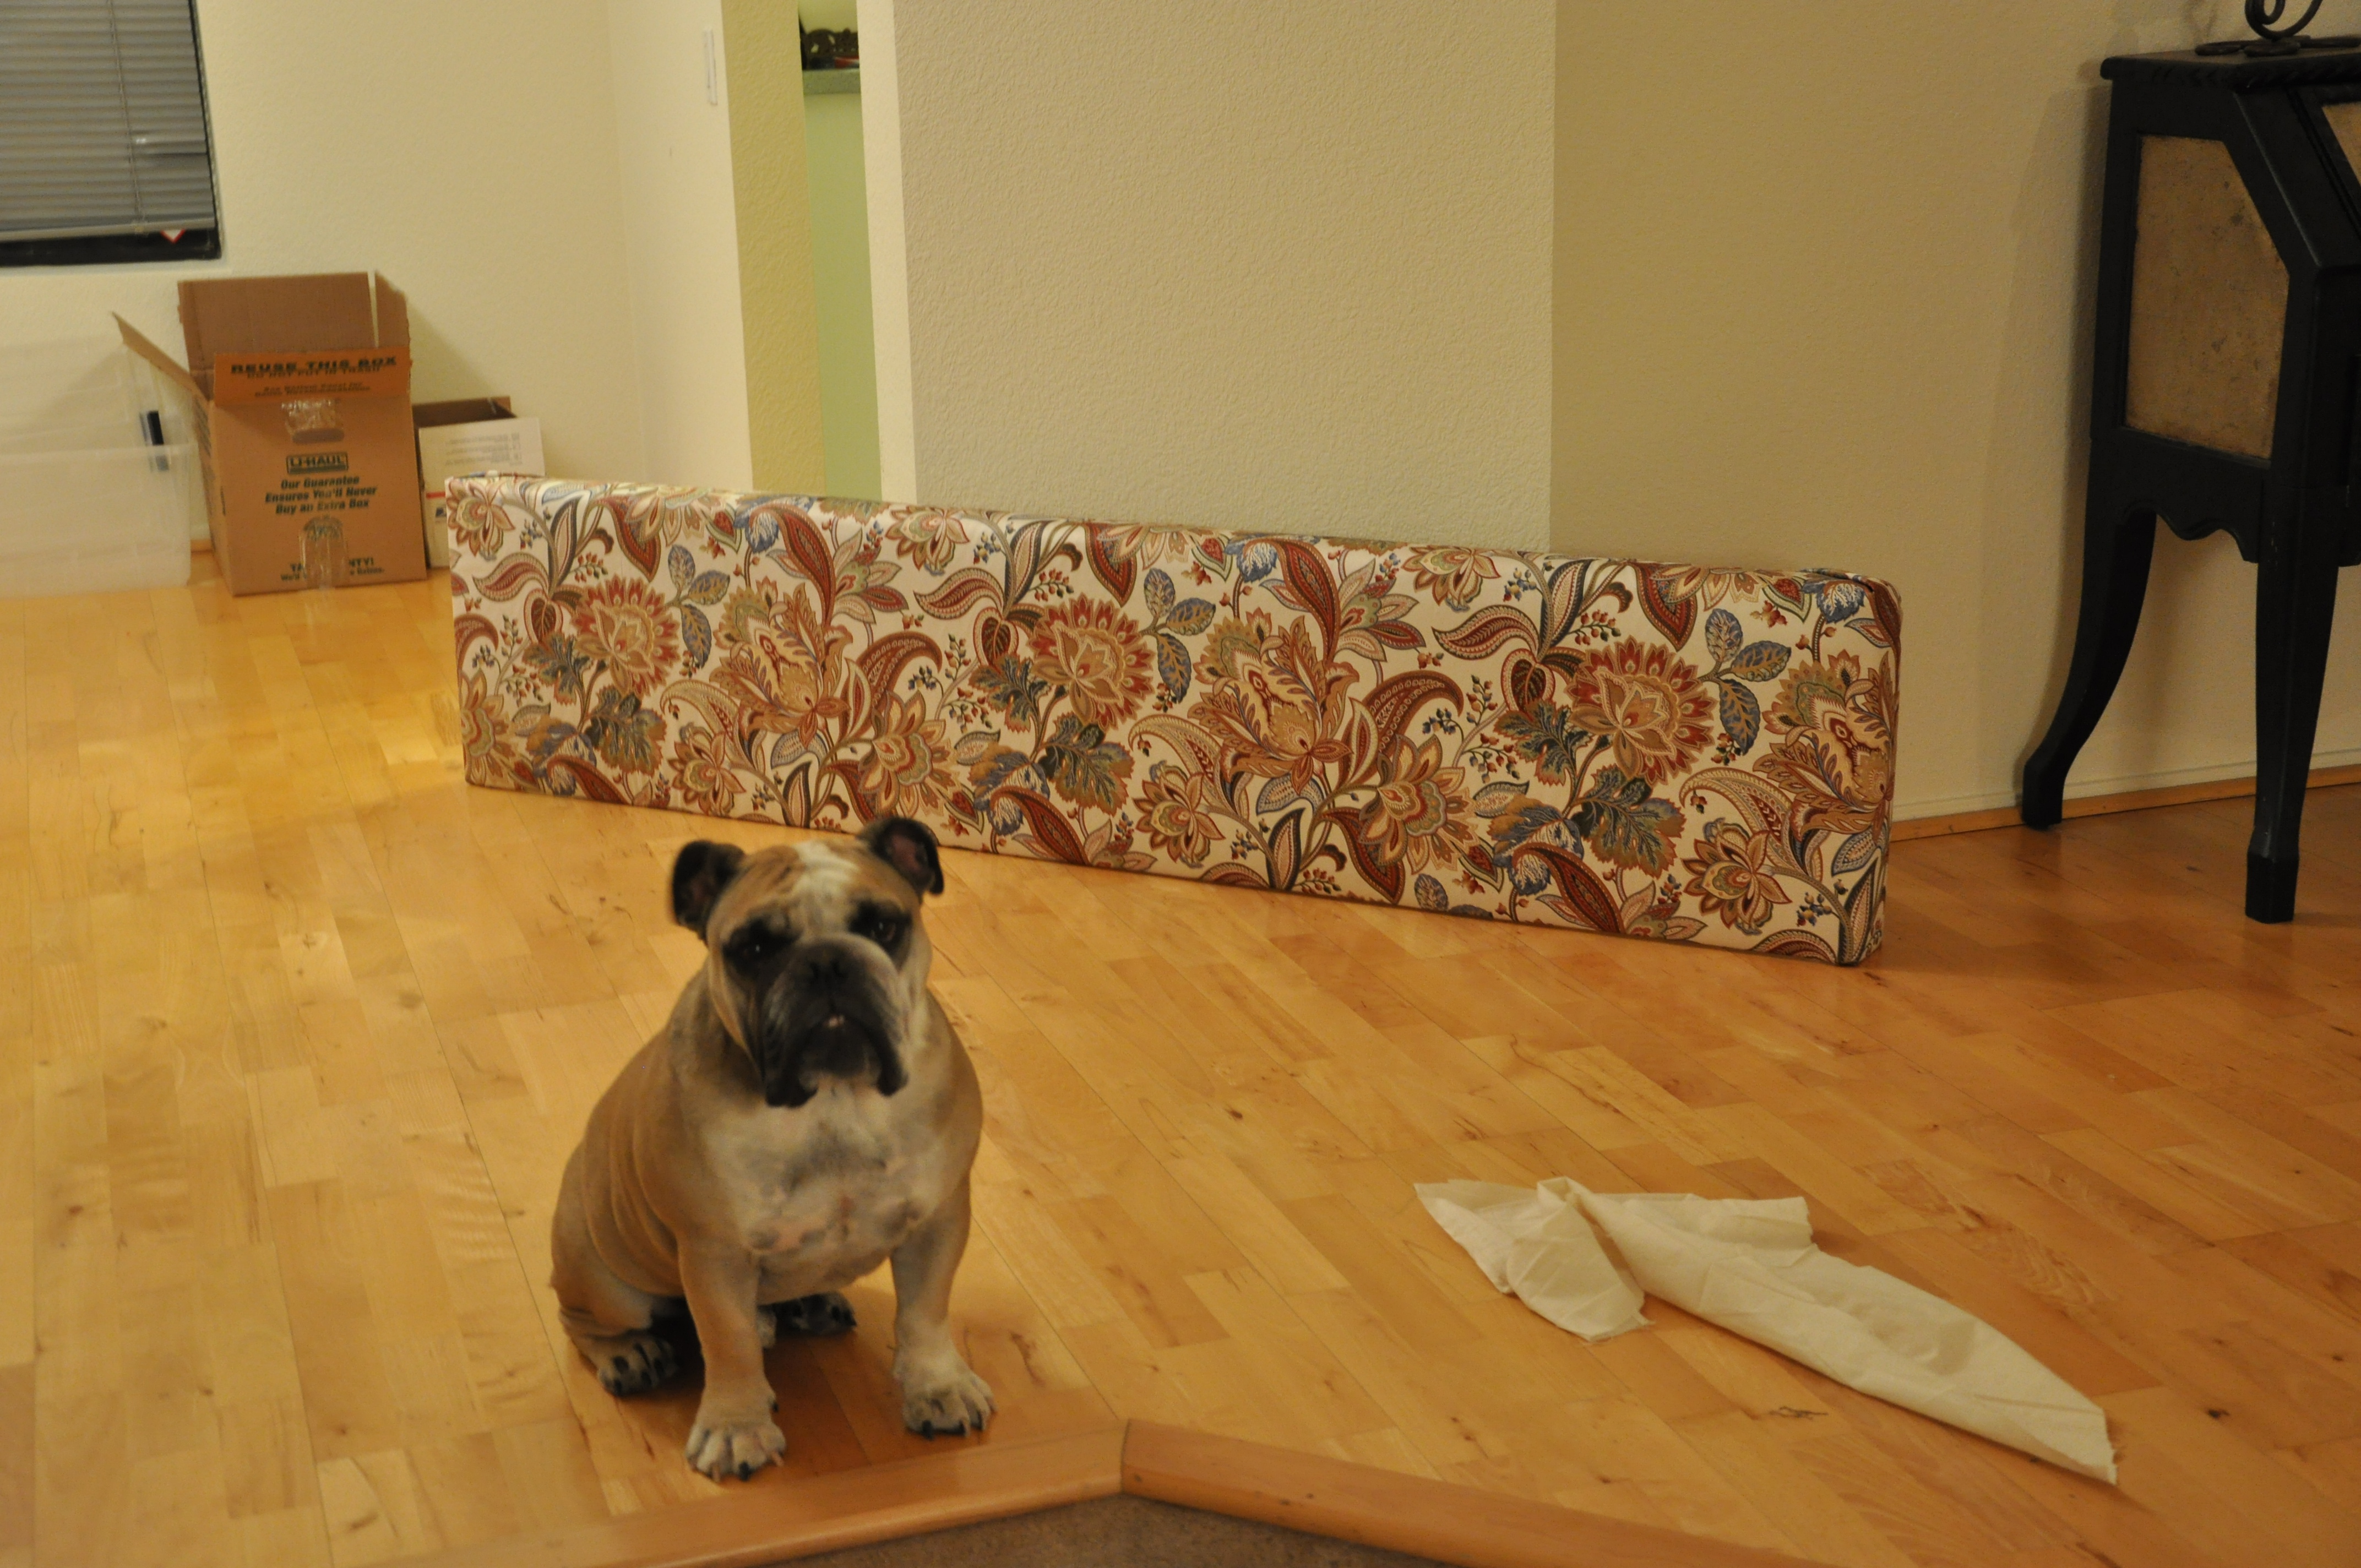
here's one finished, pre-placement, being closely guarded by a fiece watchdog
The cornice boards were made from the fabulous fabric we received as a housewarming gift – our solution to aesthetically tying our kitchen and family room together.
To be 100%, completely, absolutely, without-a-doubt honest with you… we whipped these together on our own with no “how to” guide and very little sewing experience. Srsly. Yeah, our jaws are on the ground too.
And for the slight chance that someone out there might actually like to attempt making these cornice boards/box valance/window covering dealy-bops themselves… we are happily providing The Dreamers FIRST DIY Guide. (CUE: Applause!)
To save our sanity, your eyeballs, and our finger tips from too much typing – can we all agree to call these cornice boards/box valance/window covering dealy-bops, BV’s? The Dreamers like the term “box valance” more than “cornice board.” No particular reason, just that “cornice” sounds ugly and we think these are pretty. Also, box valance provides the perfect mental picture. So, good. We’re all in agreement. “BV” it is!
Here’s your list of “ingredients:”
- Plywood for front of box frames
- 4″ strapping for framing the box
- Batting material
- Liquid adhesive
- Fabric of your choice
- Muslin – for backing
- Staple gun with both short and long staples
- Patience 🙂
STEP 1:
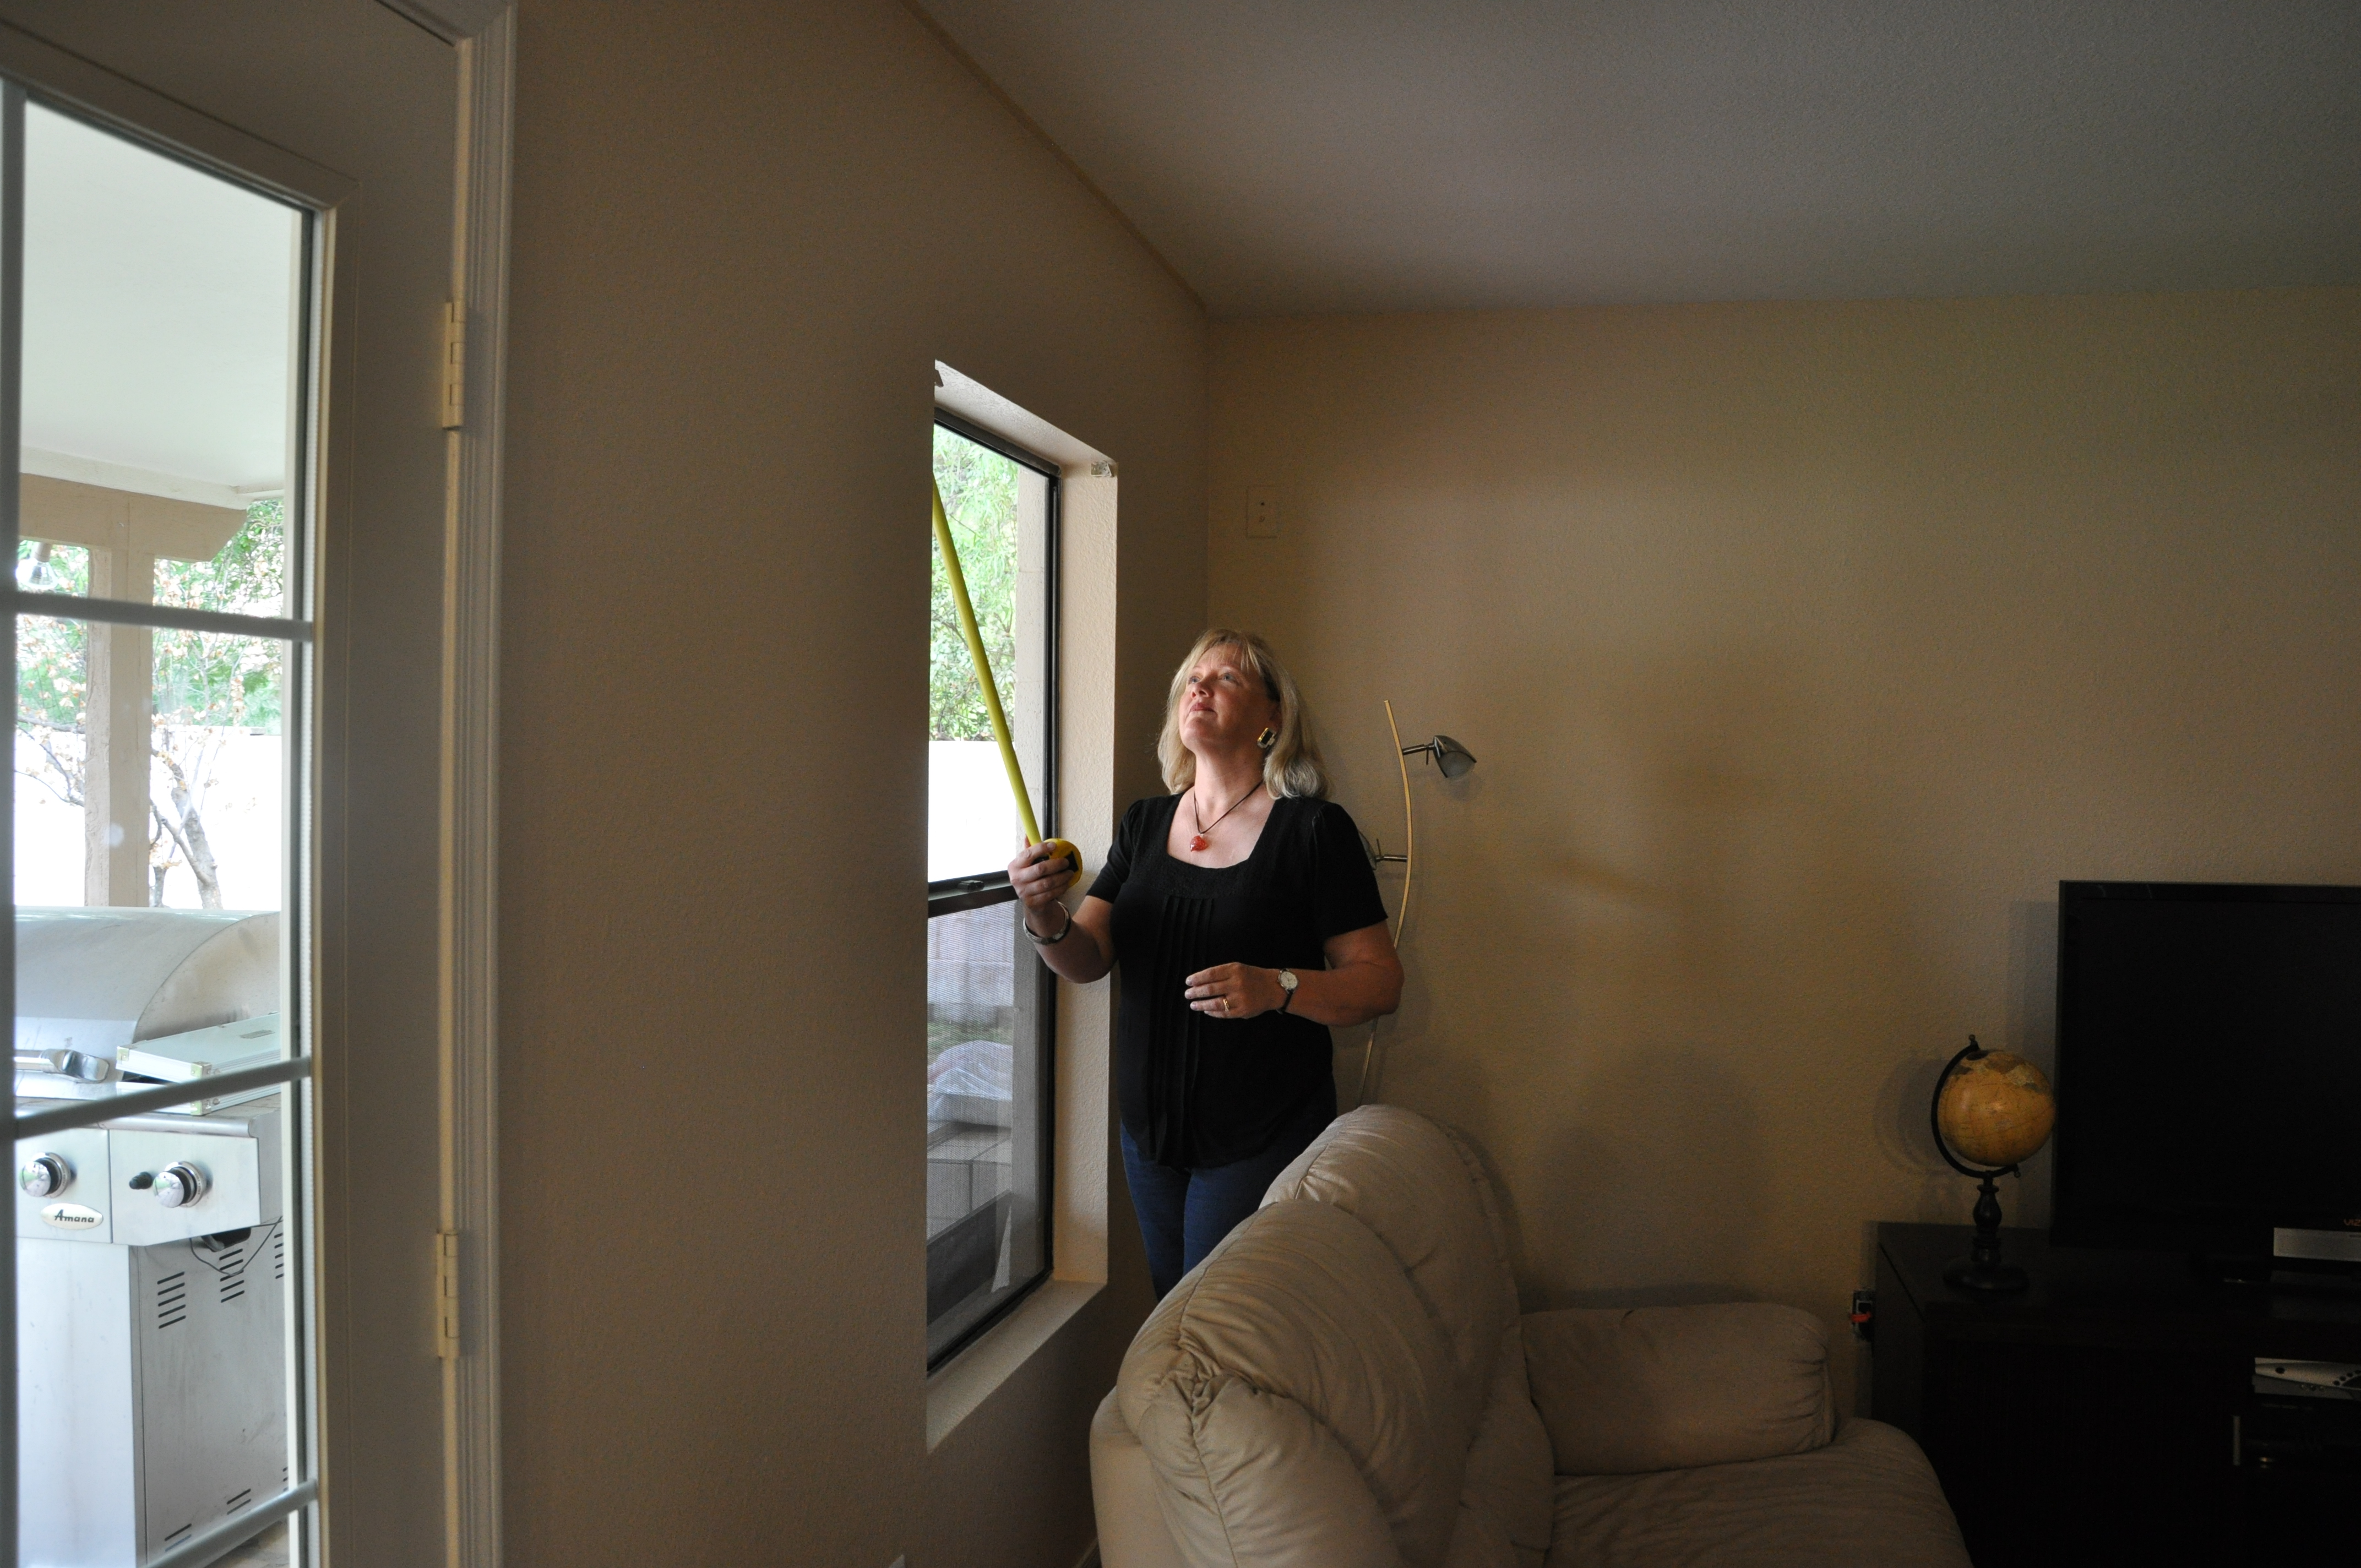
the first step, which should be obvious, is to measure your windows. (thanks, mom!)
Our BV’s extend three inches beyond our windows on either side.
STEP 2:
Purchase wood for the “box” part of the BV’s. We got some generic plywood for the front surface and generic 4″ strapping for the frame.
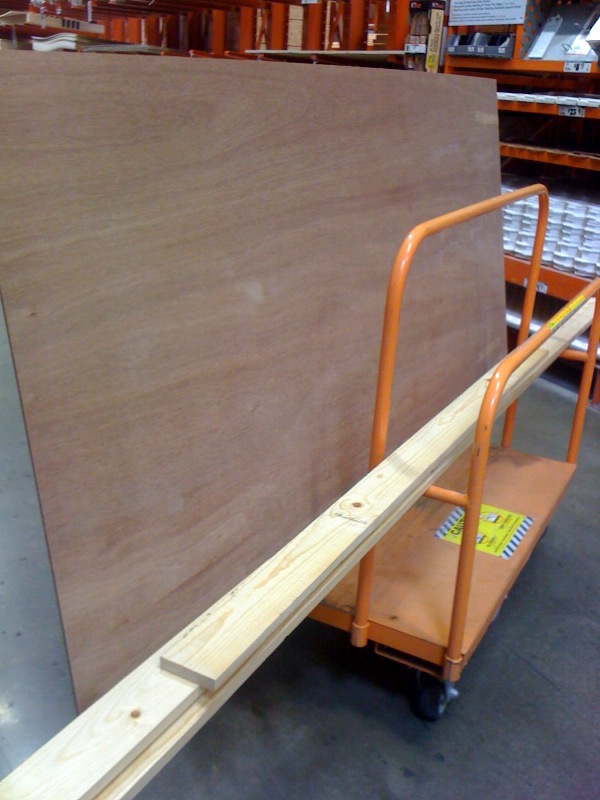
here's the wood we picked up before...
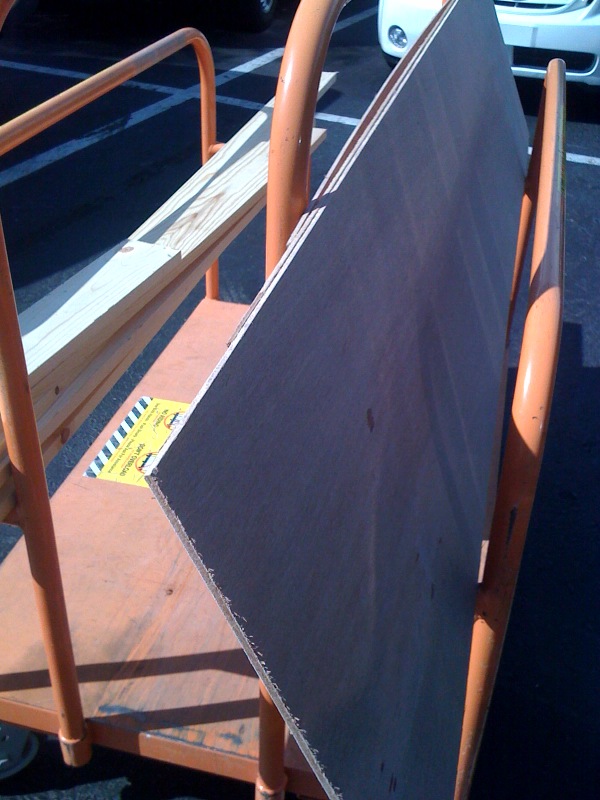
...and after we had it custom cut
Essential info: Our BV’s are 16″ tall, 4″ away from the wall on three sides and a total of 6″ wider than our window
STEP 3:
Put together your wooden frame
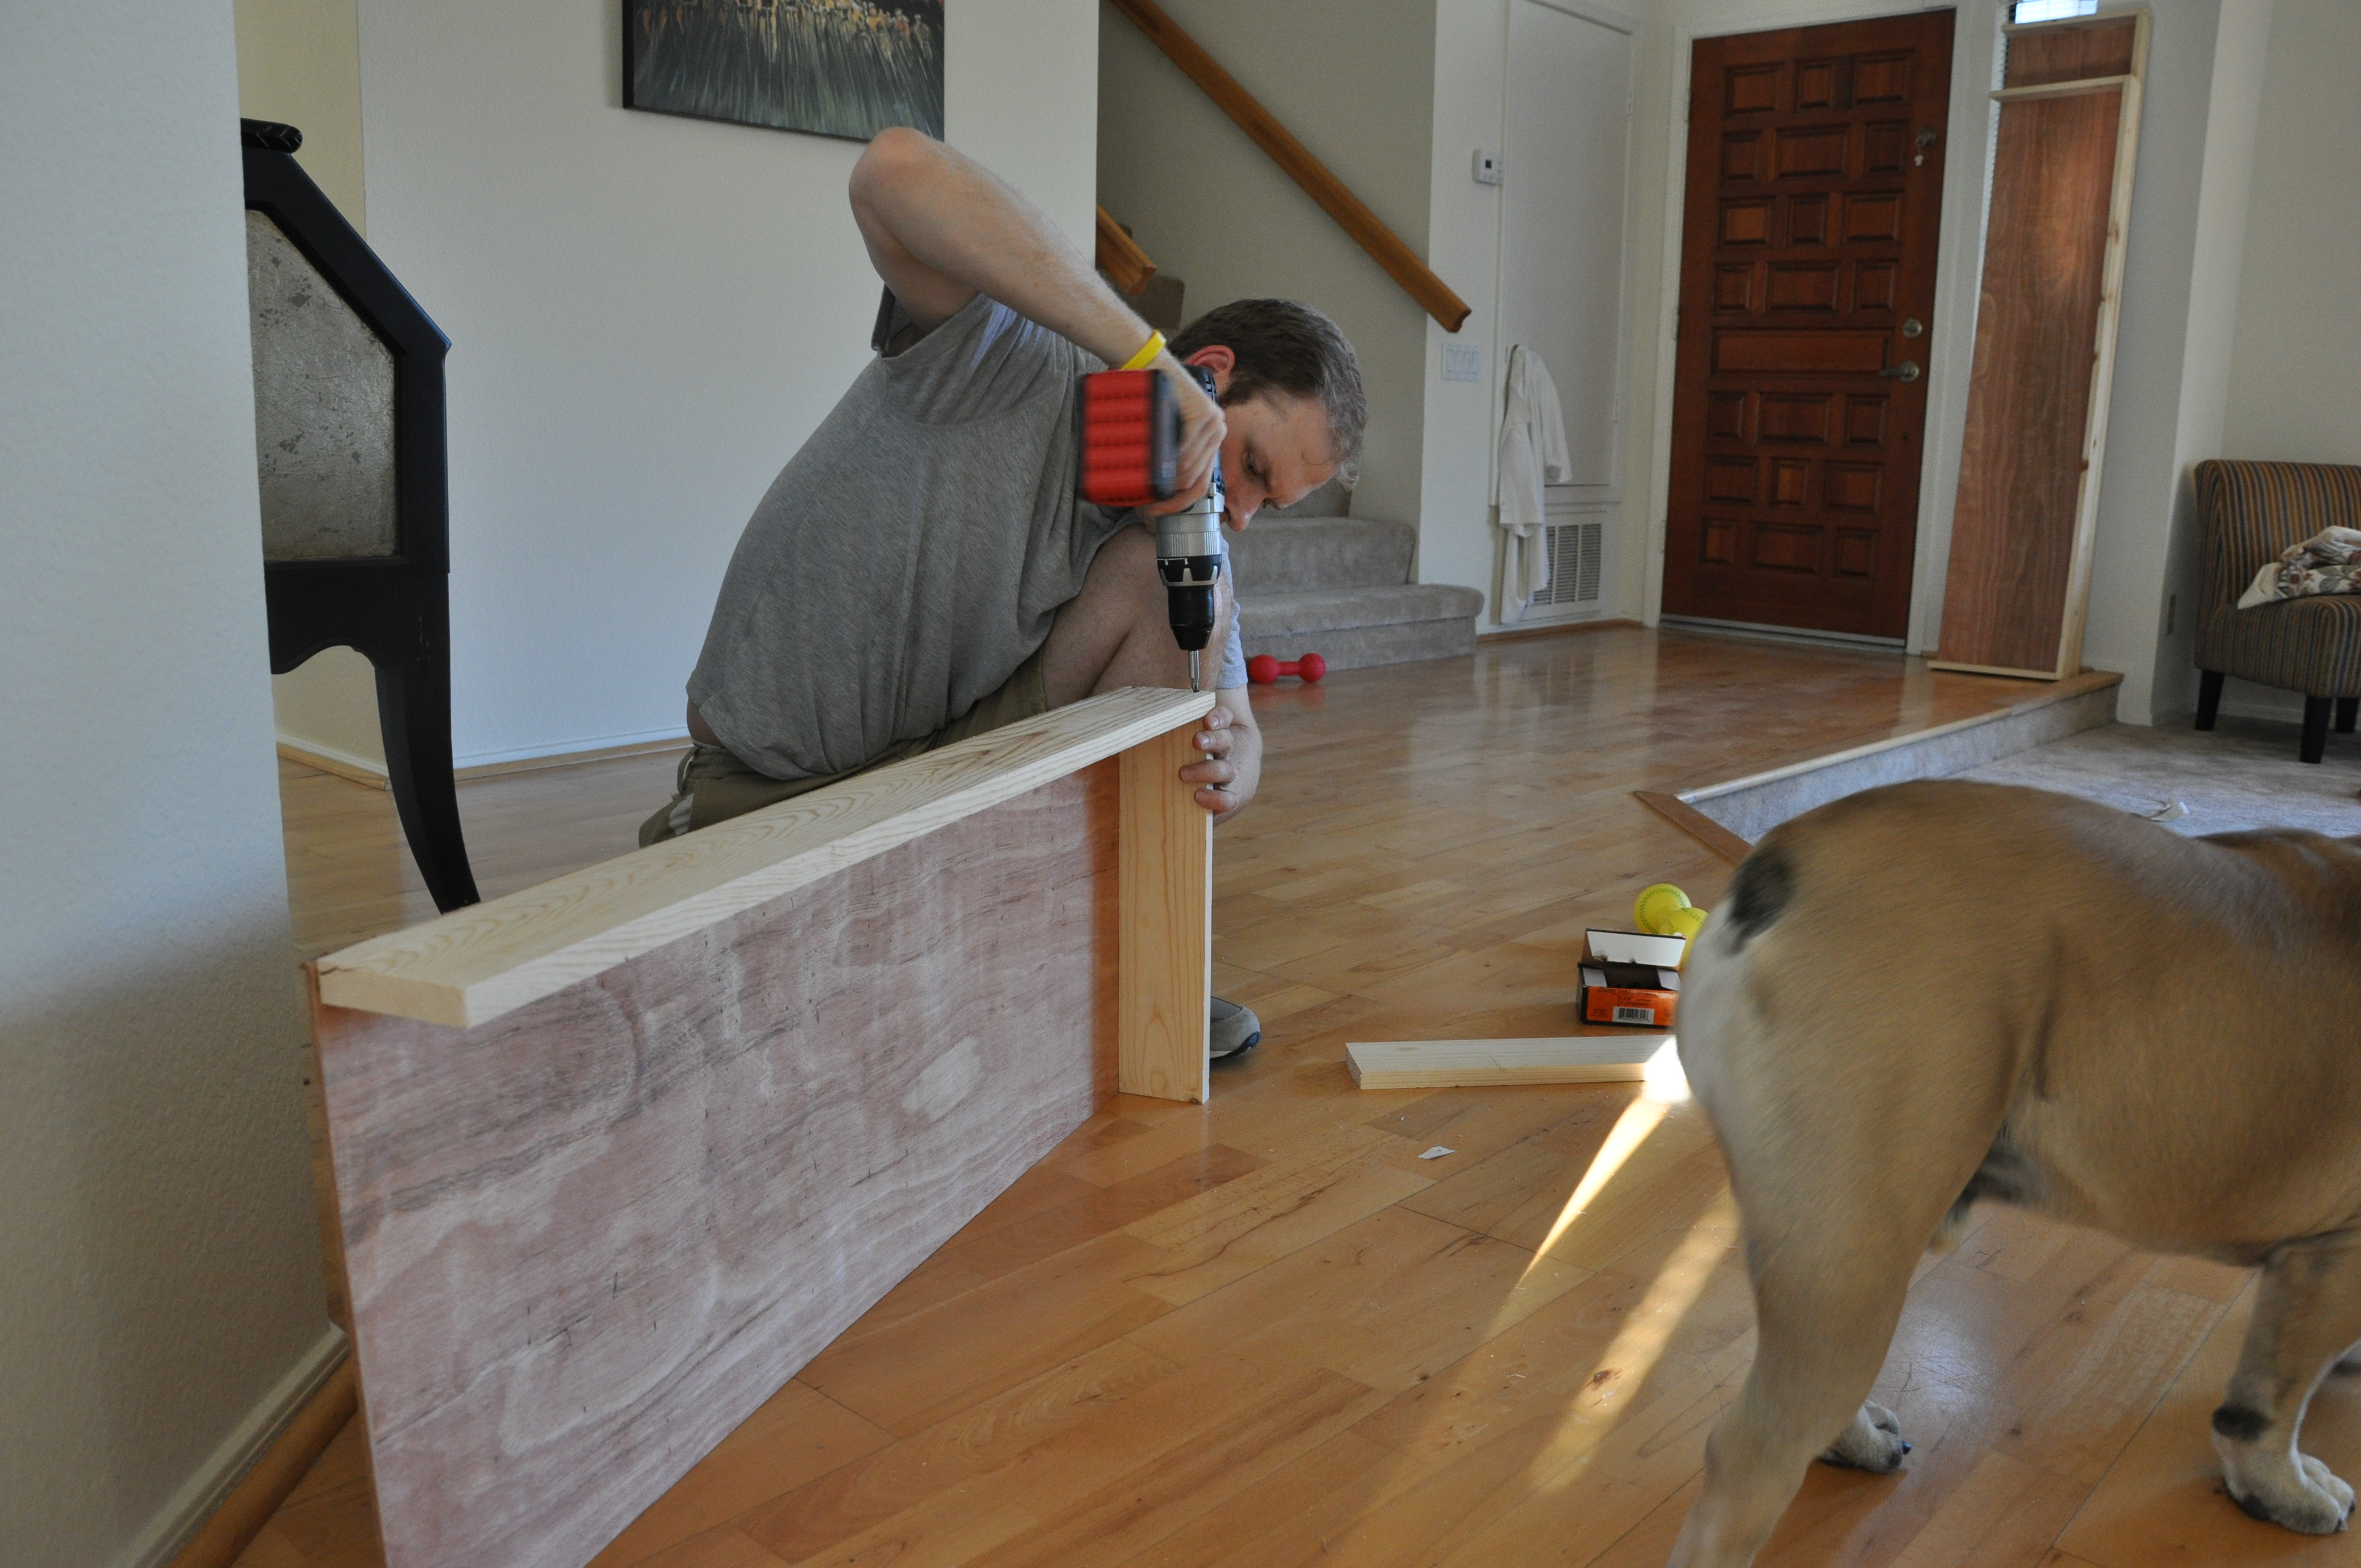
strapping boards provide the frame...
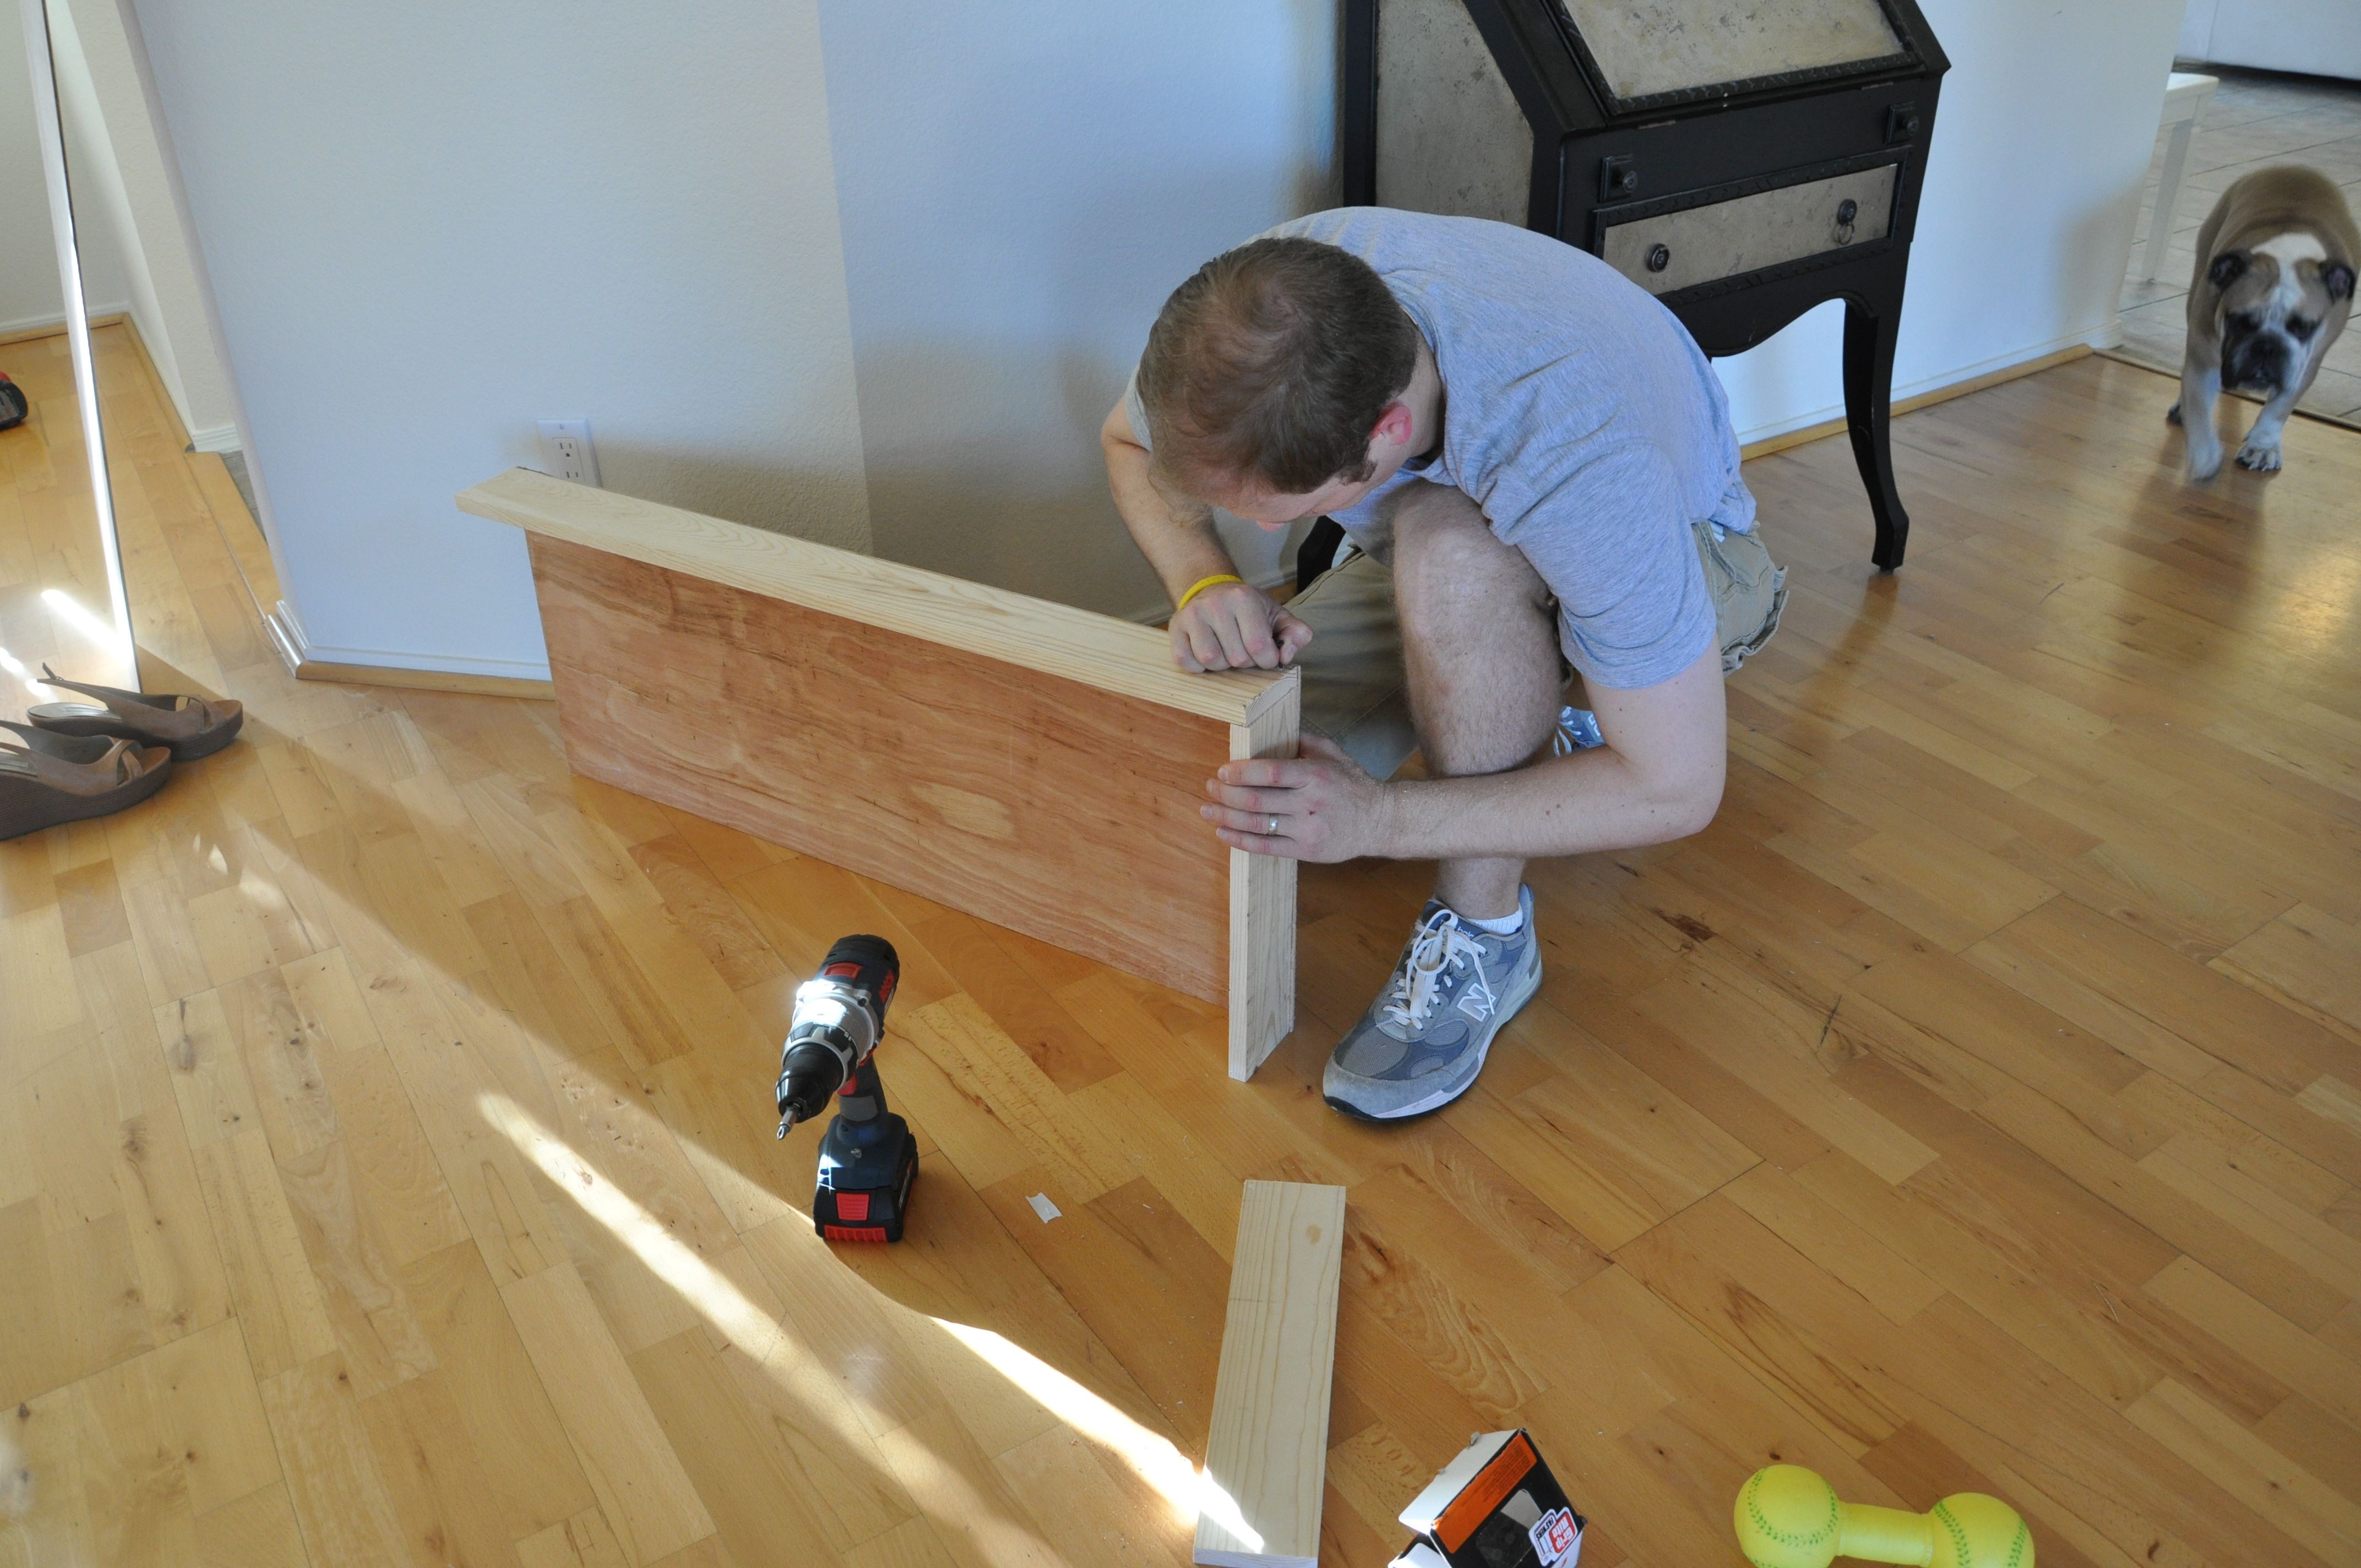
screw together strapping and attach to plywood with sheetrock screws
STEP 4:
Spray the liquid adhesive (preferably outside) to the wood — all four sides that will face out — and pat on the batting material. Let dry for 24 hours.
STEP 5:
While that’s drying, you can get your fabric ready. Home fabric is typically 54″ wide. So, if your windows are smaller than that, you can skip this step. If they’re wider, you’ll need to match the fabric’s pattern on either side. This just takes a careful eye and precise pinning.
It’s also handy to iron in the seam where you’ll be sewing, then trace that line with a pencil (on the underside of the fabric).
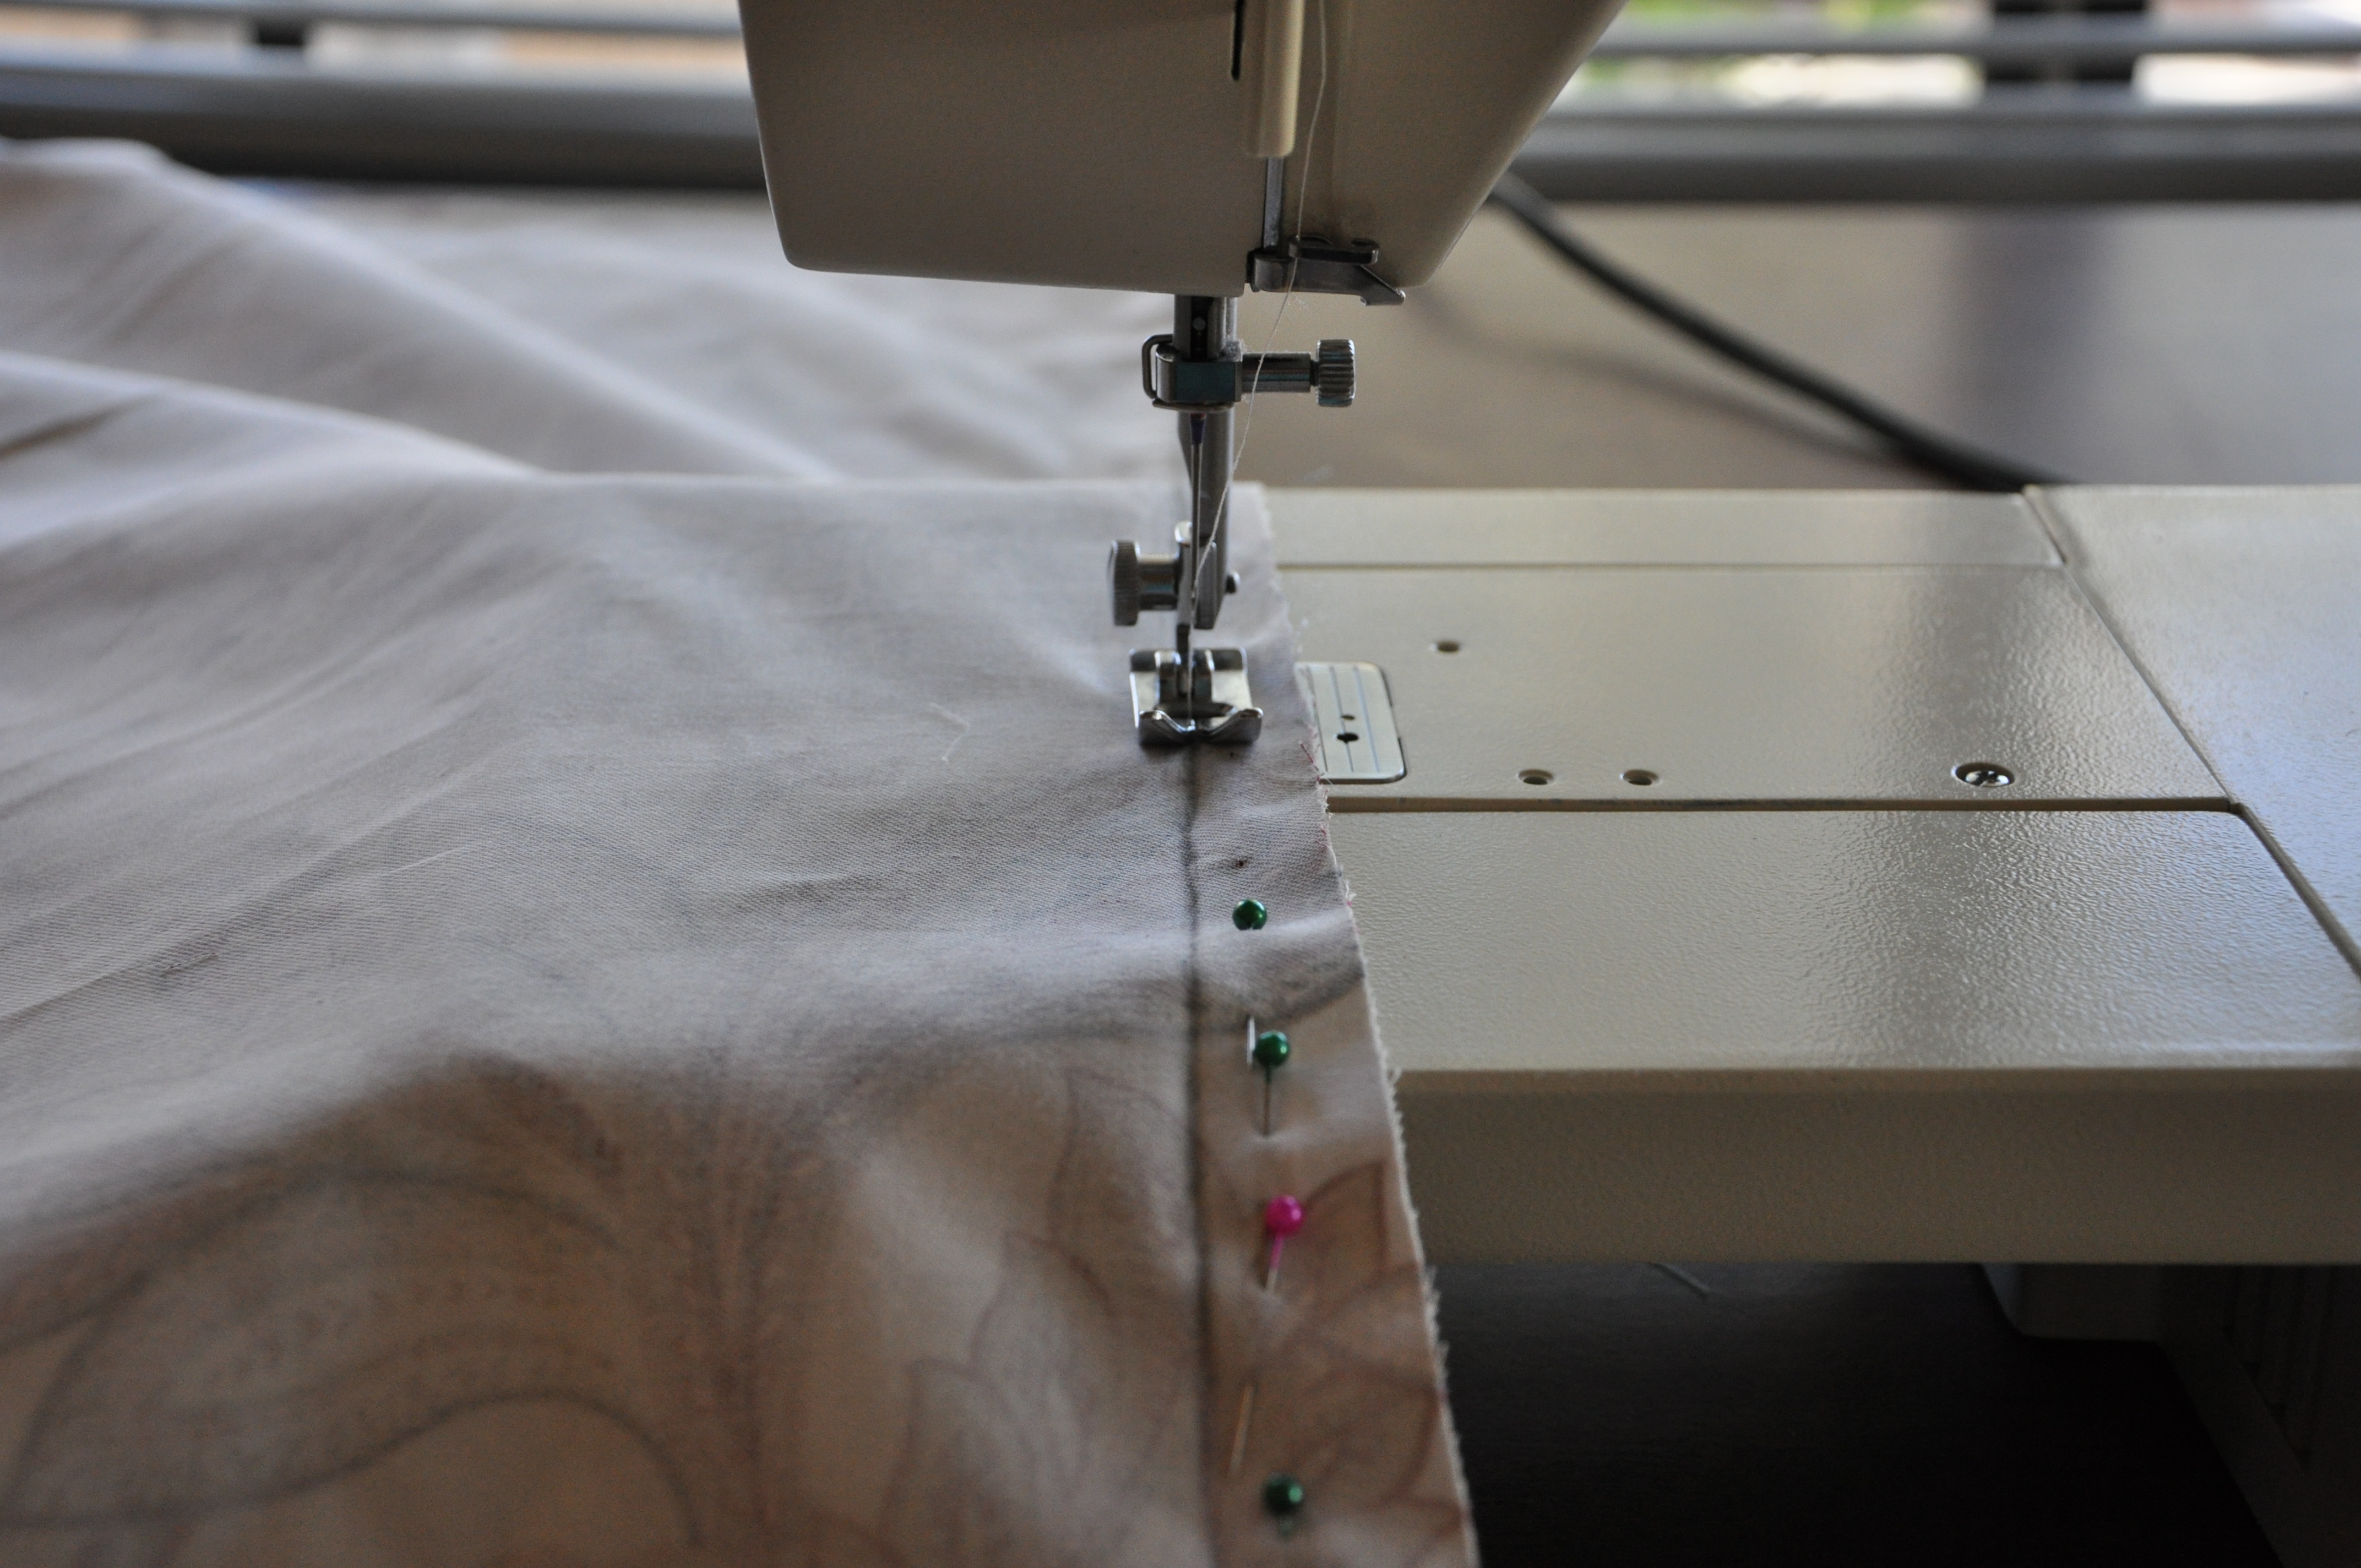
that helps provide a line to follow
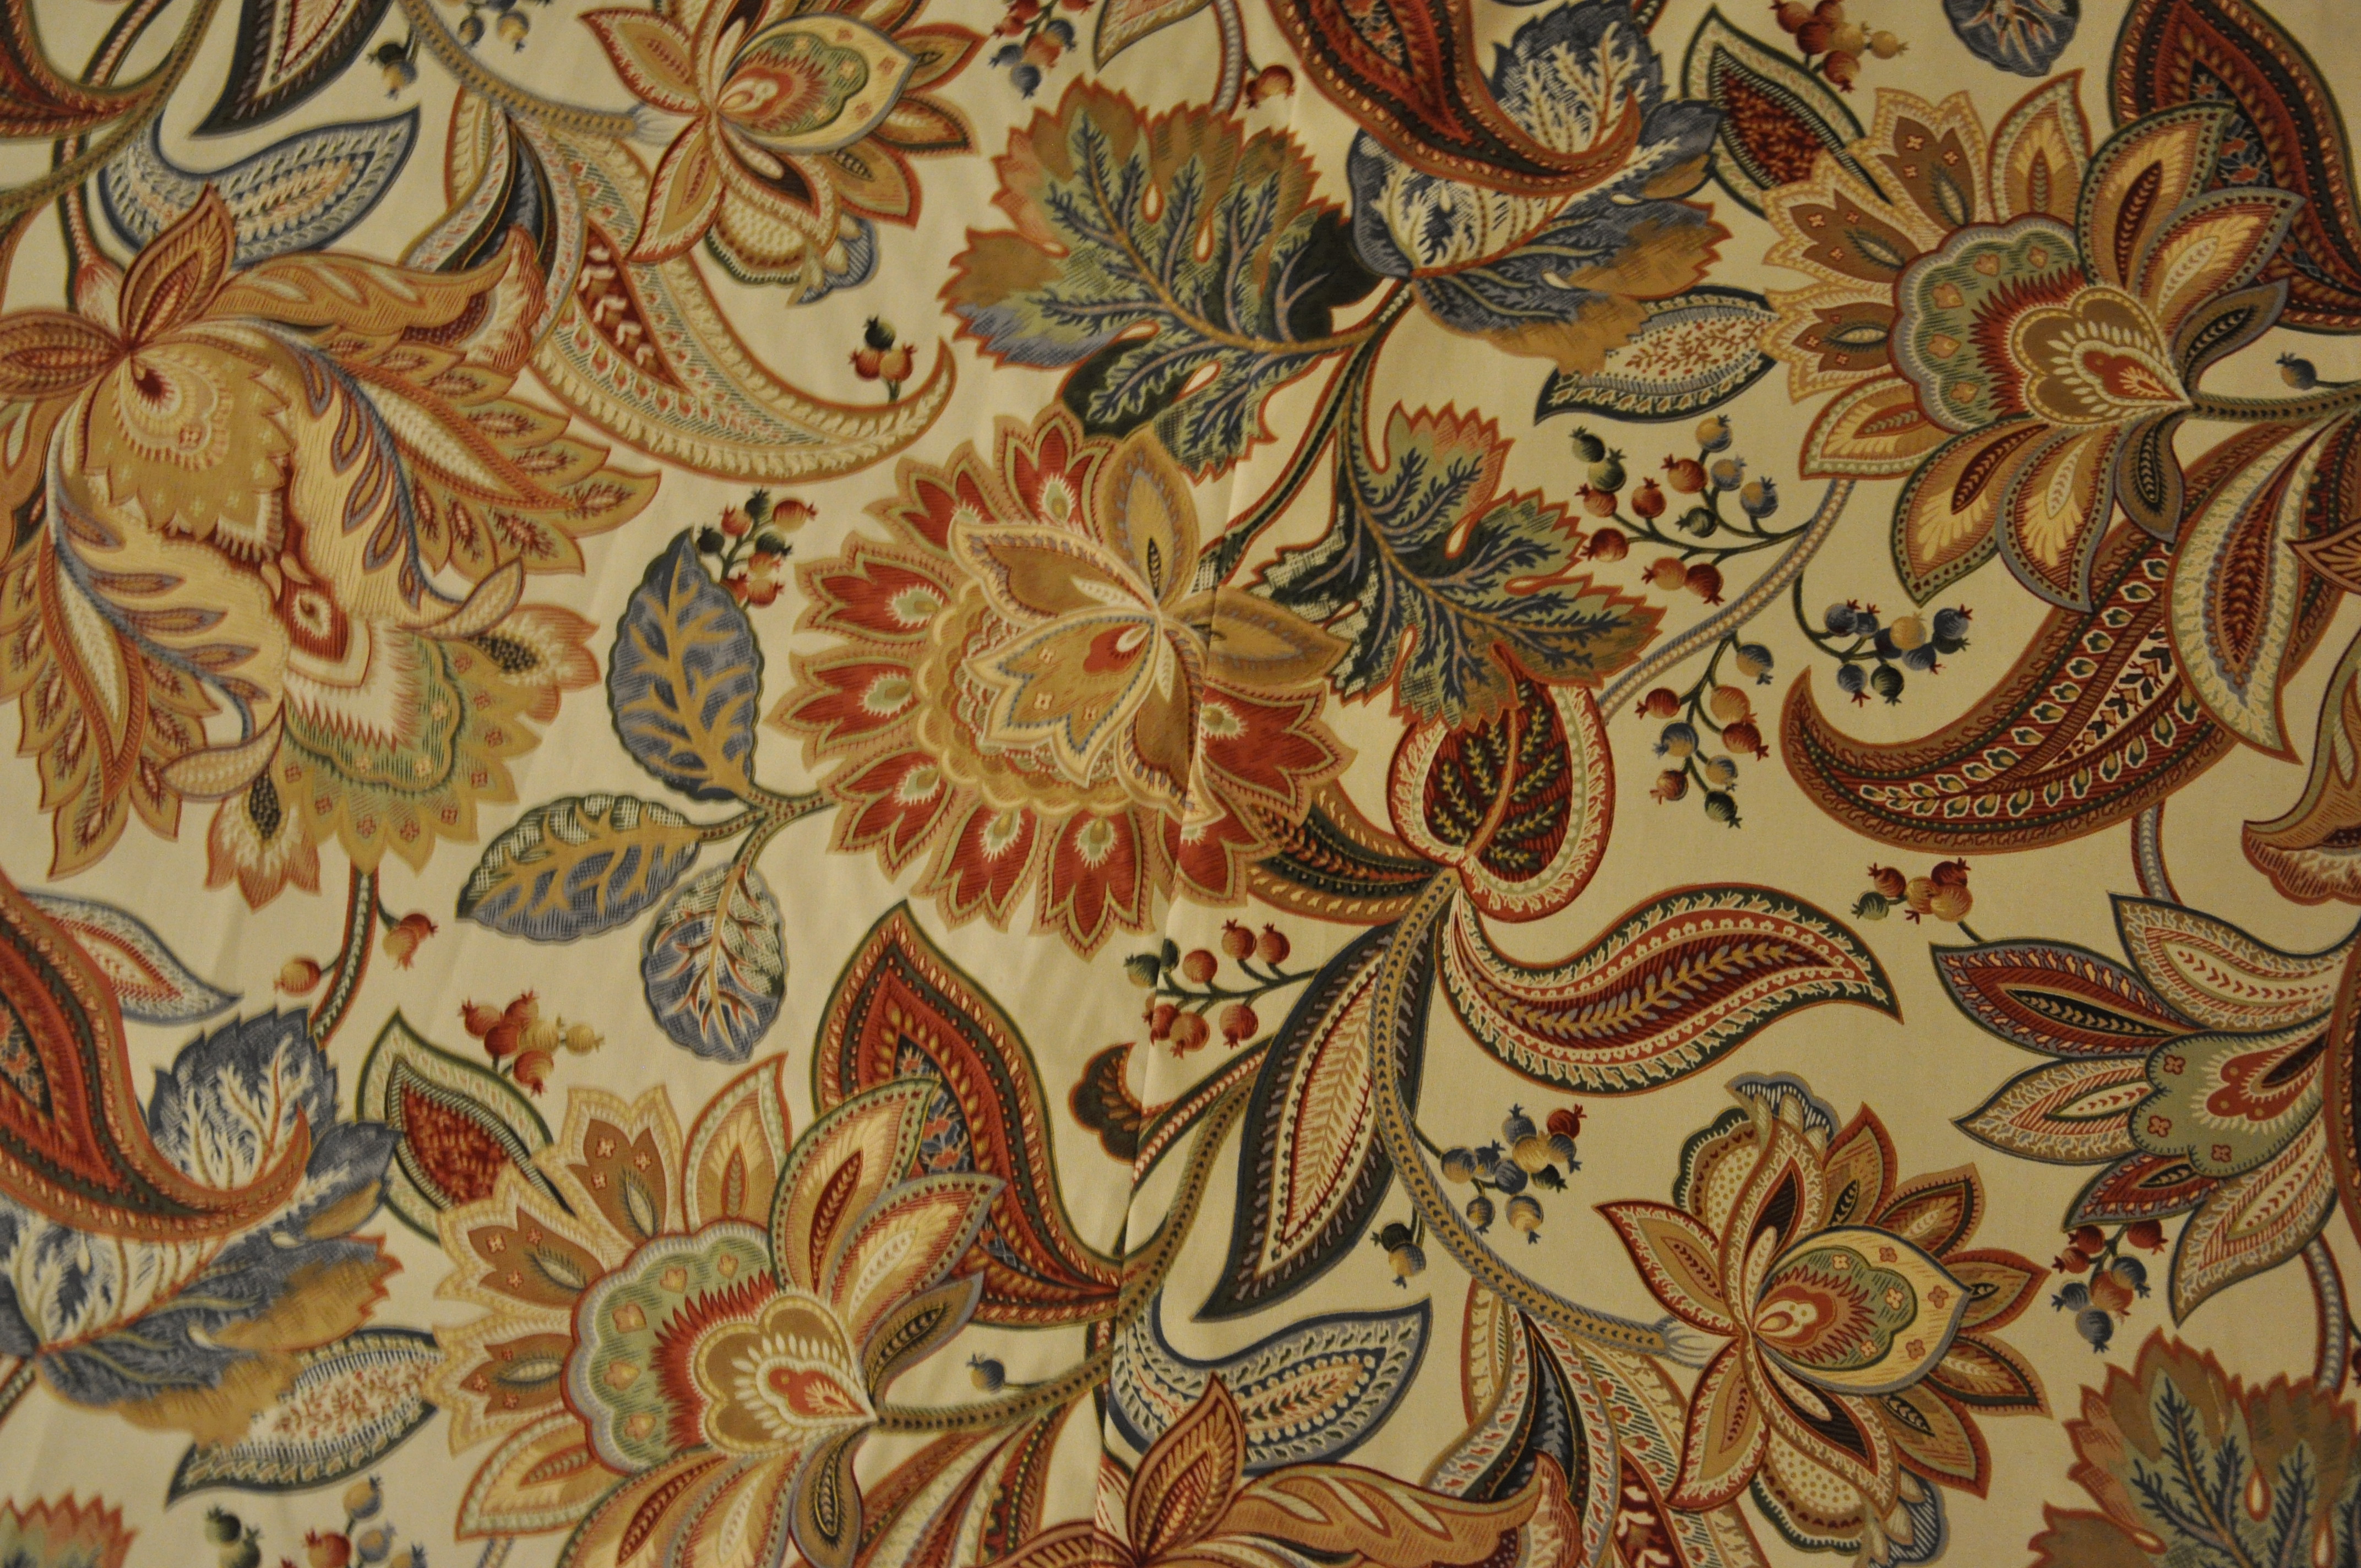
hopefully, the end result is hard to spot!
STEP 6:
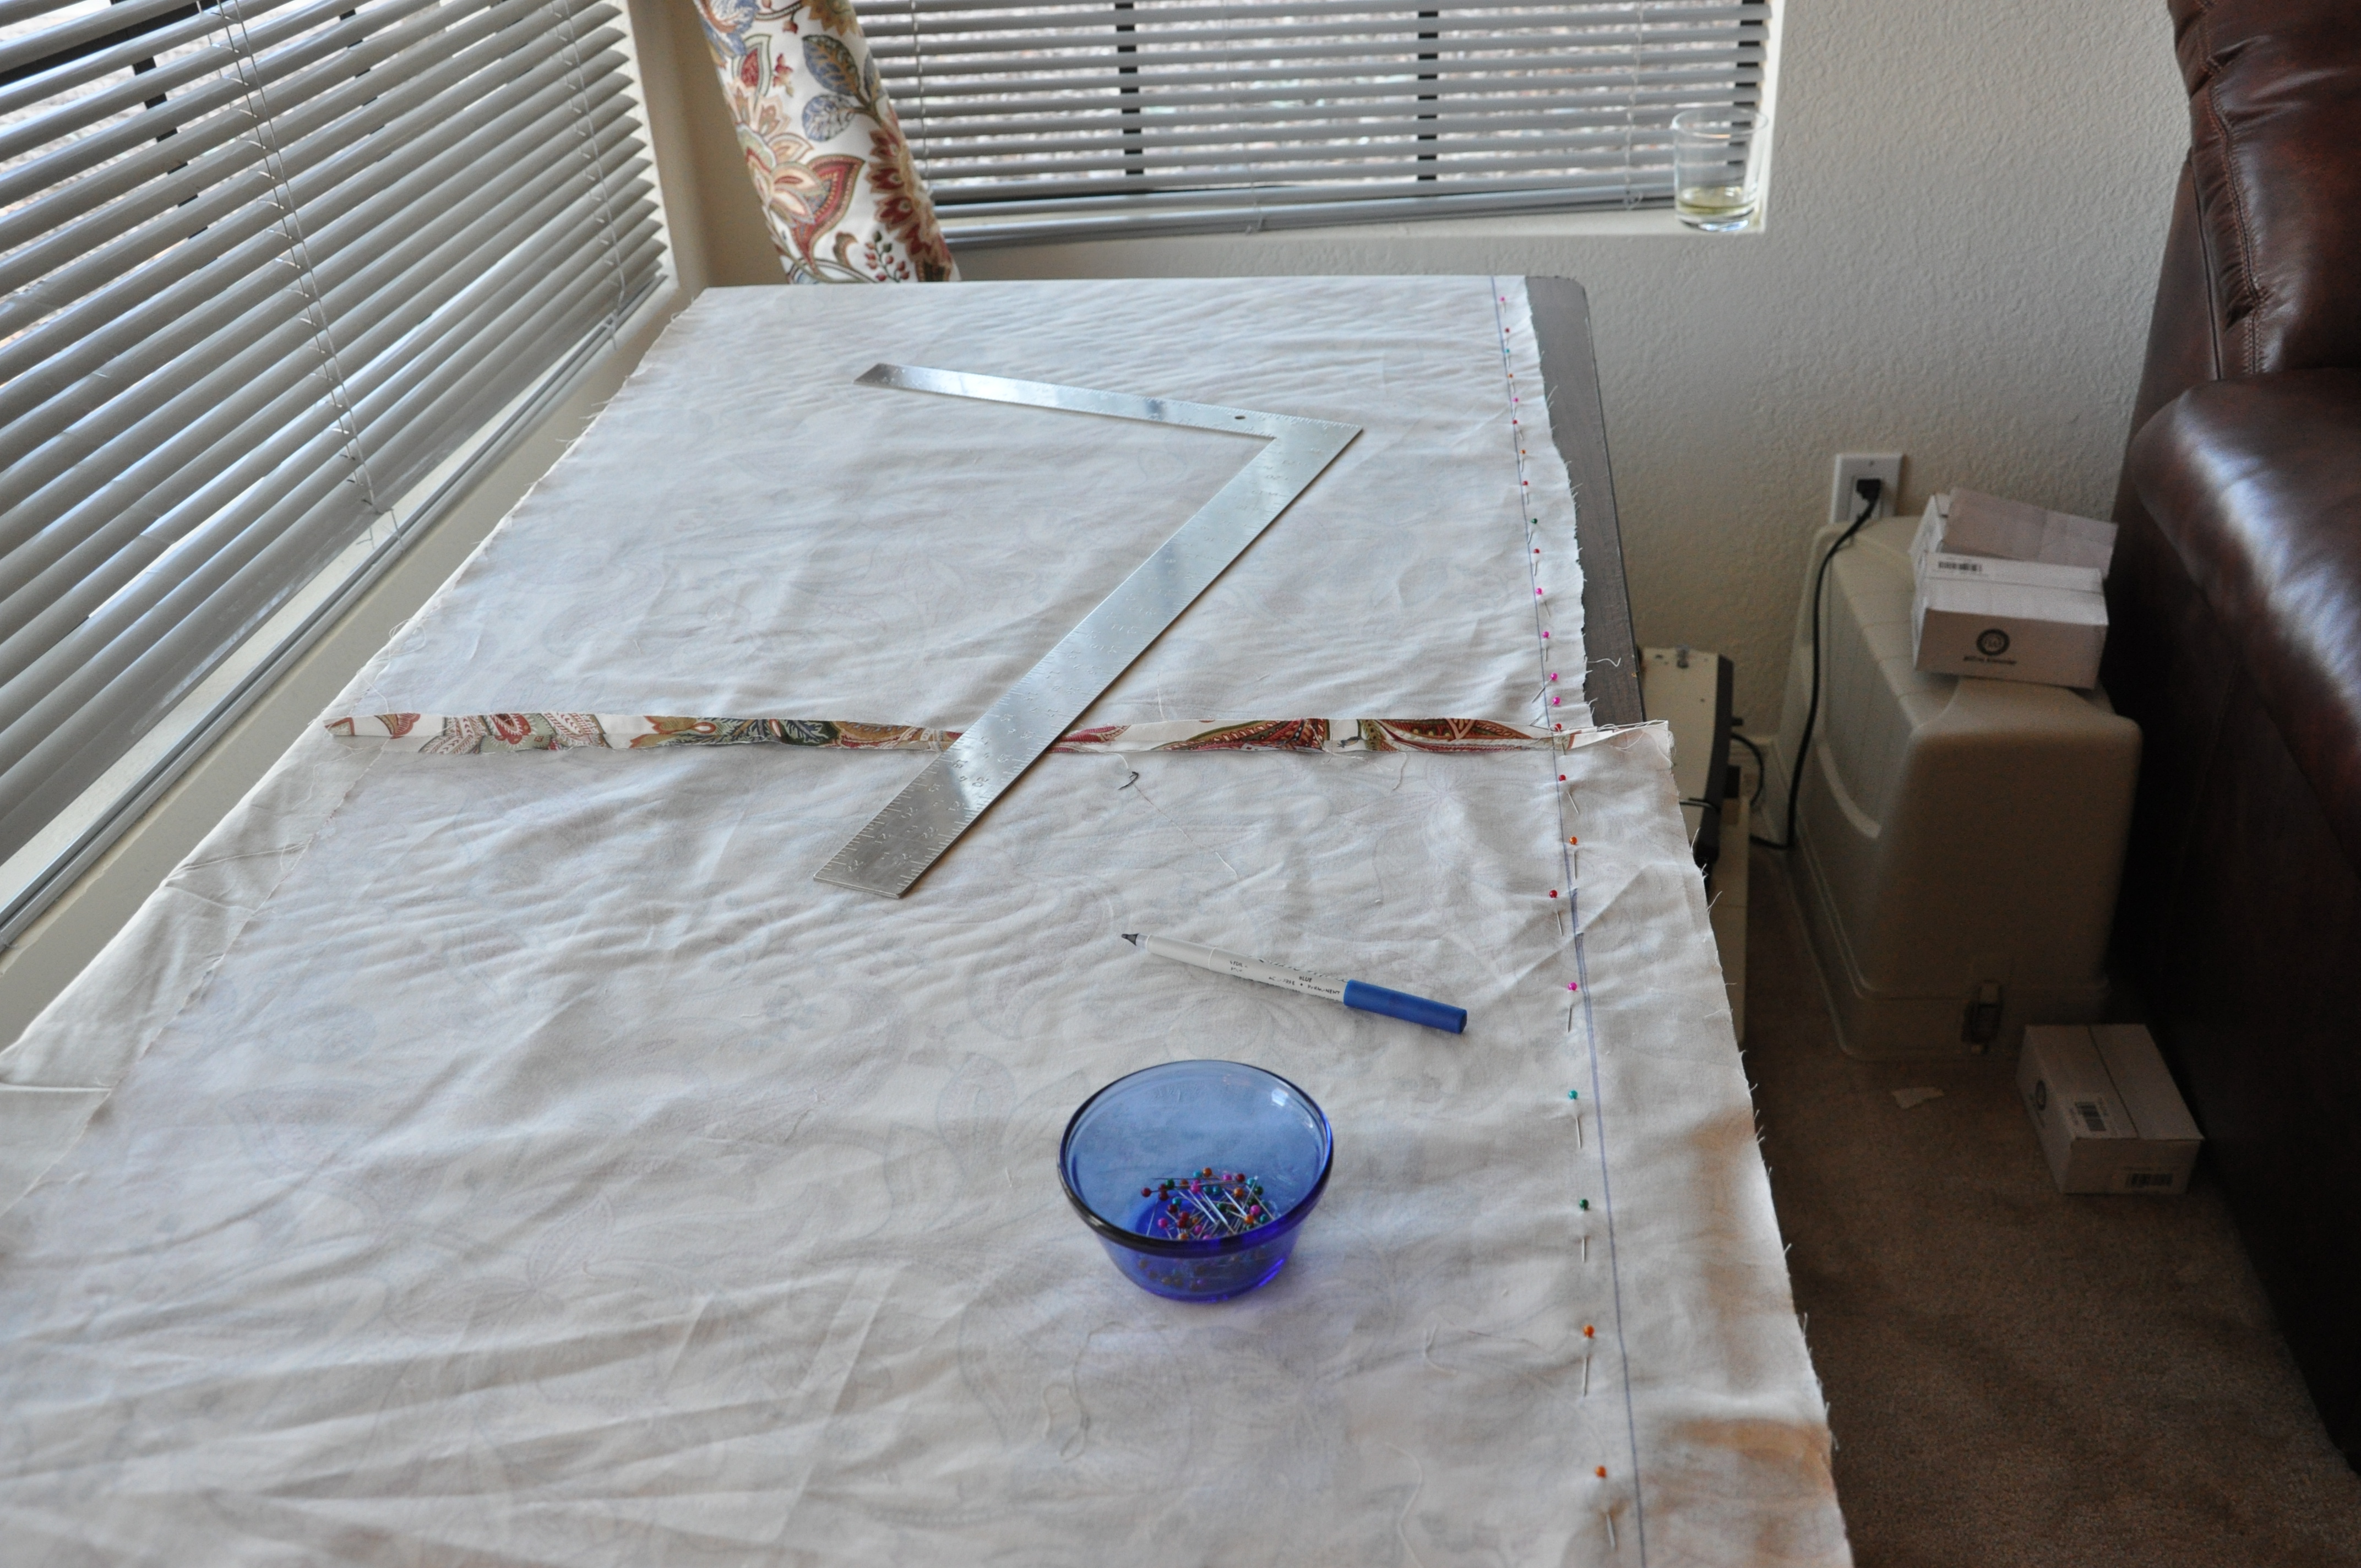
line the back of your fabric with an inexpensive muslin.
That will provide a finished look and help prevent the cellulite-like bumps of the batting material from showing through.
STEP 7:
Once your fabric is sewn and your BV frames are dry – it’s time for fun with staples!
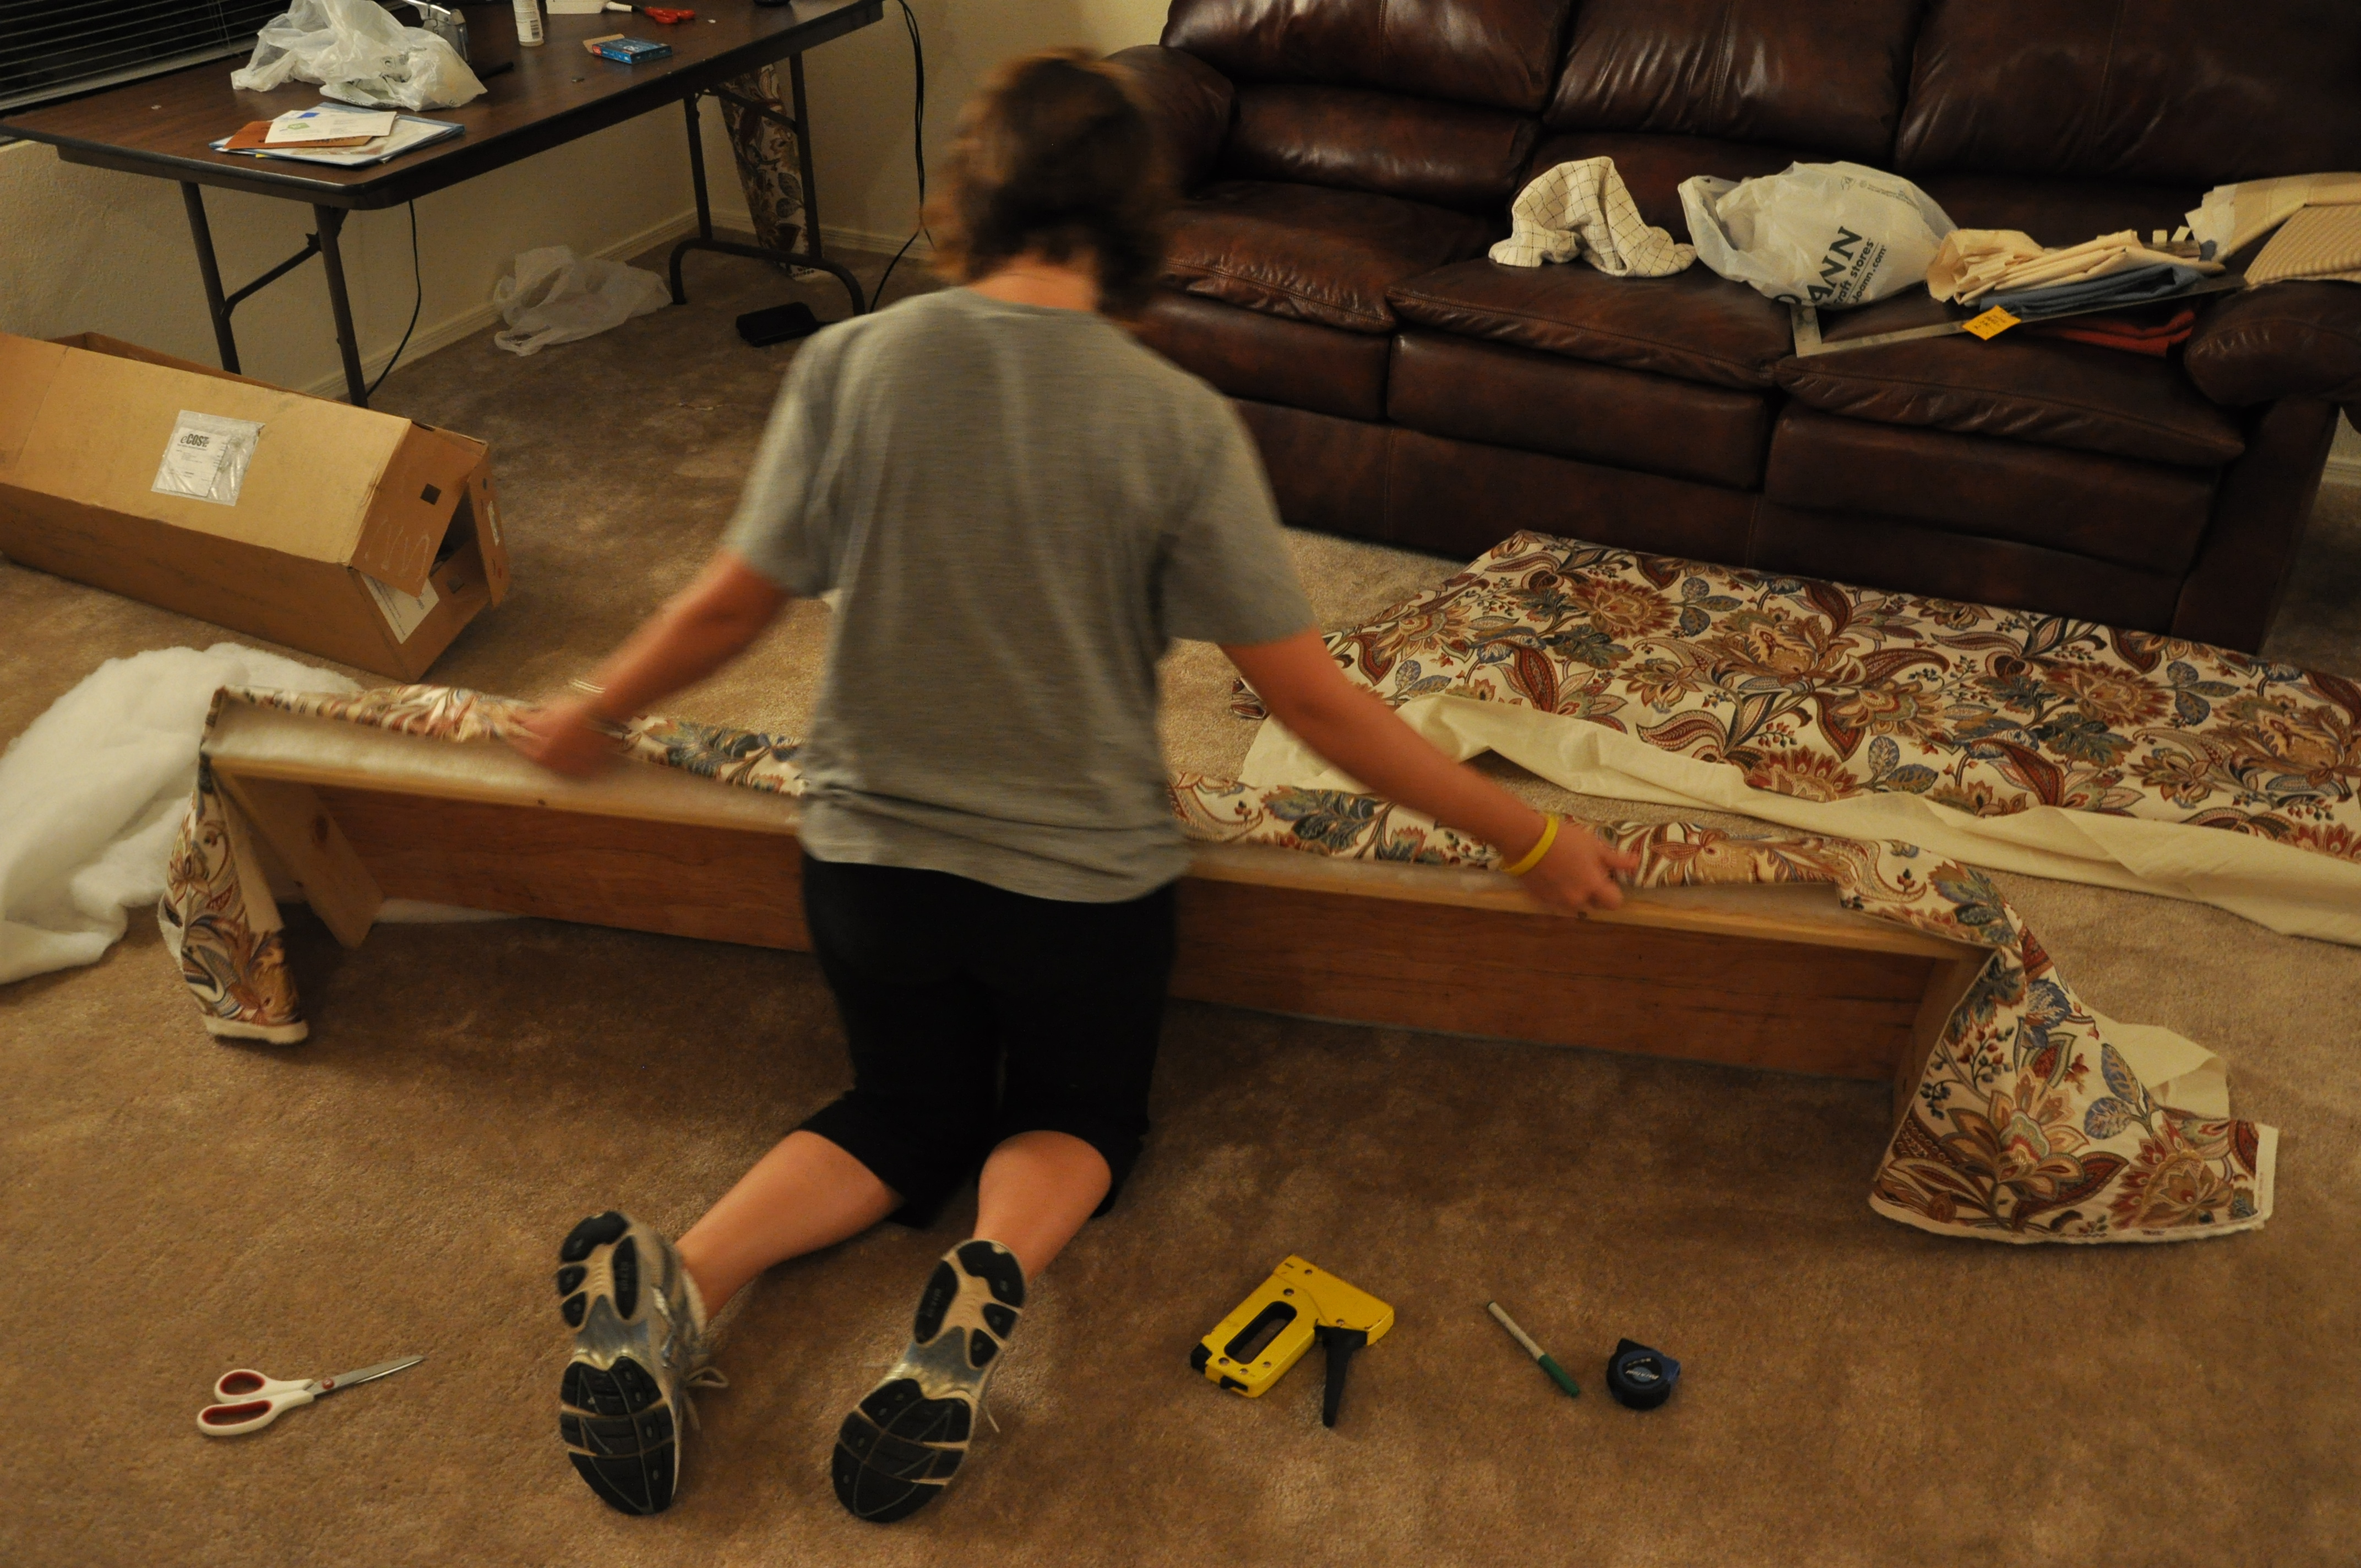
line the fabric/muslin seam up to the inside top of your frame.
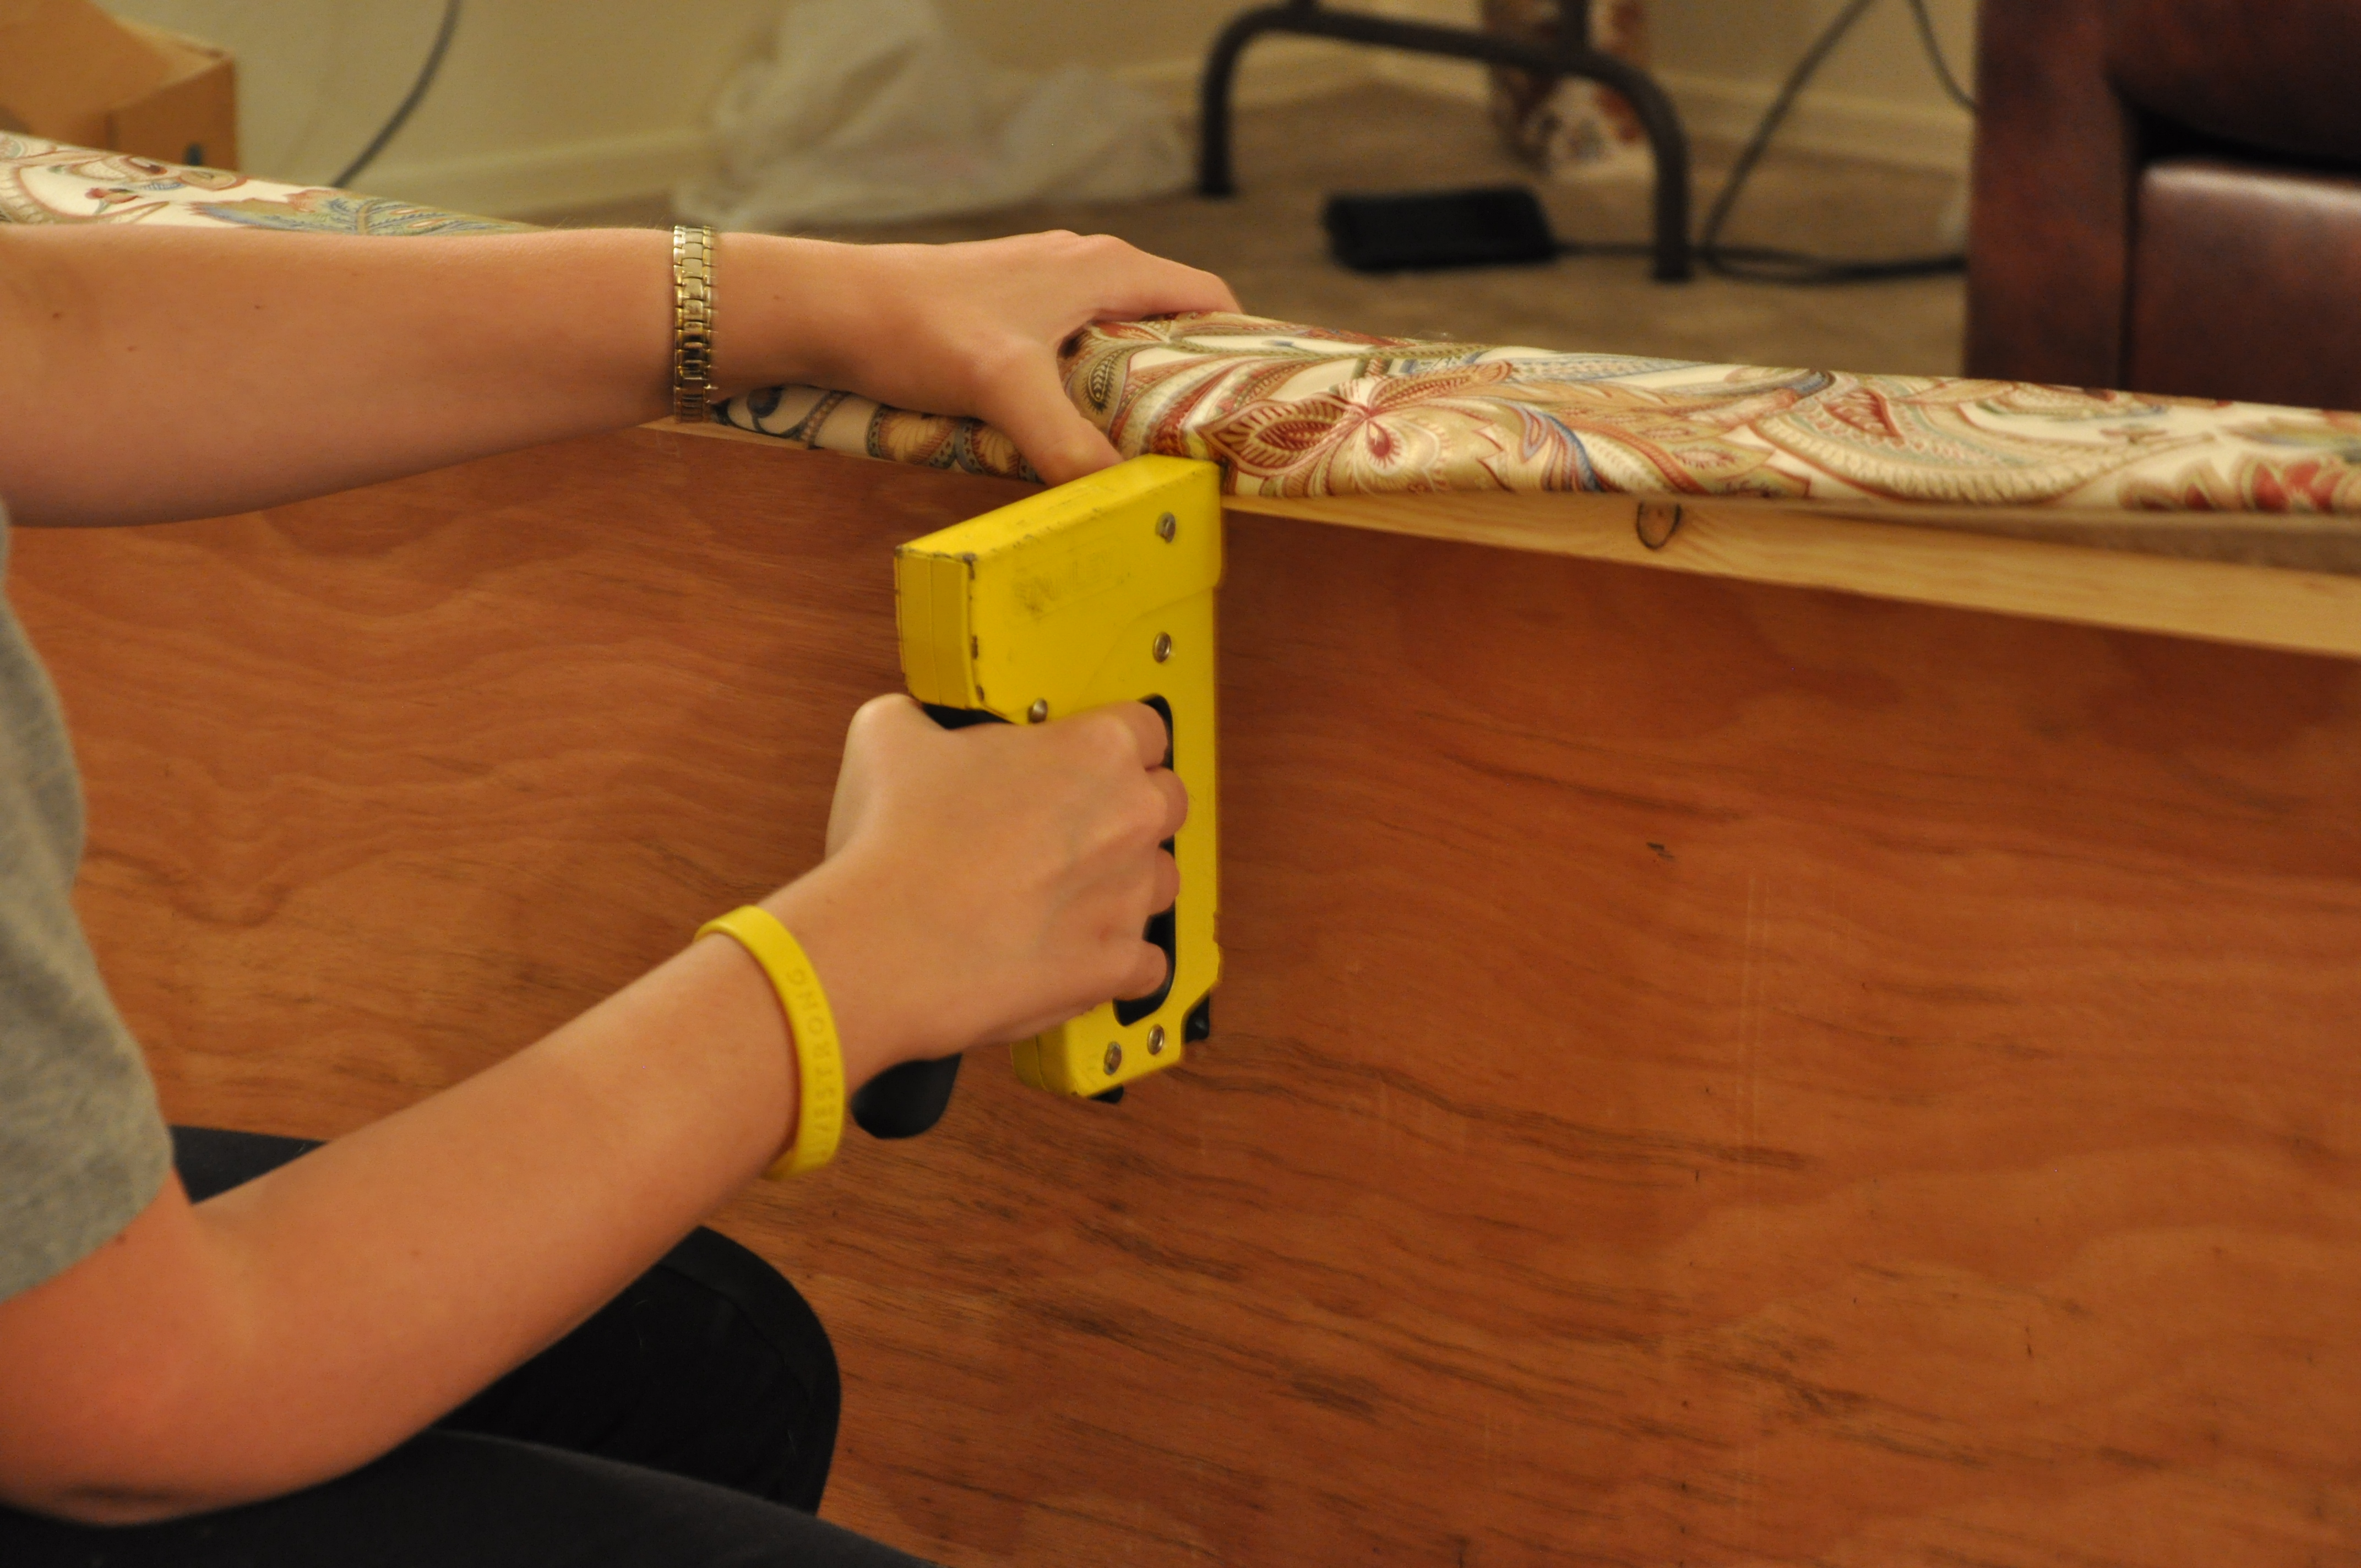
make sure the fabric's pattern falls correctly and staple away!
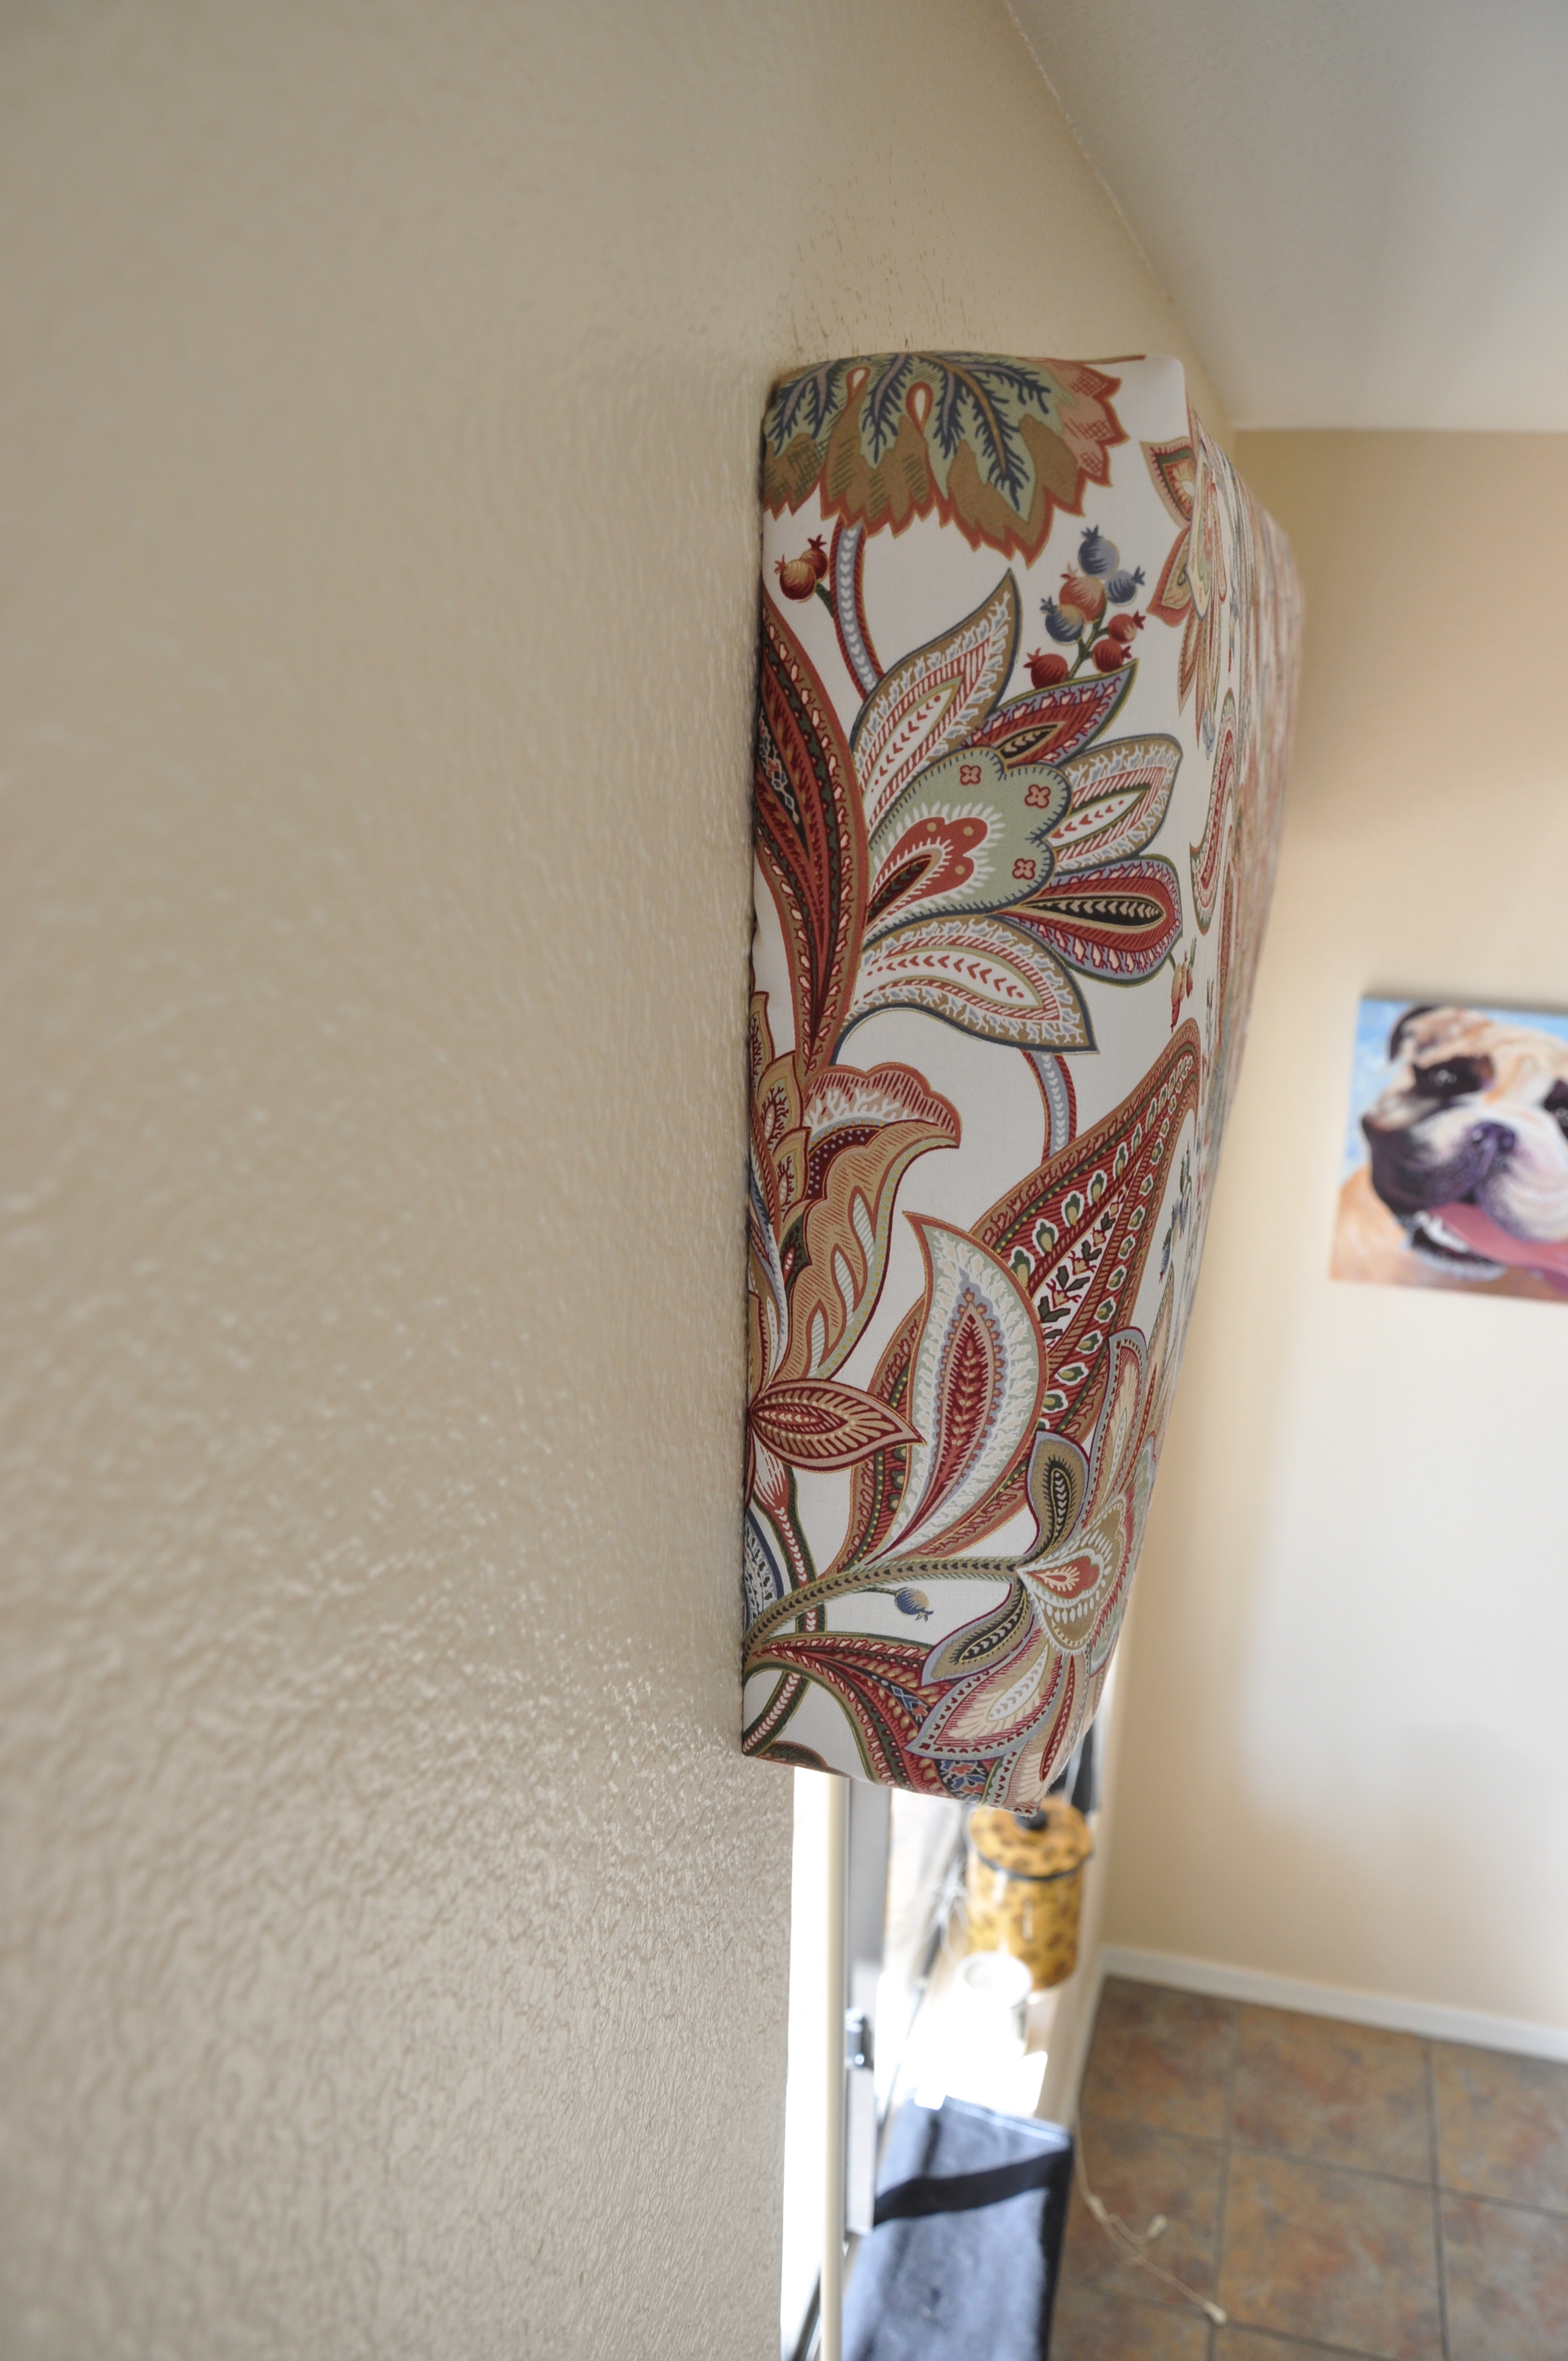
we wanted our sides to not show a fold...
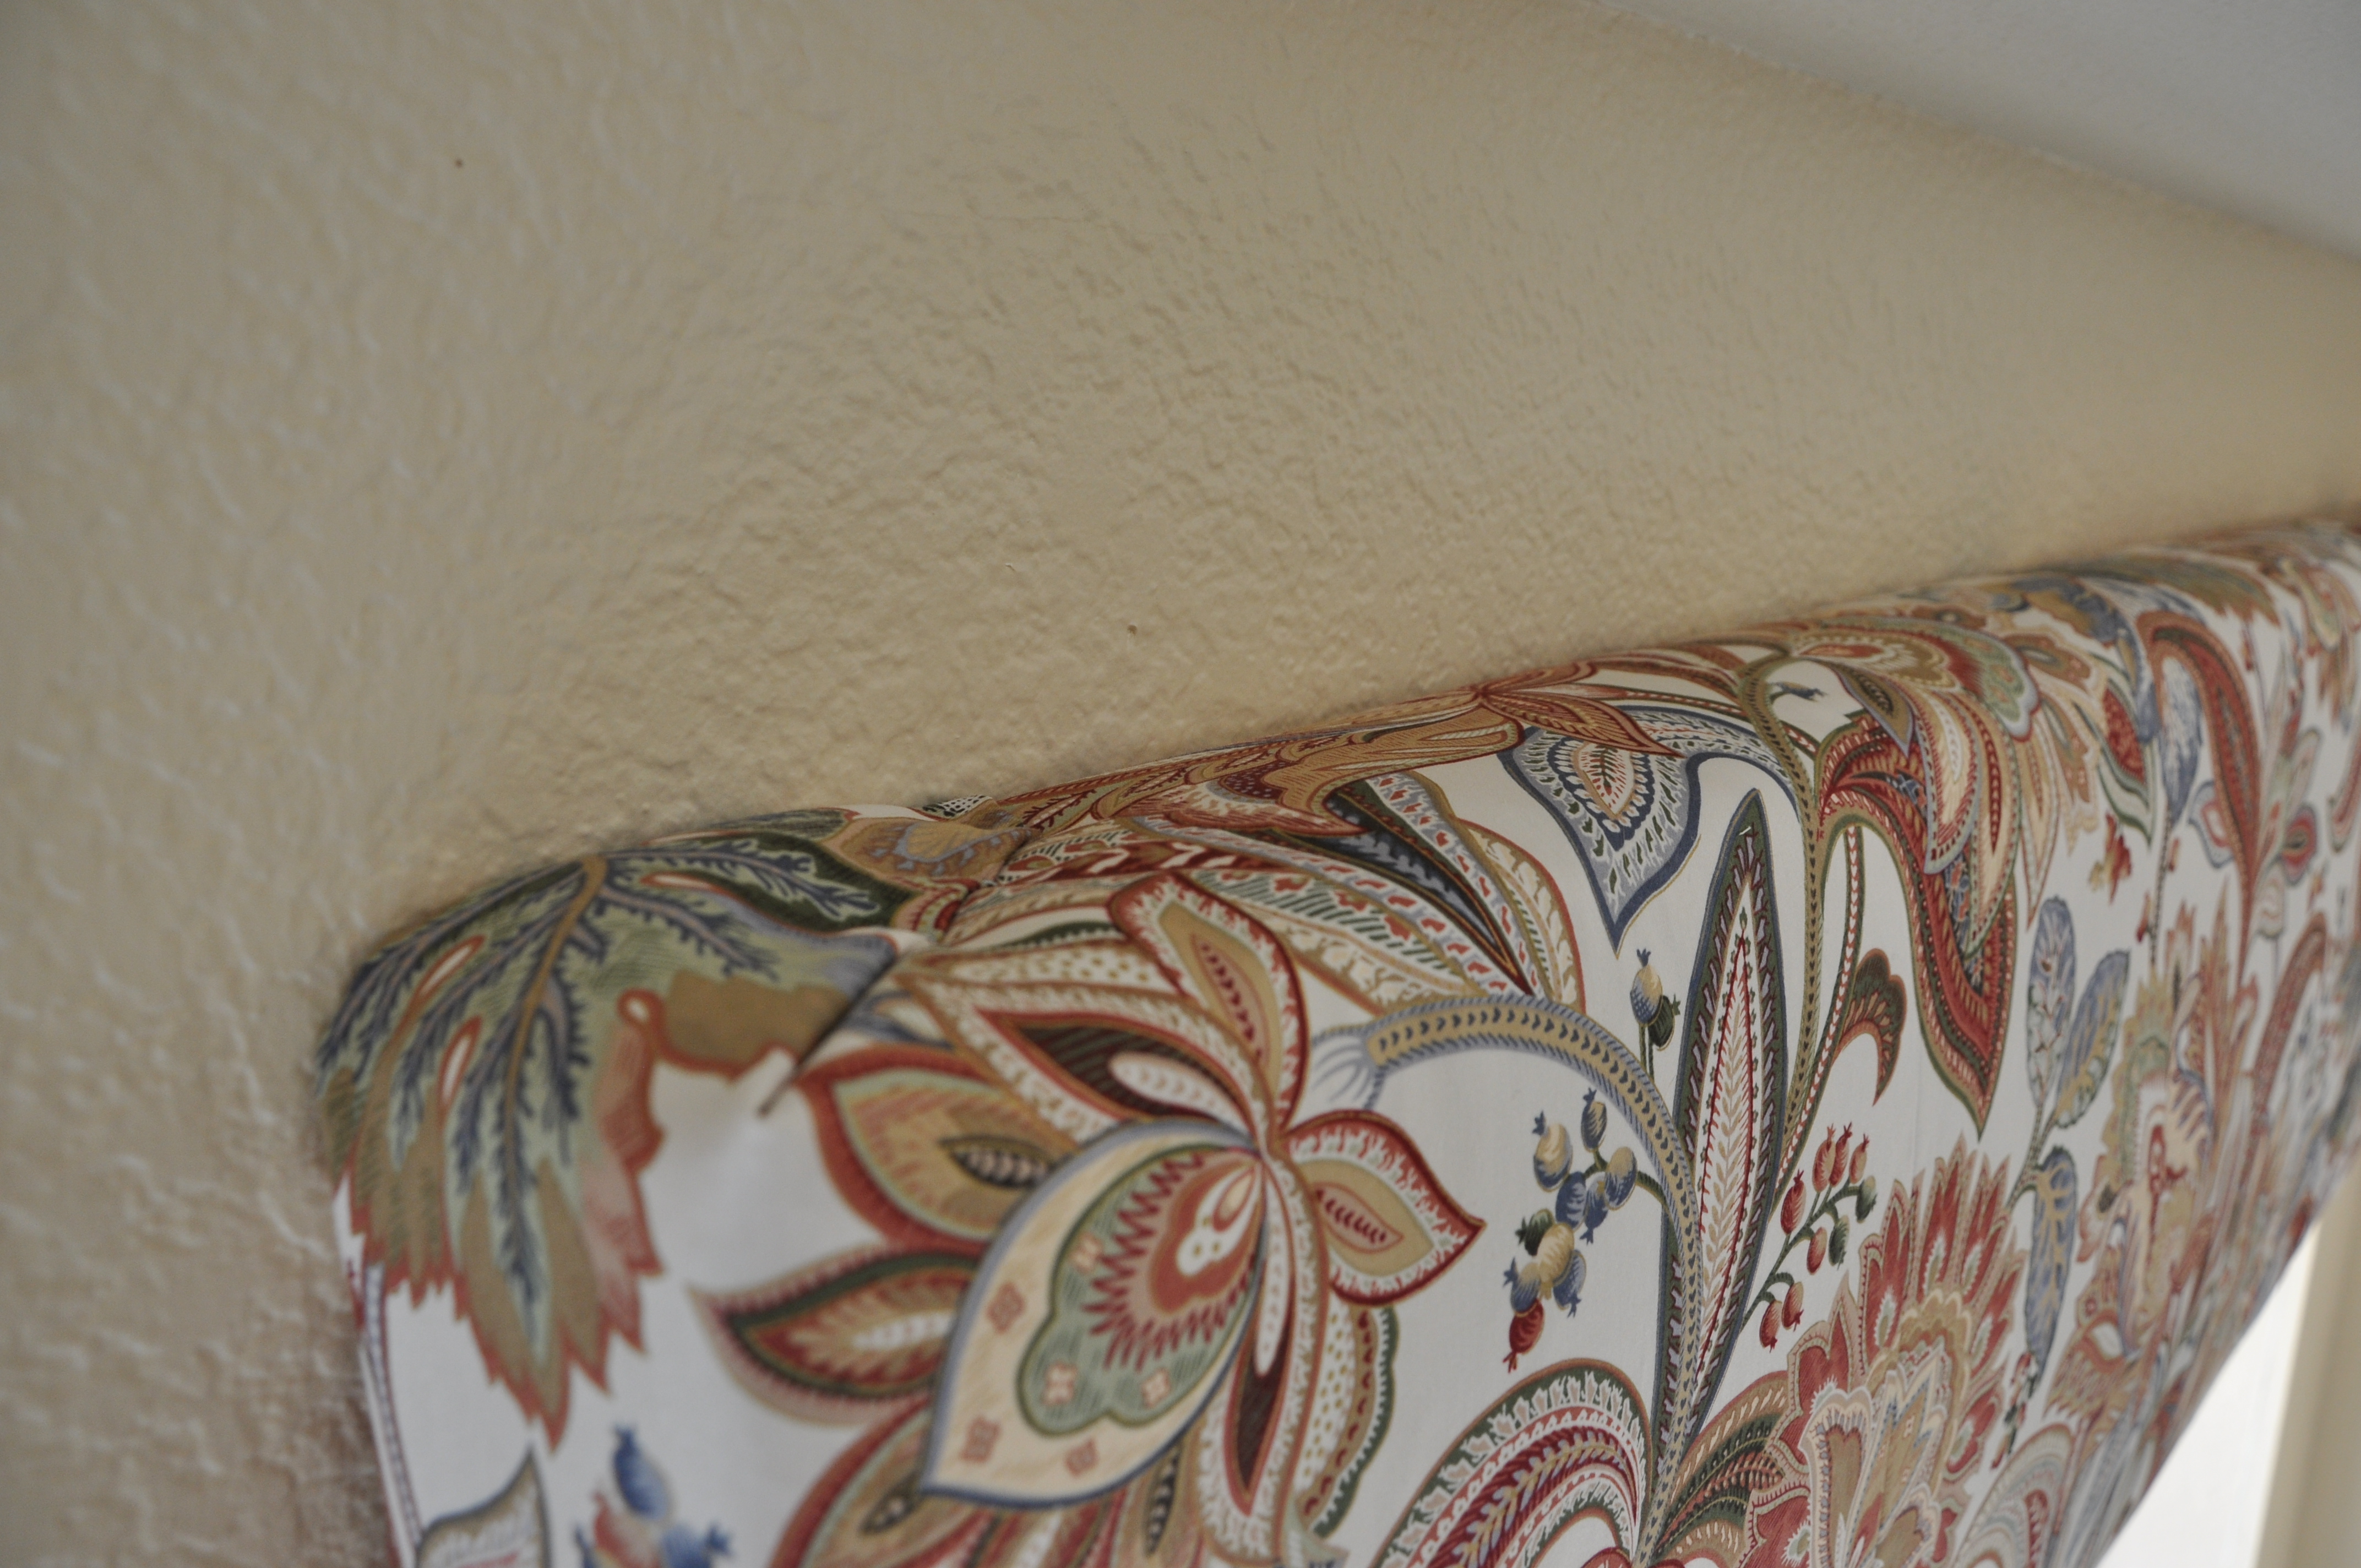
so we put the fold on top and stapled accordingly
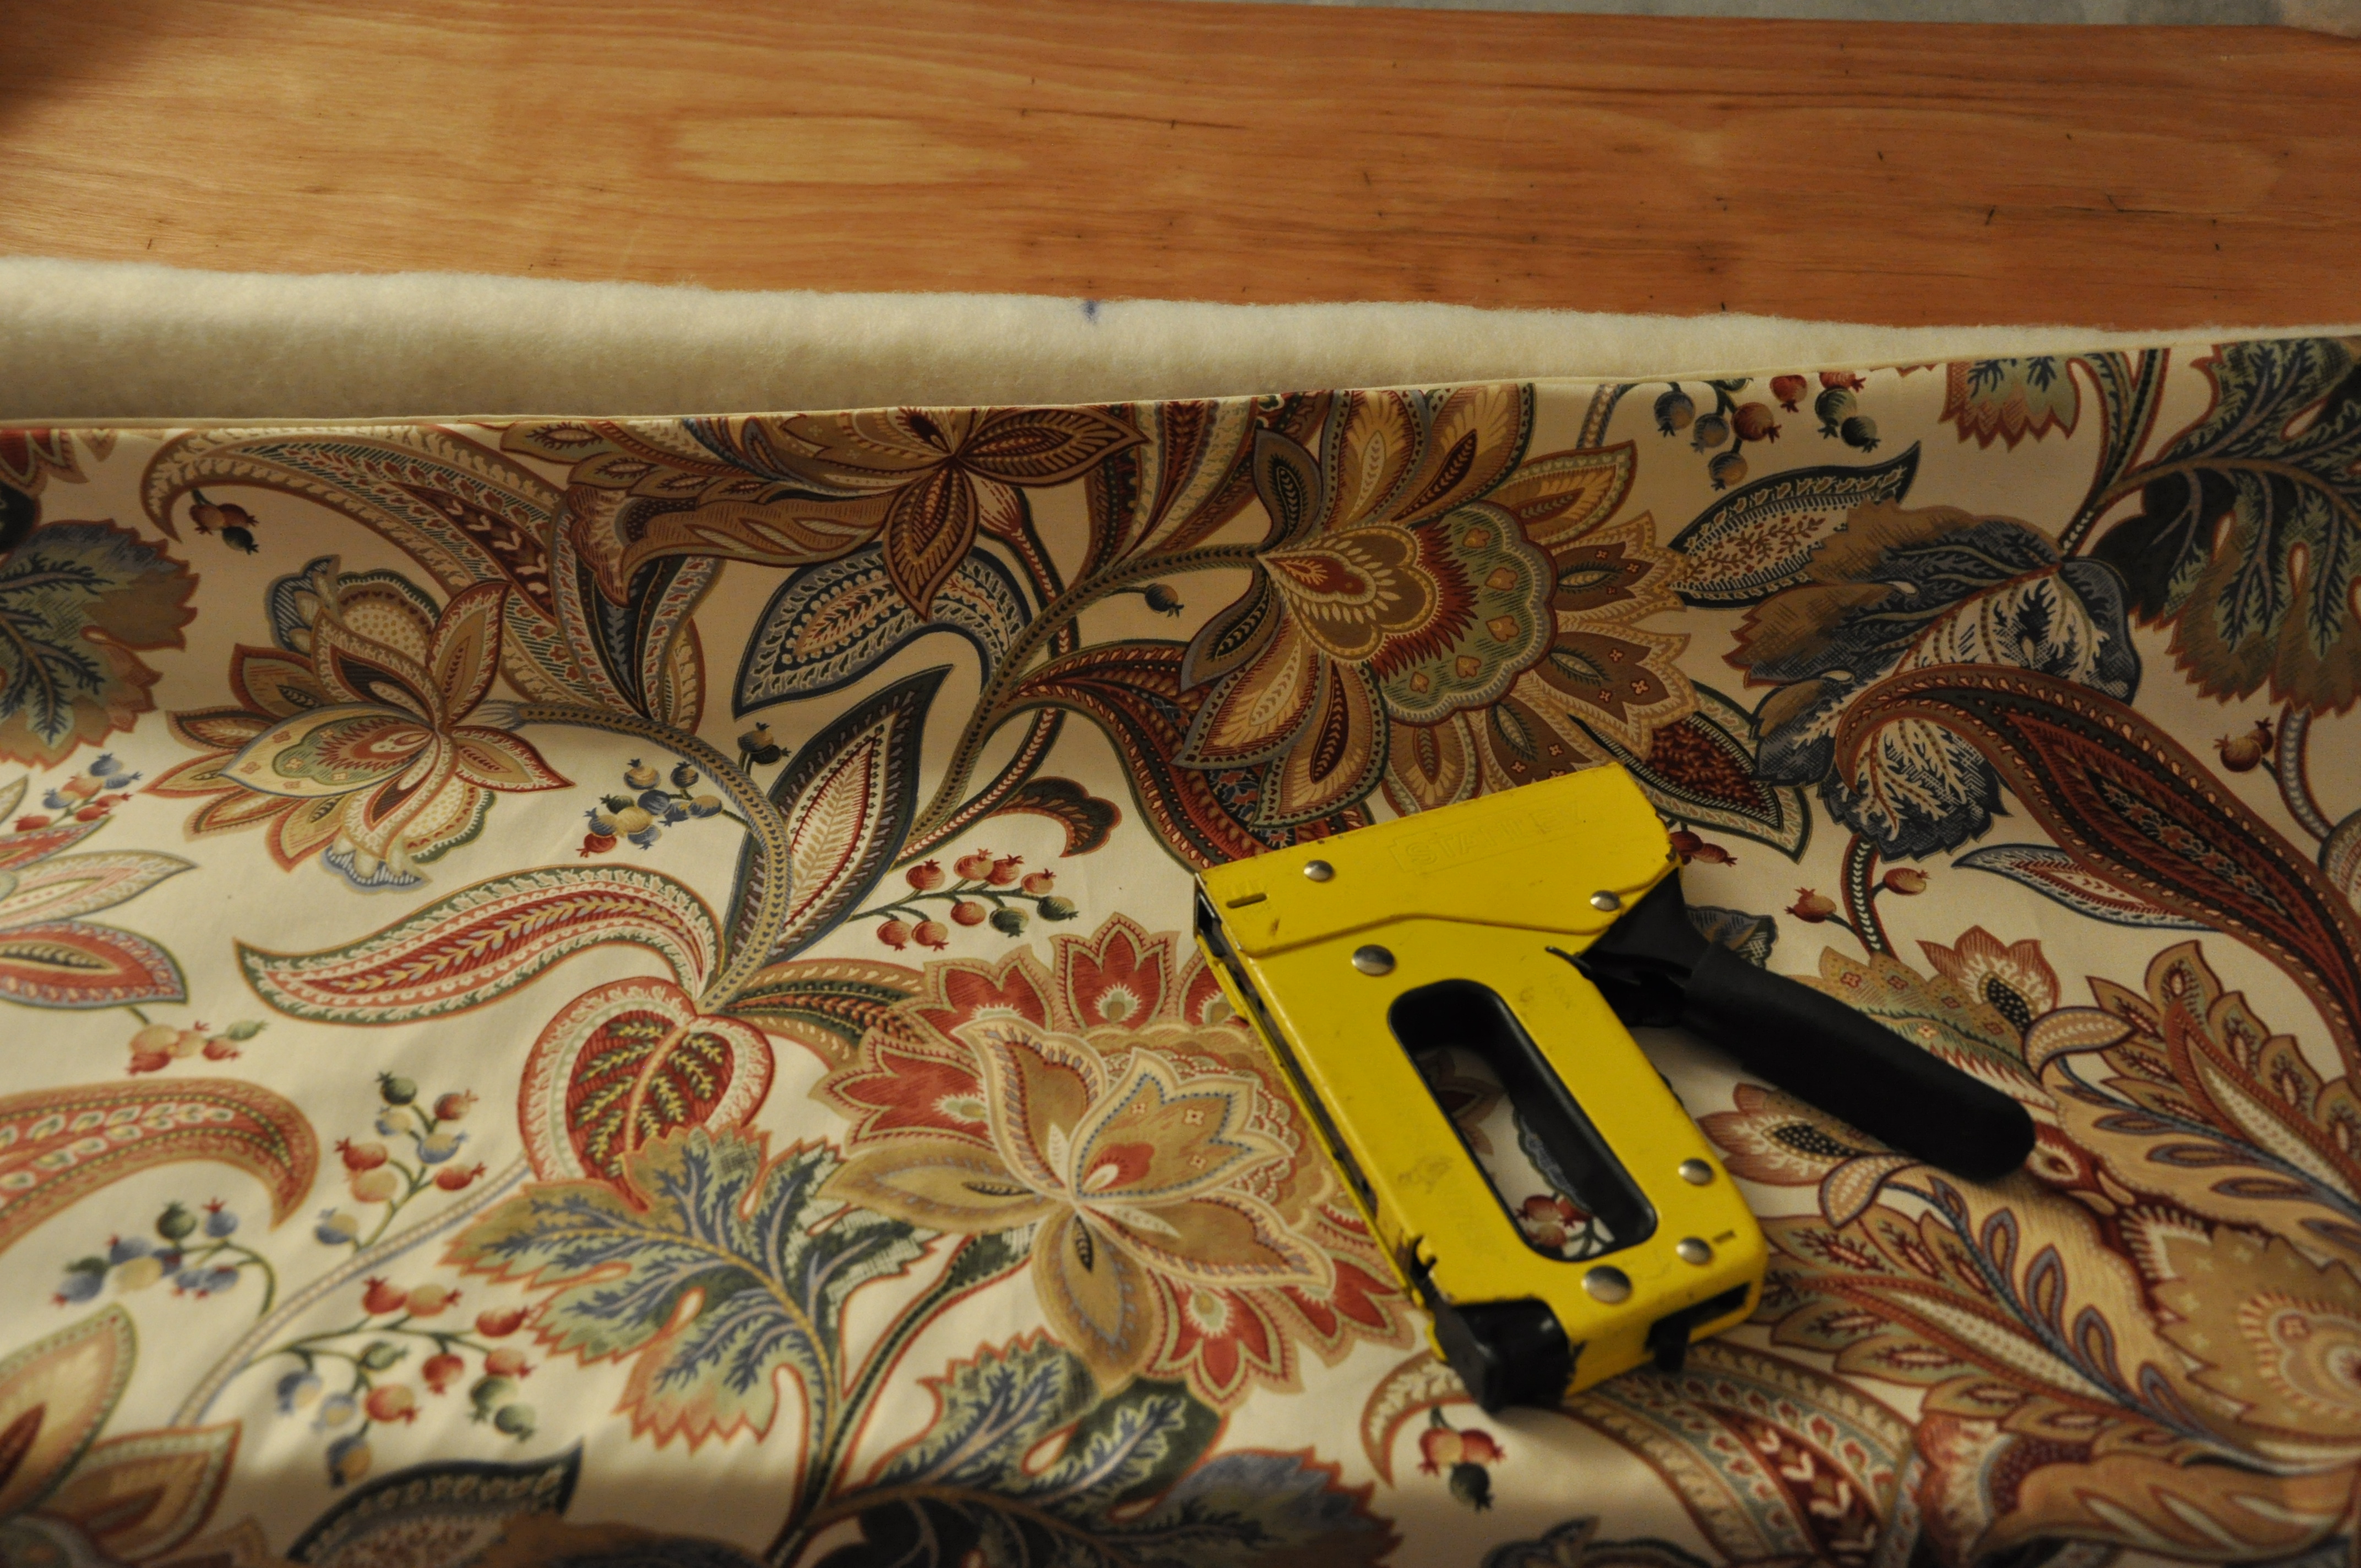
use the long staples when stapling through the batting and strapping boards
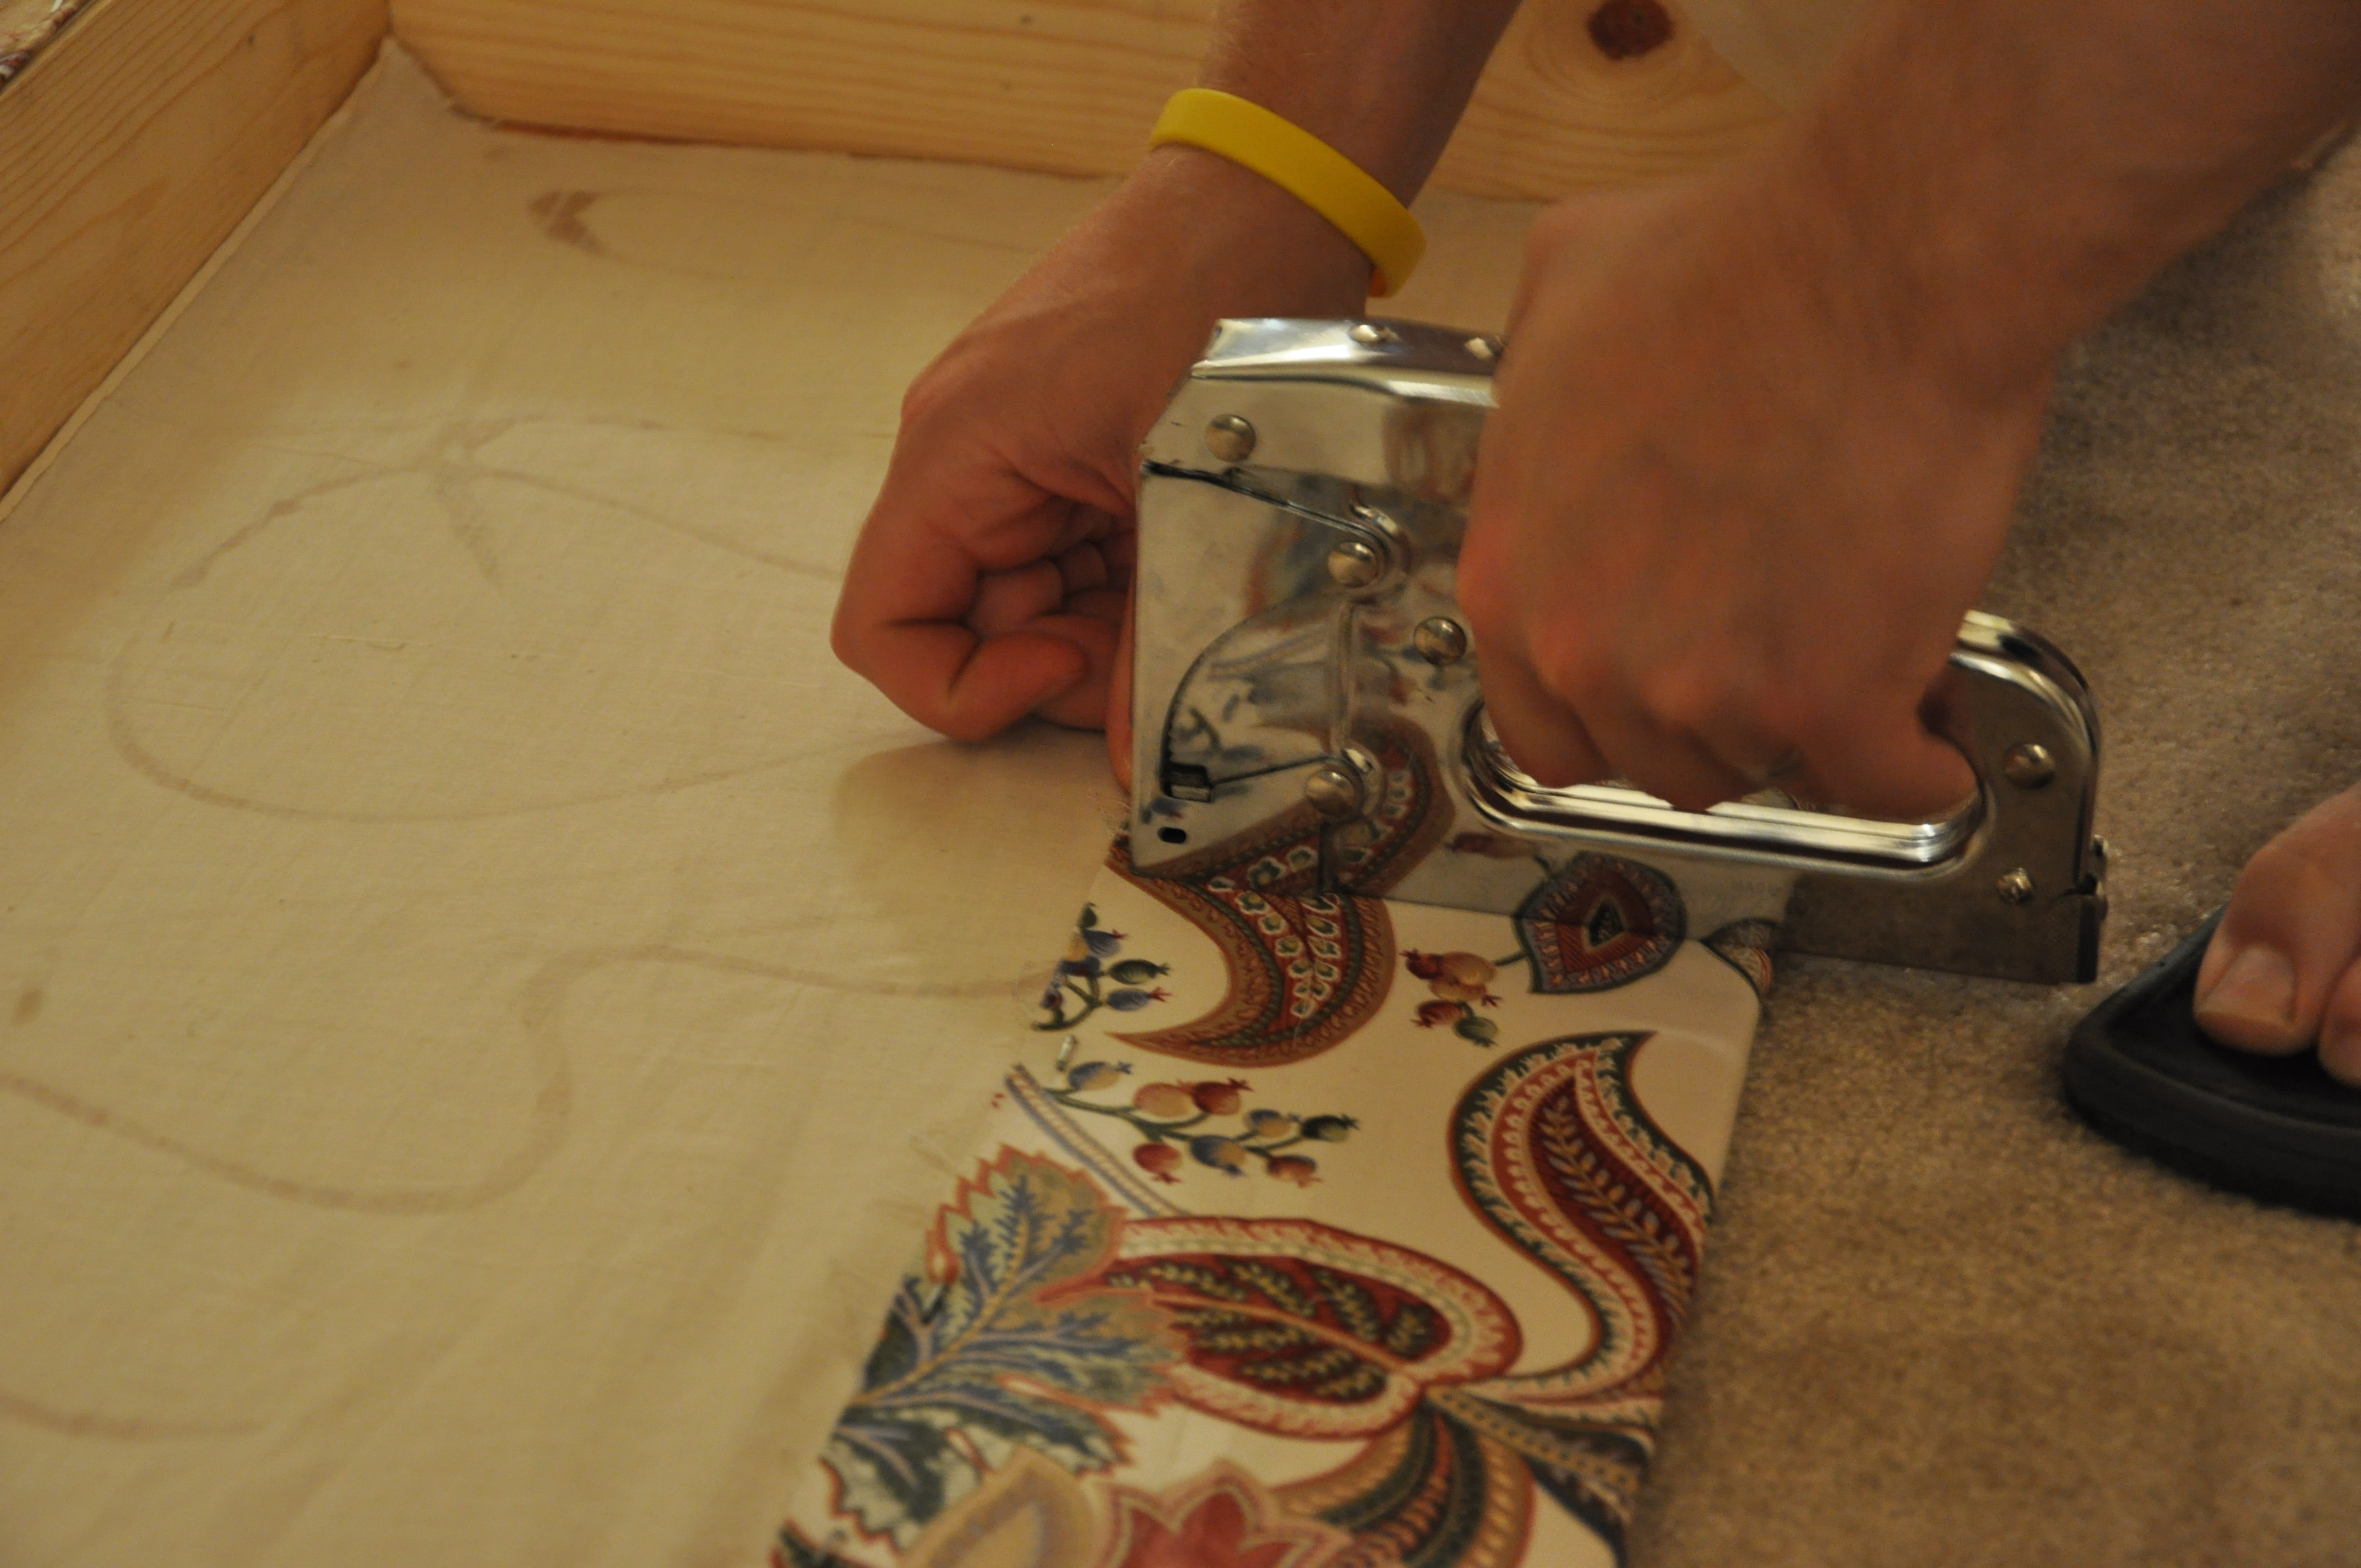
use the short staples when stapling the back of the front panel
STEP 8:
This is it! Time to hang your BV’s! We used L-brackets, measured, and leveled to make sure they were just right
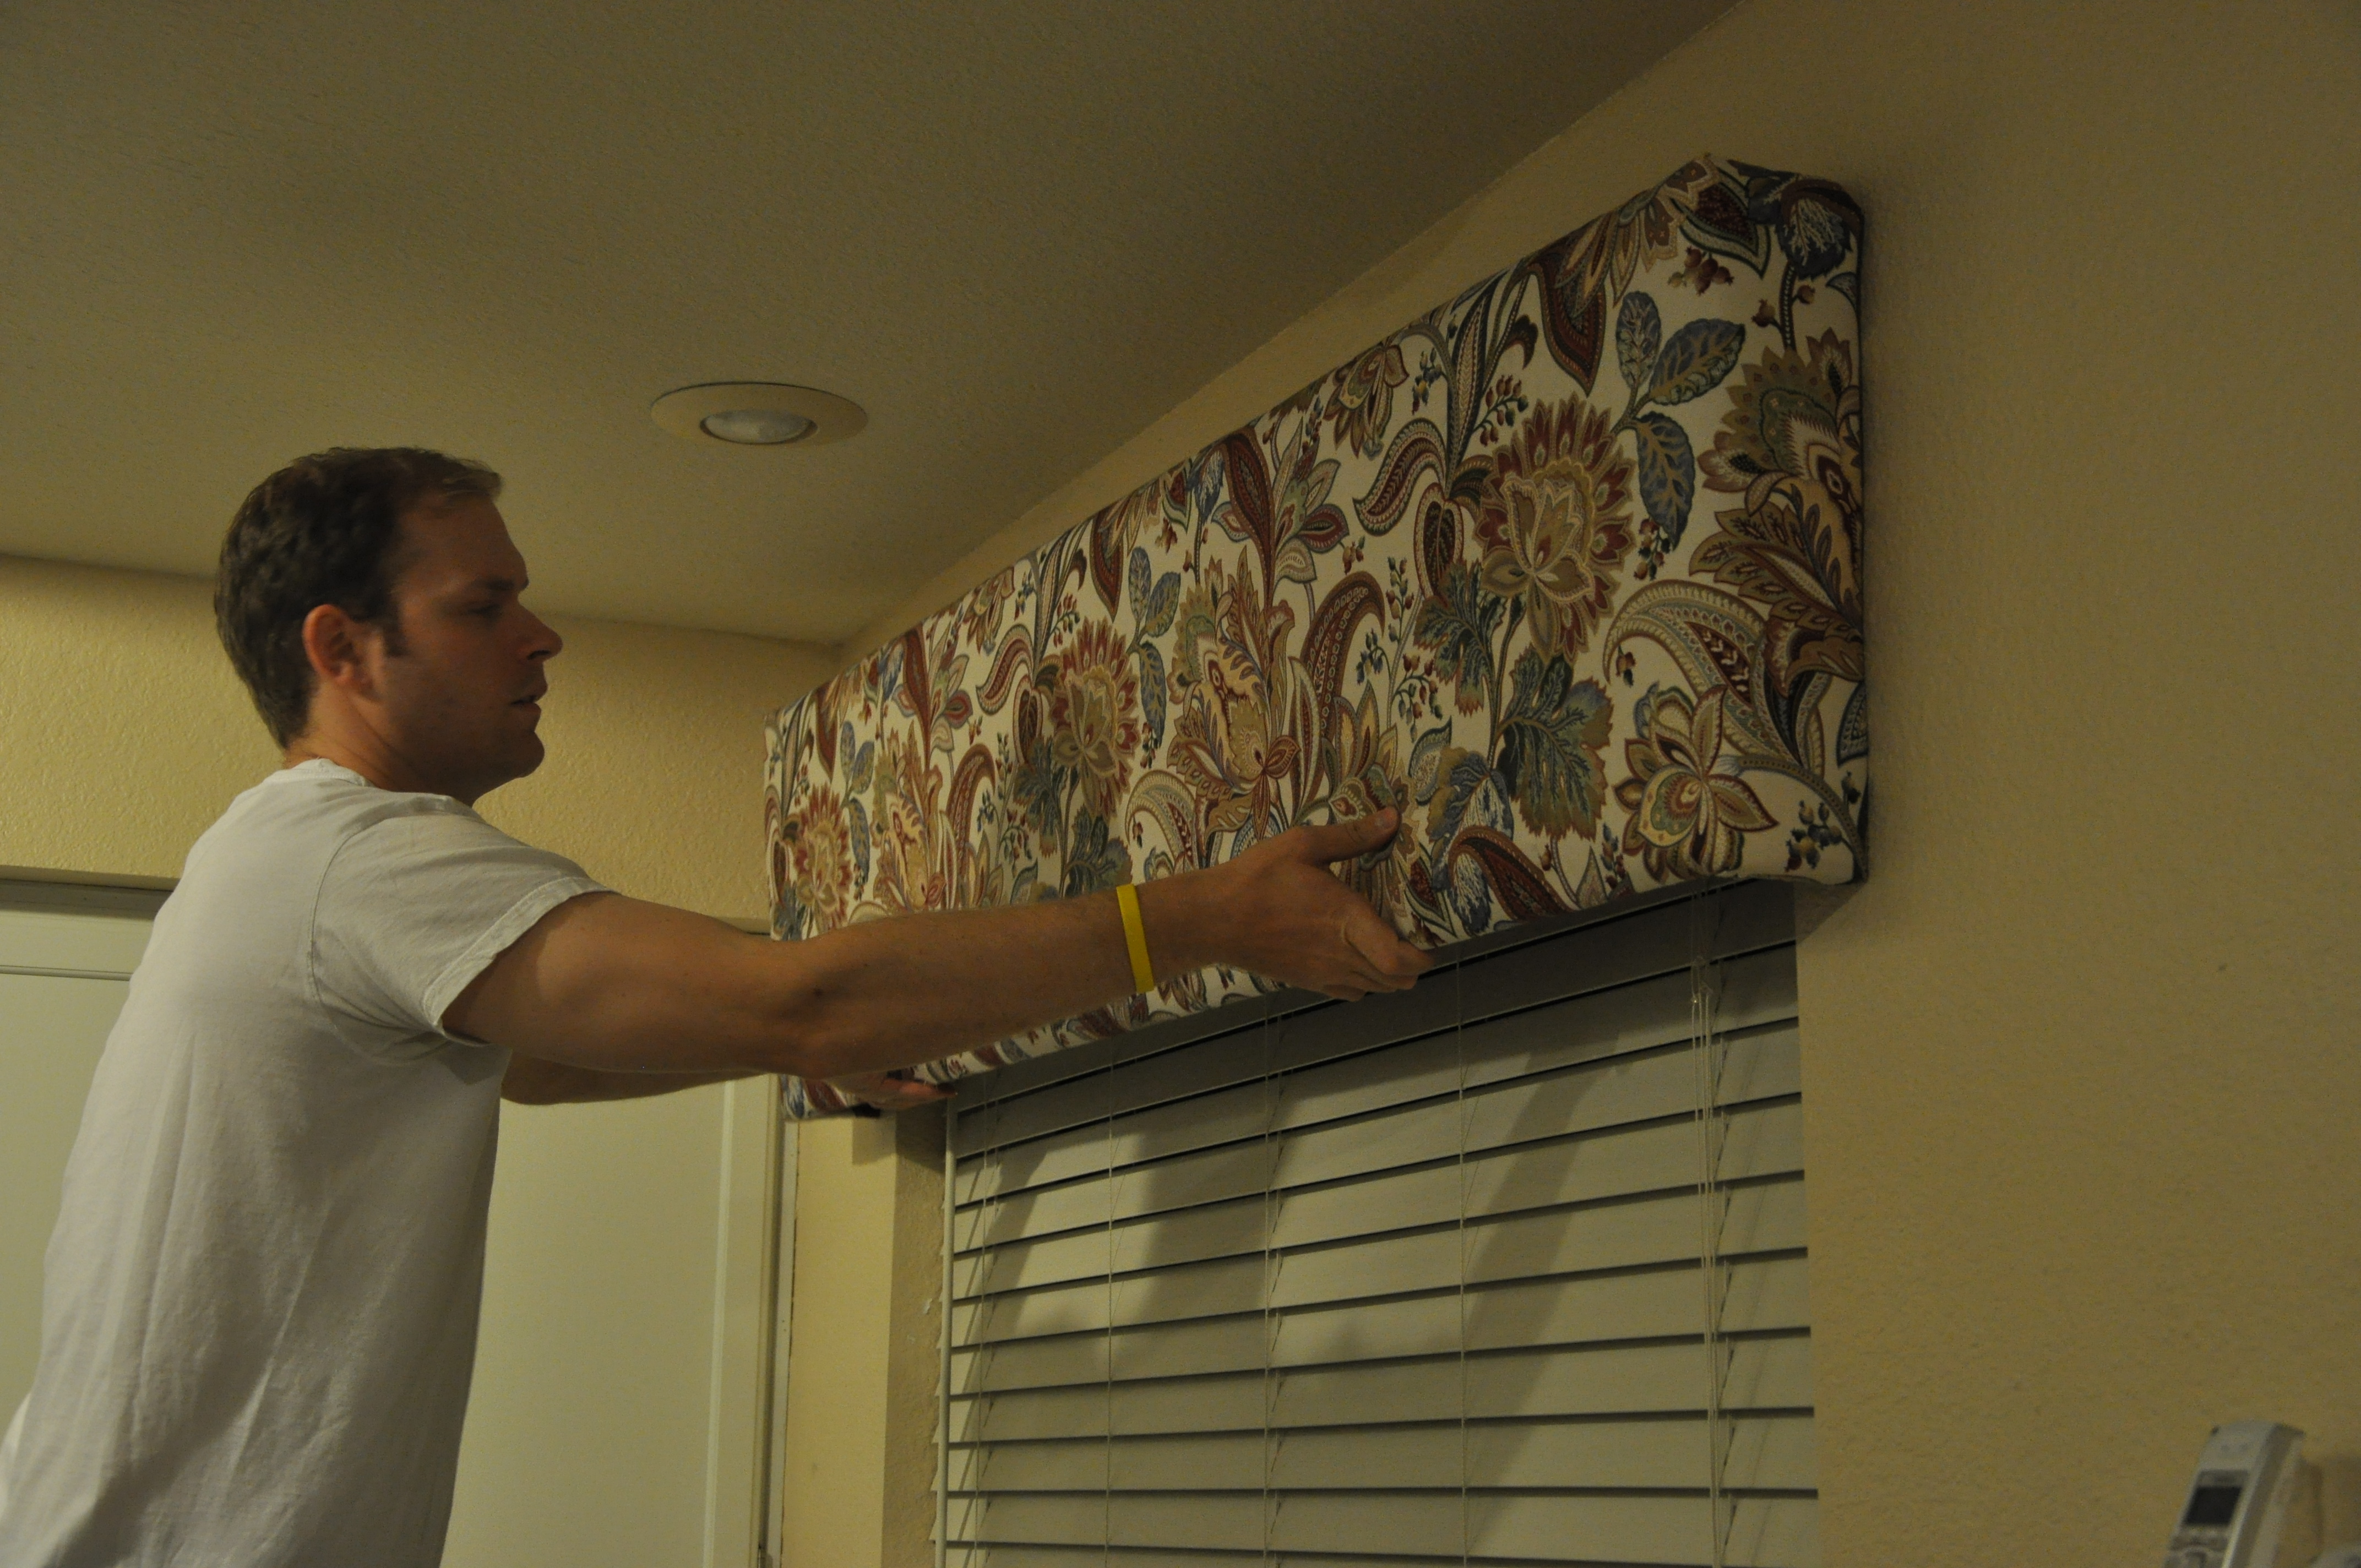
put them in place
You’re done!
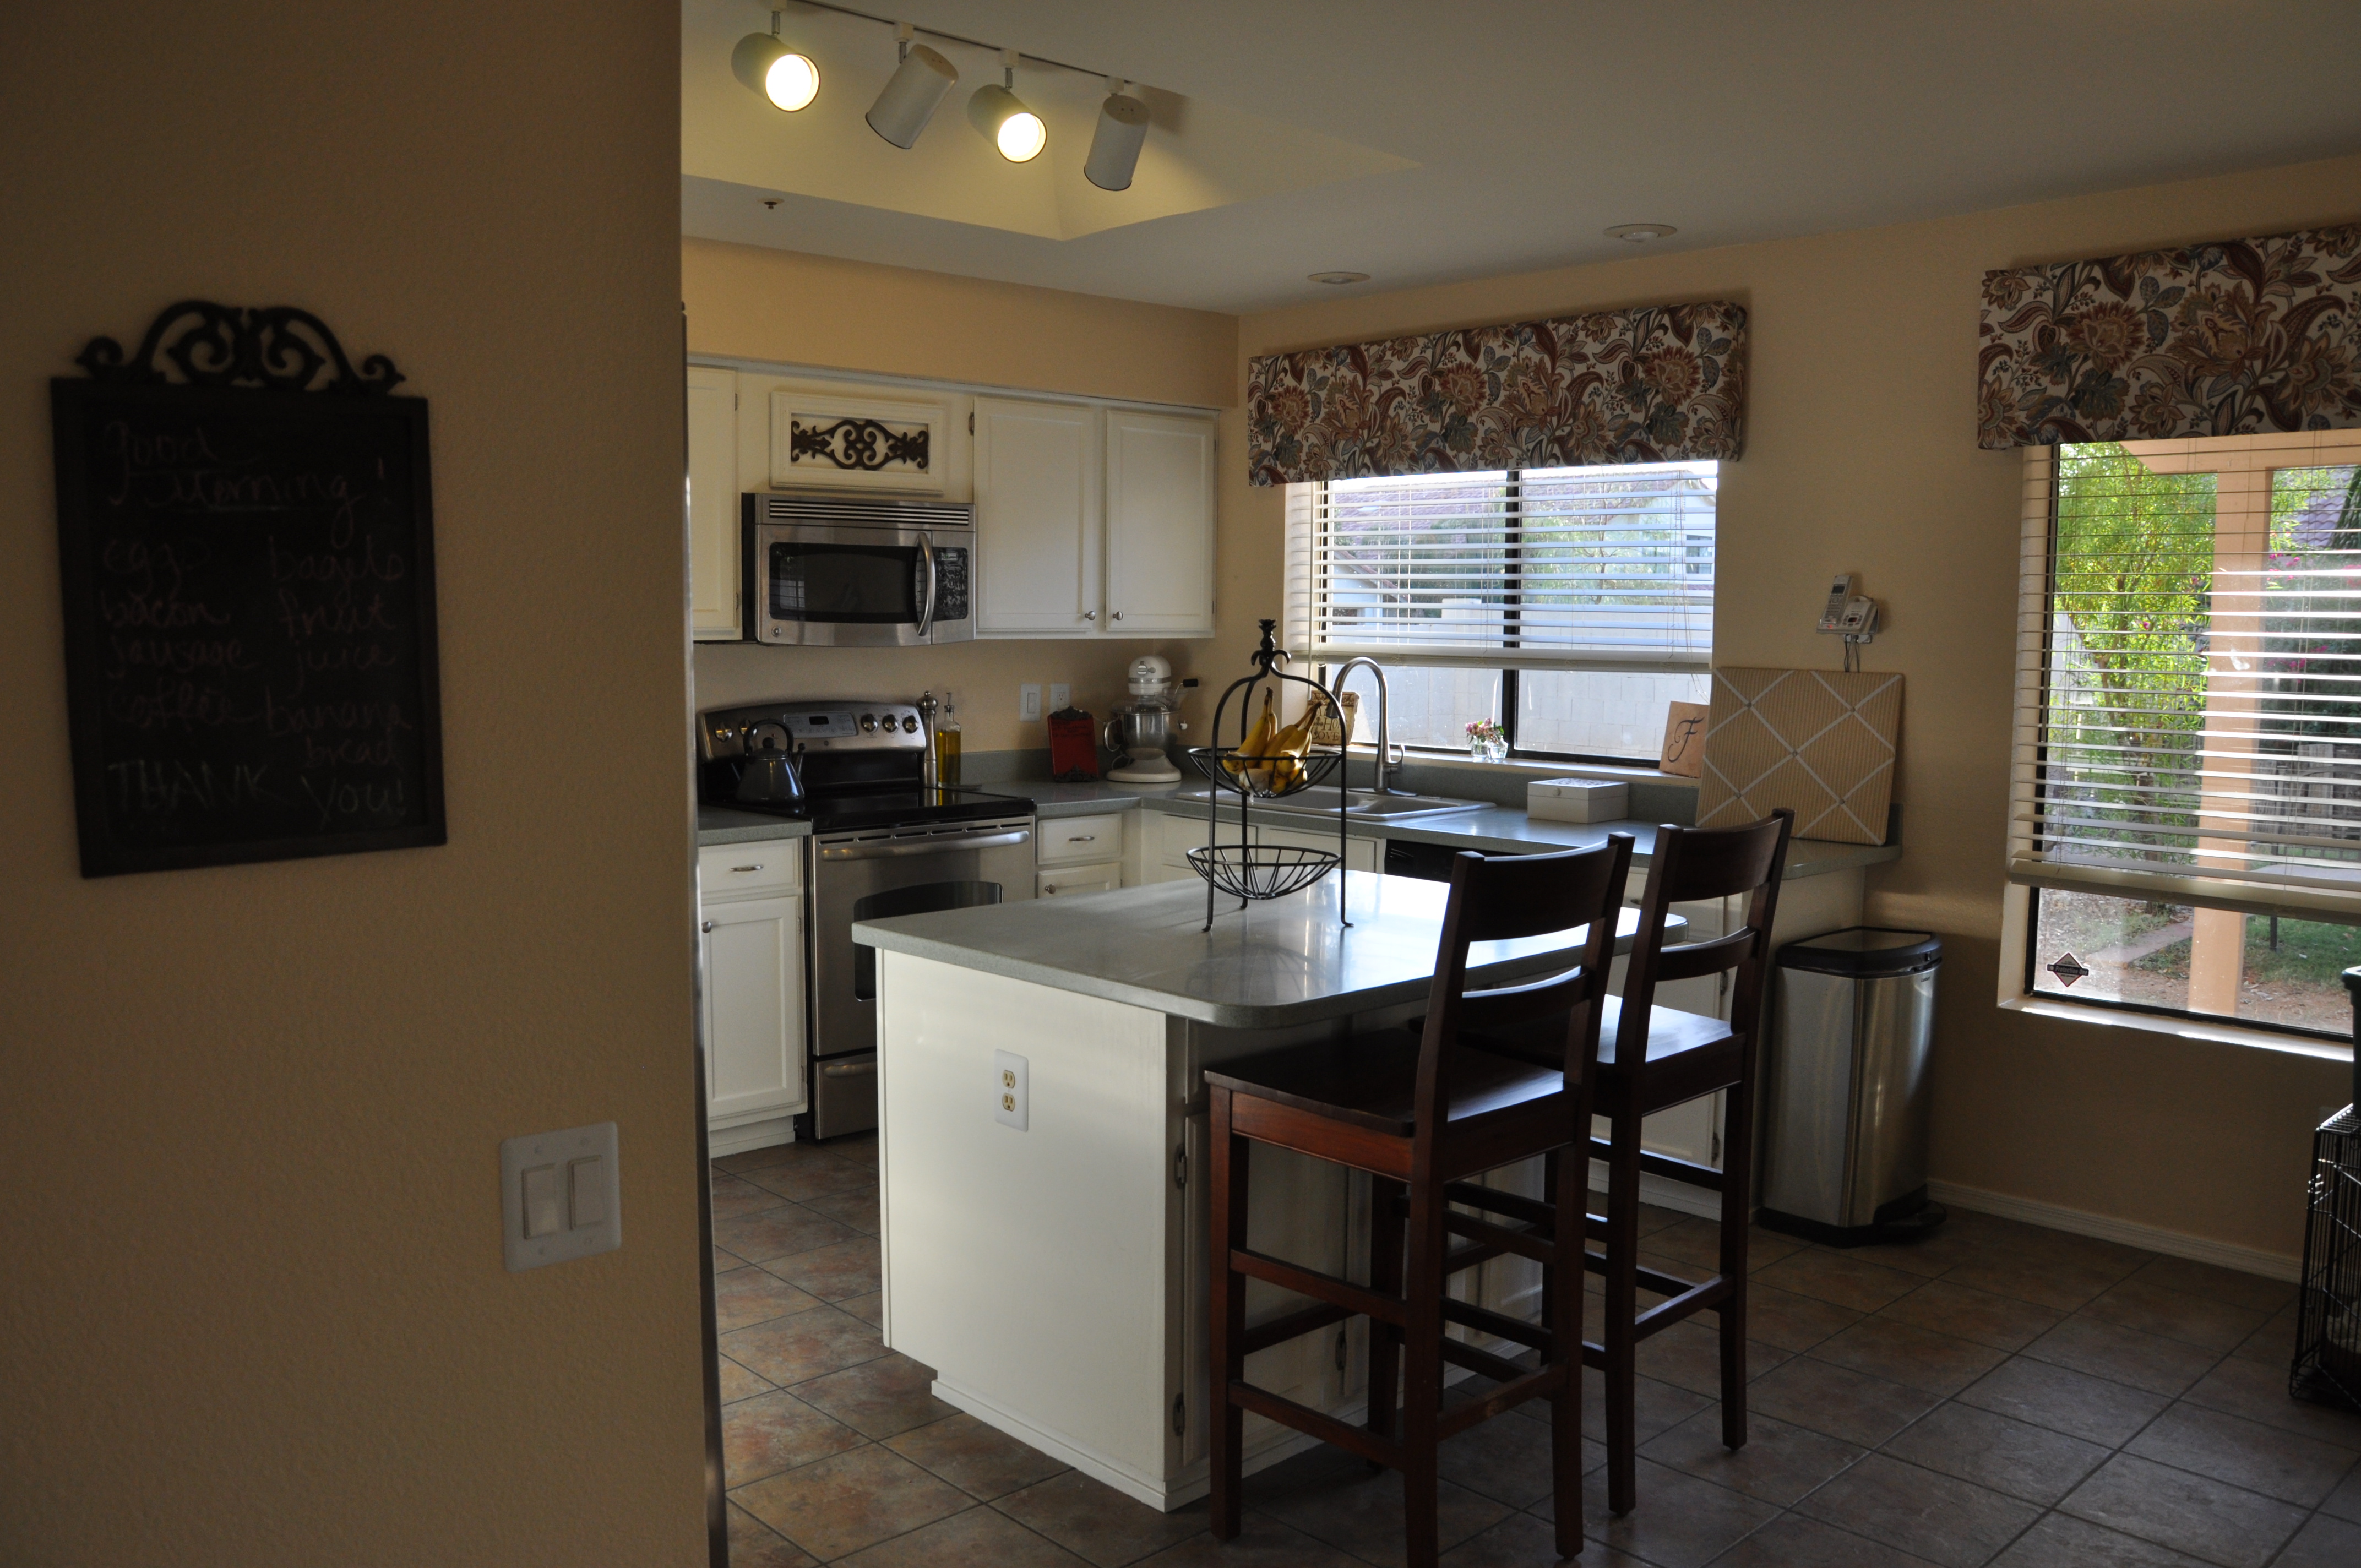
one final look at our first completely independent DIY complete project. wicked!*
*Disclaimer on the use of the word, “wicked” – that’s for our wicked cool Maine friends/family. (Hollah!) Please don’t assume that The wicked awesome Dreamers use that word in wicked normal conversation. See, we don’t even know how to wicked properly use that word without wickedly abusing the English language wicked more.


7 Responses to Let the Dream Shine In