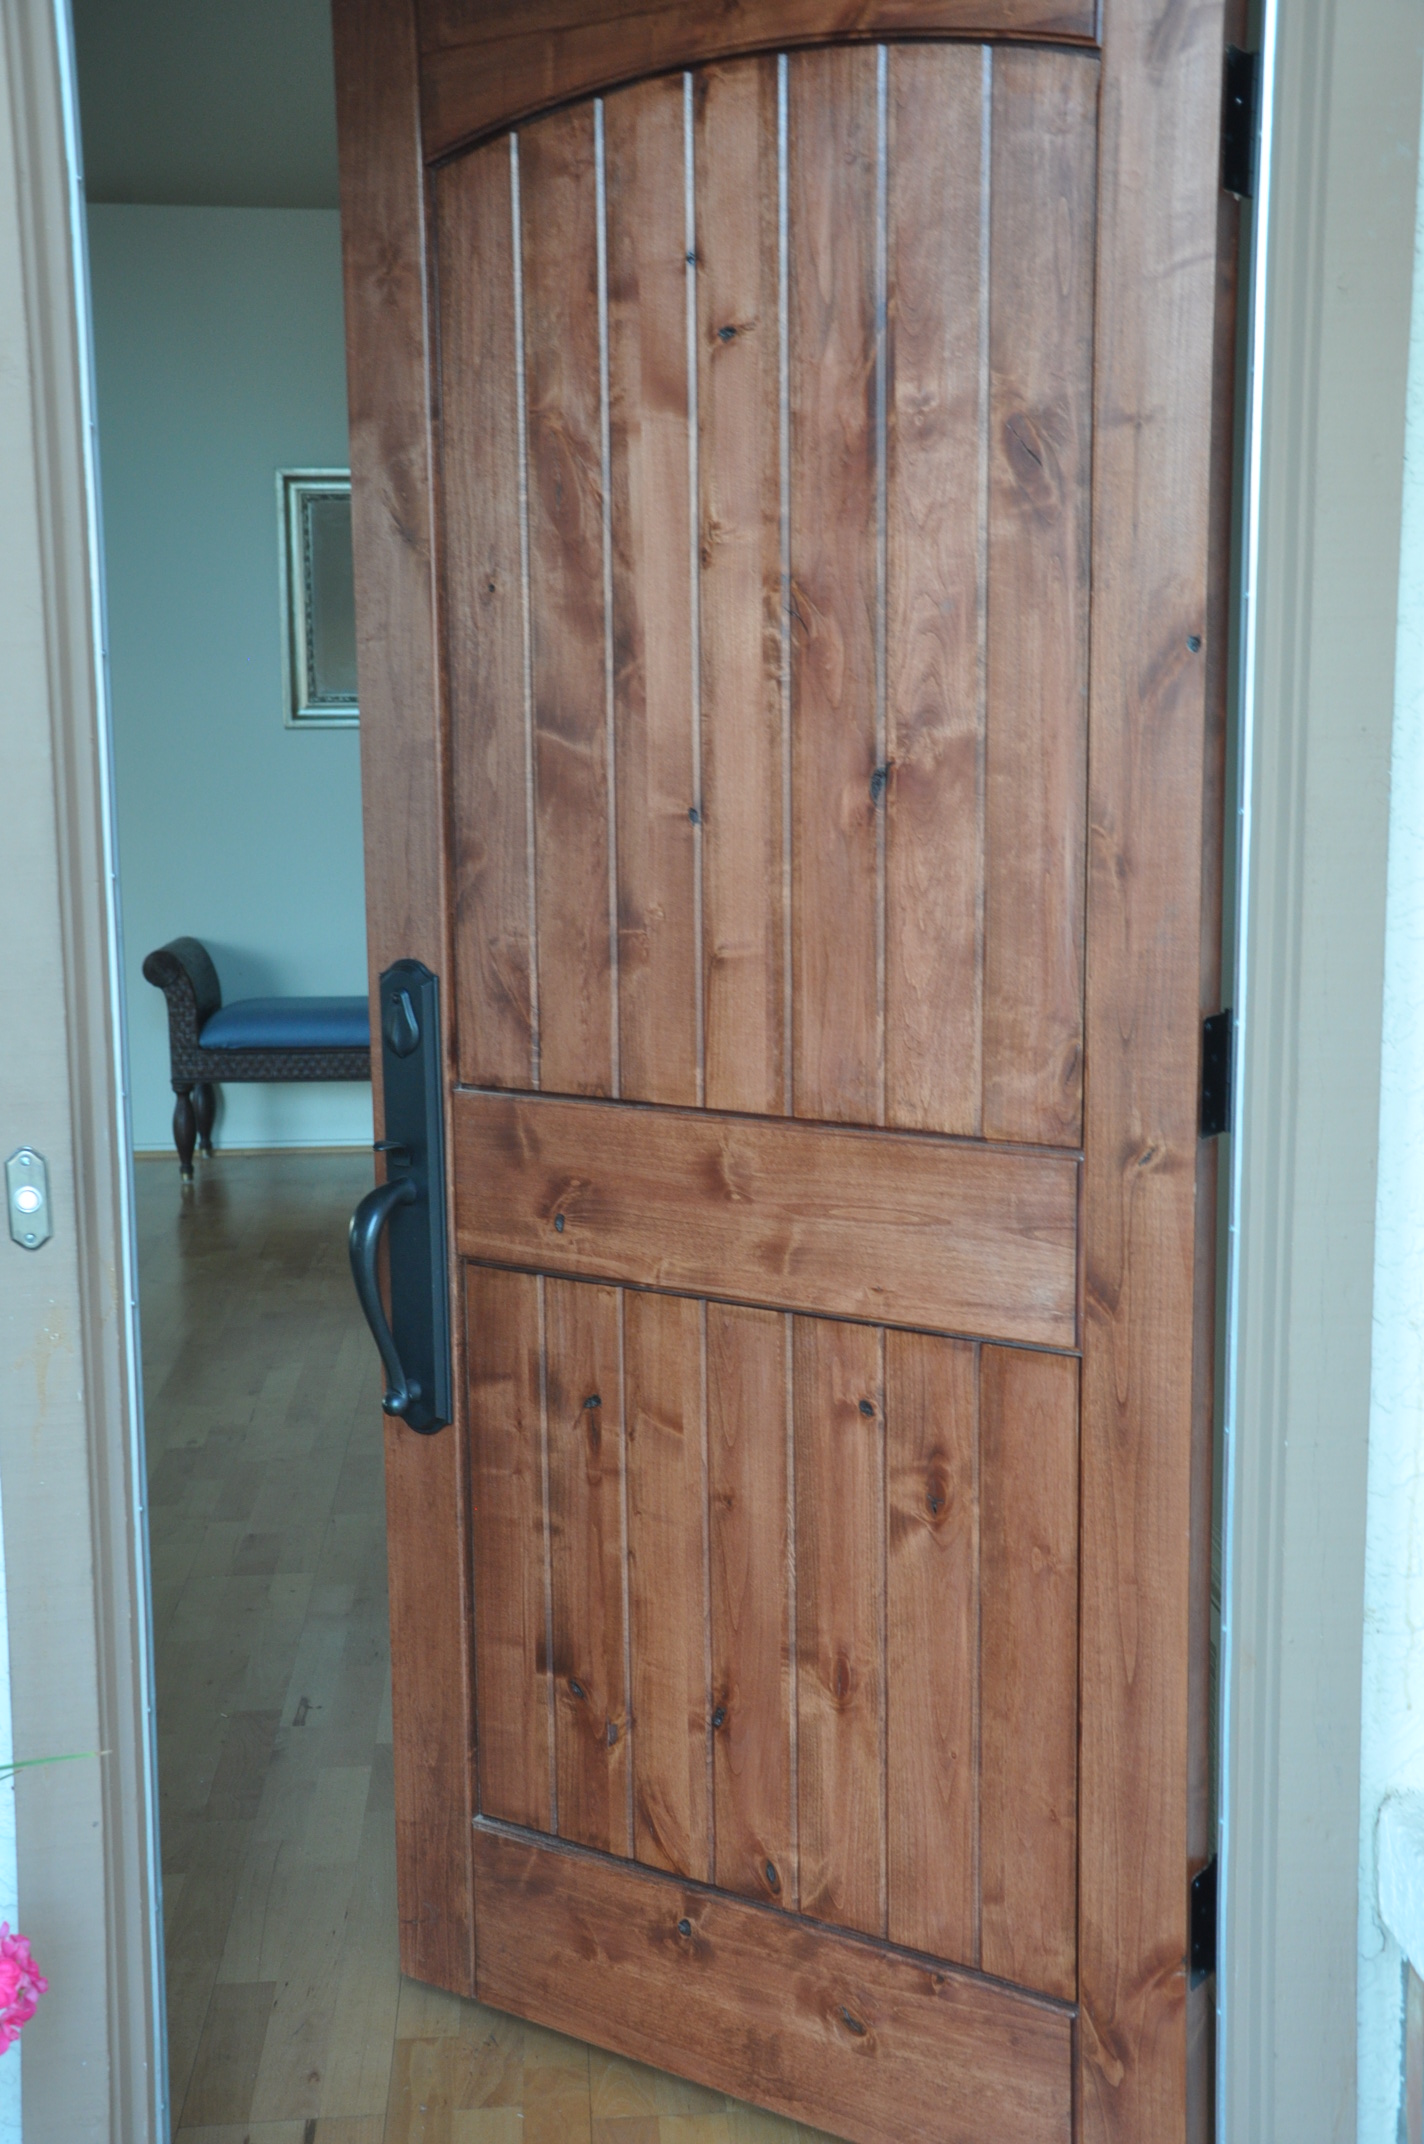
We are SO PROUD to present…. (drum roll, please)… our NEW FRONT DOOR!
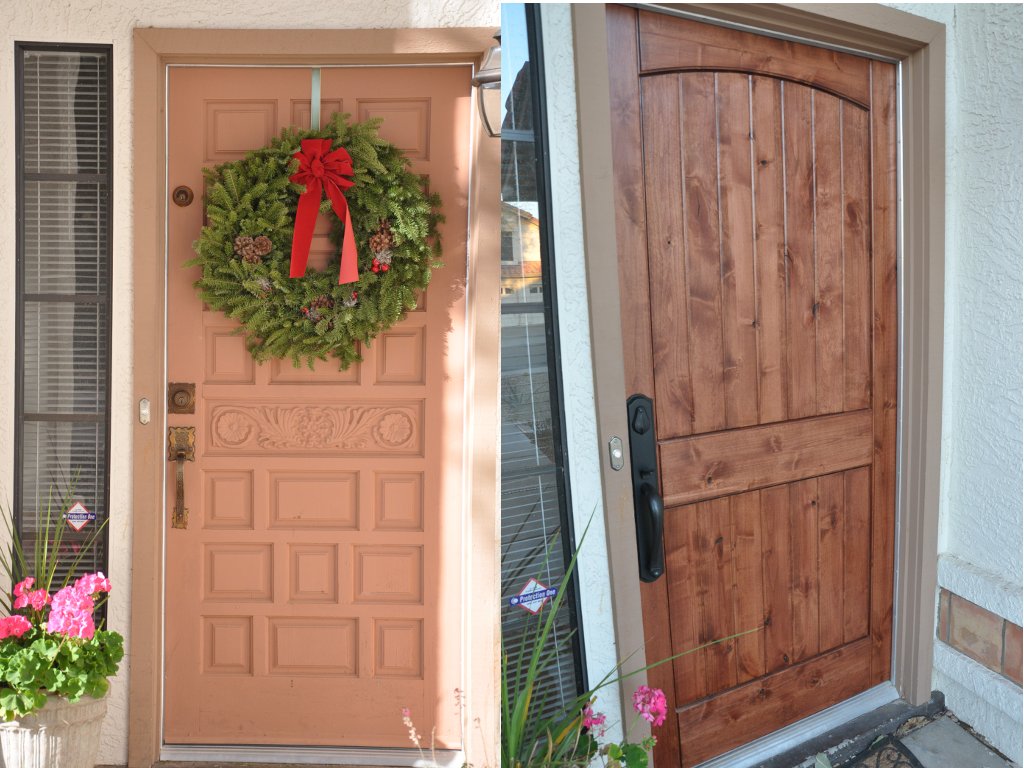
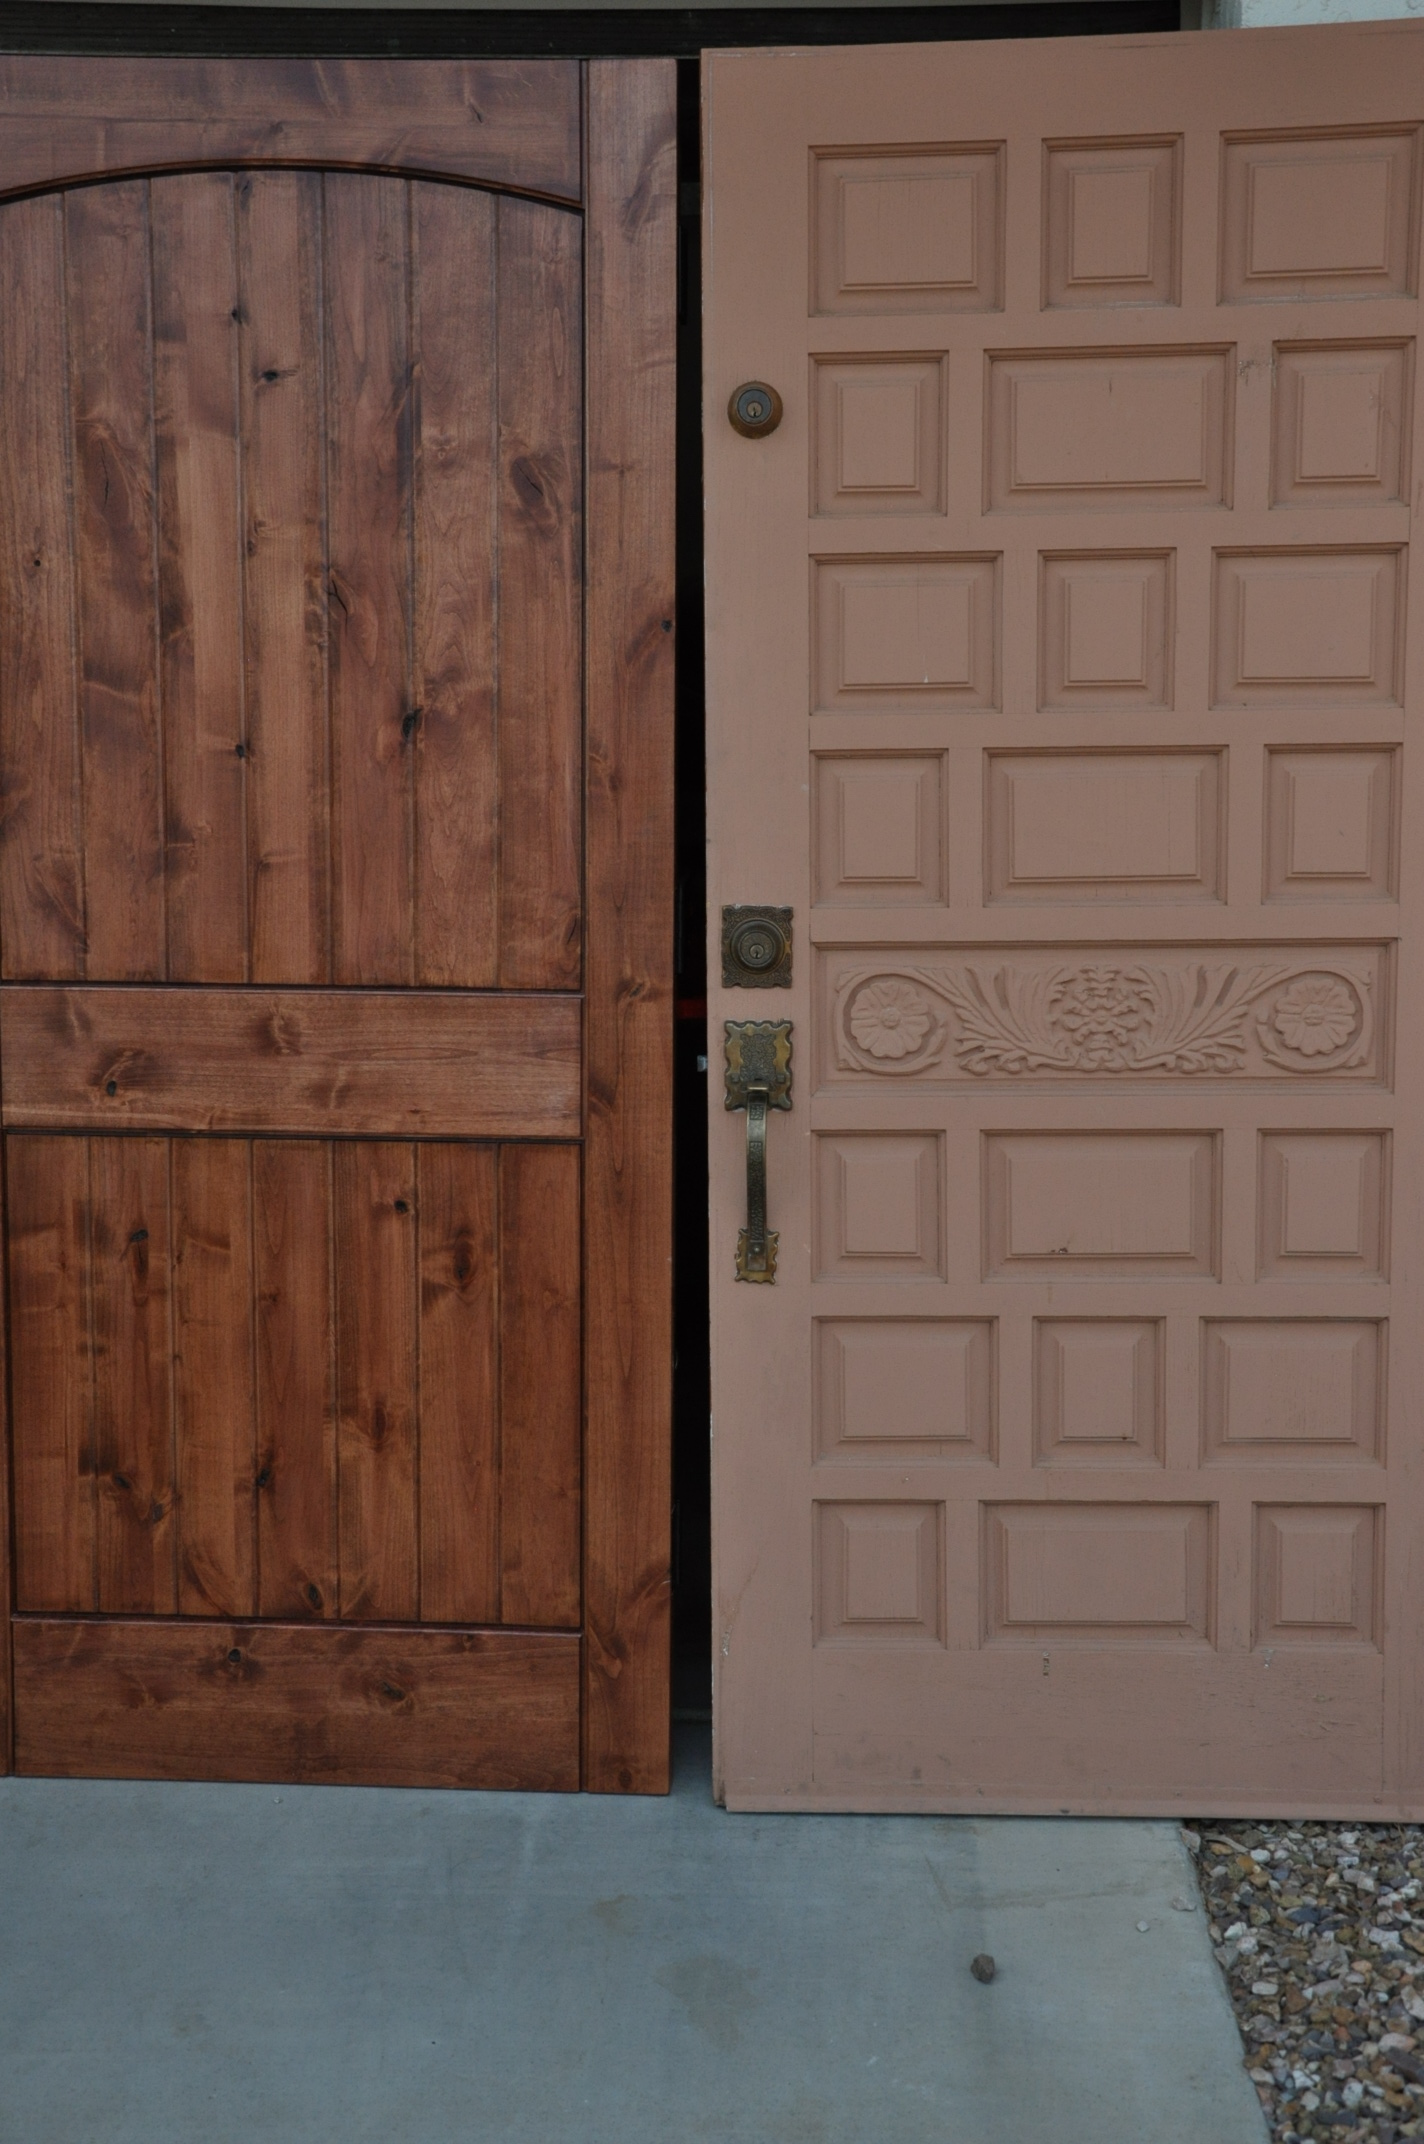
This was a 100% DIY project from start to finish and we could not be more pleased with the result. Especially when you compare it to what we had before:
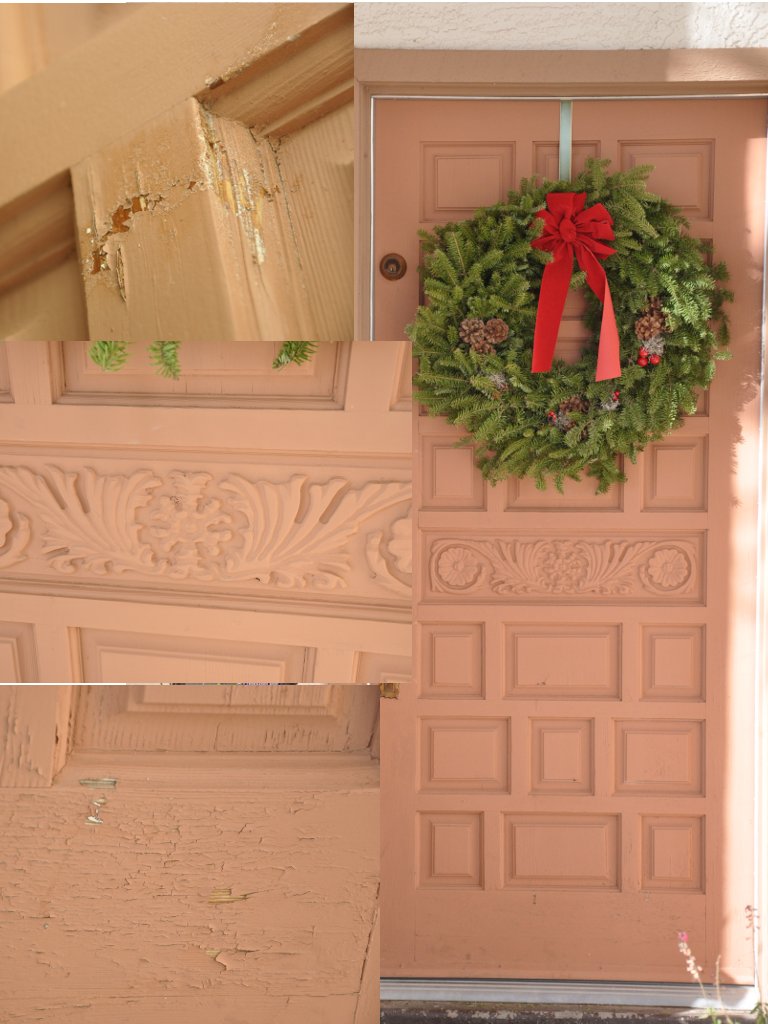
For 18 months, we begrudgingly sported the ‘hood’s ugliest front door.
The Dream’s previous owners painted the stained wood door an awful pink color with cheap paint that was peeling, cracking and overall just plain awful looking.
We didn’t tackle this project right away because we were, admittedly, a bit intimidated and thought it would cost too much moola. We were right on the intimidating part, but not so much on the moola. We estimate a pro would charge about $2,000 for this, while we did it for about $350. YIPP-IDDY-DOO! More on that at the bottom of this post. But, now for the intimidation portion…
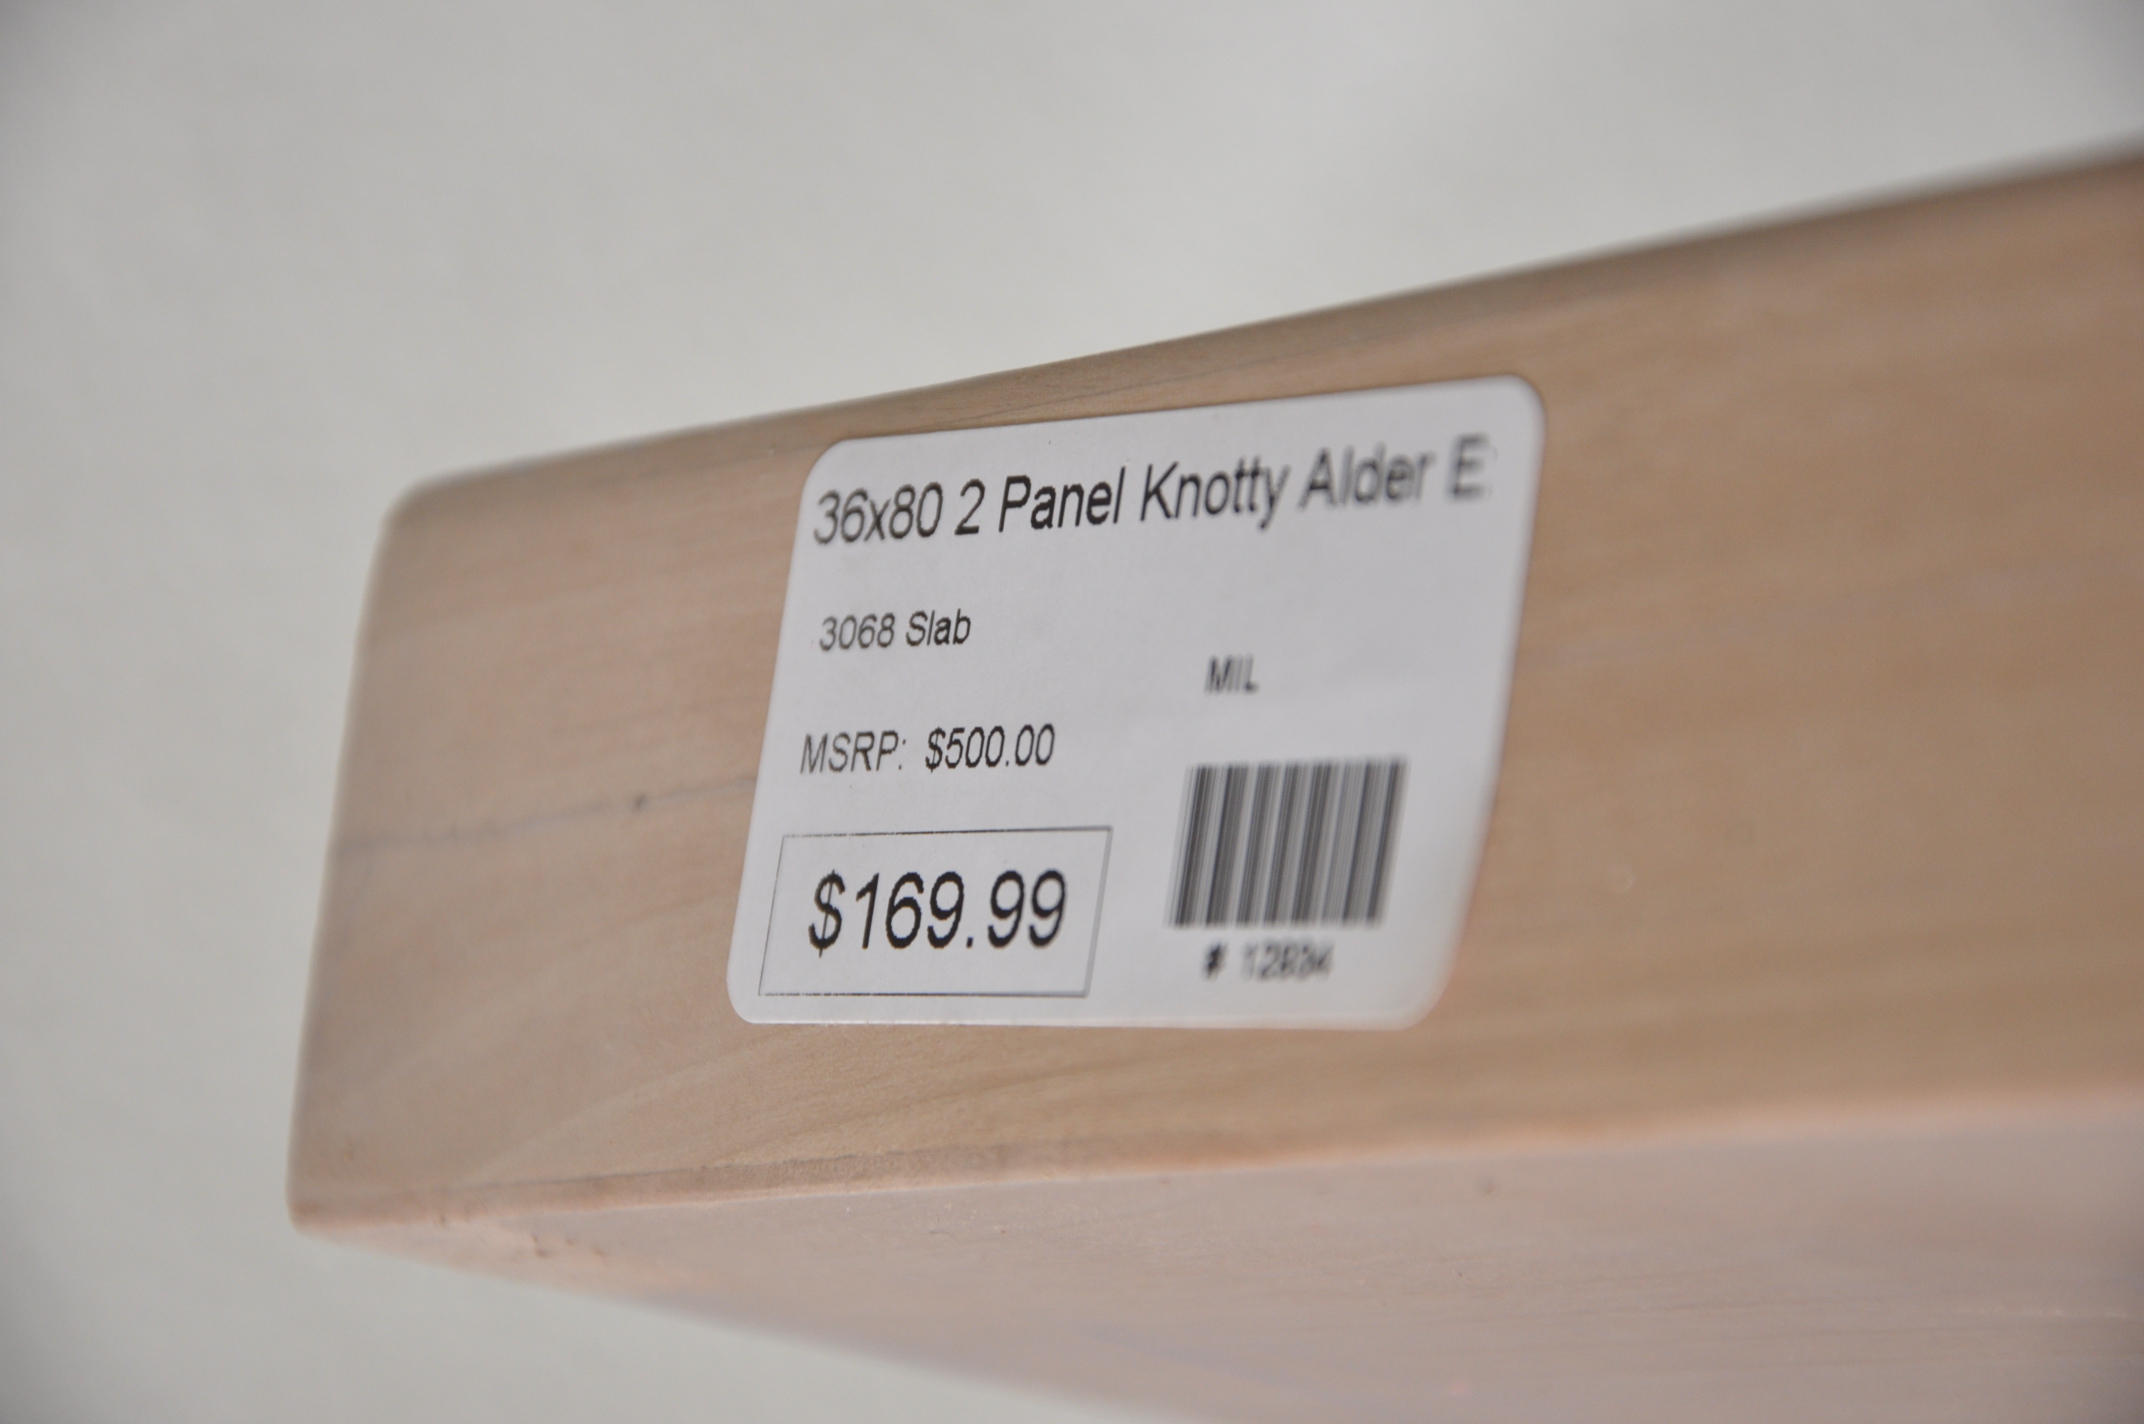
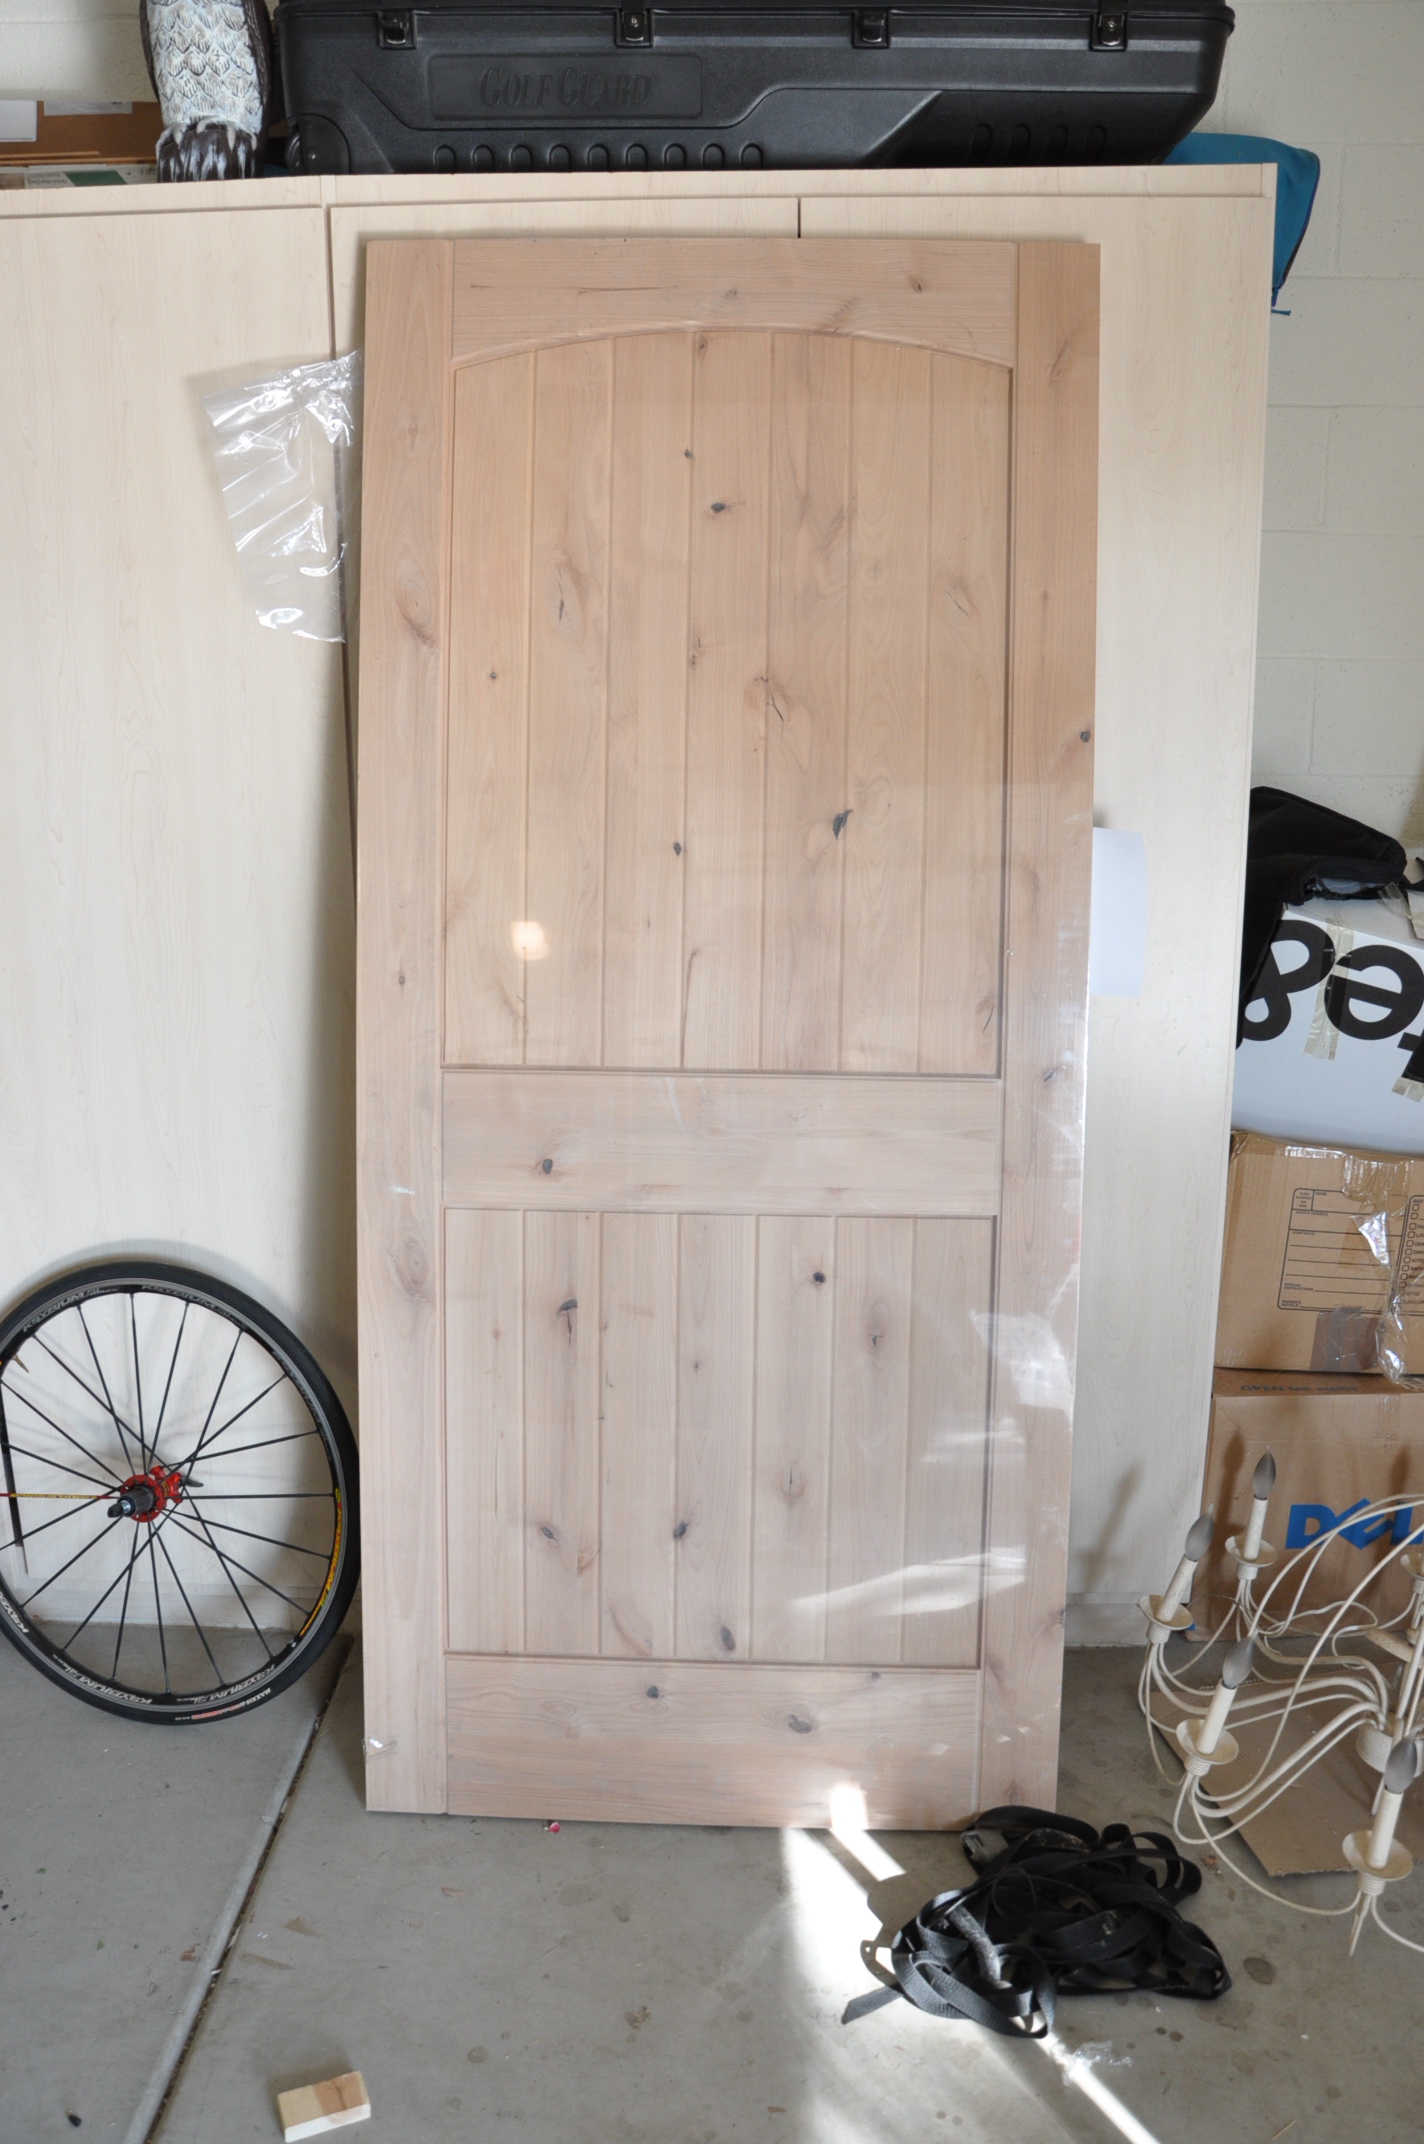
We started off with this unfinished door we scored at a building surplus store in downtown (yes, a sketchy section) Phoenix. Check out the savings:
Totally worth the trip and we will definitely be re-visiting that store.
Well, that was the easy part. Buying the door.
We couldn’t even take it home the same day because we brought our “small” car. We had to pick it up a week later – only to have it sit in the garage for a few weeks – giving us quite an intimidating glare…
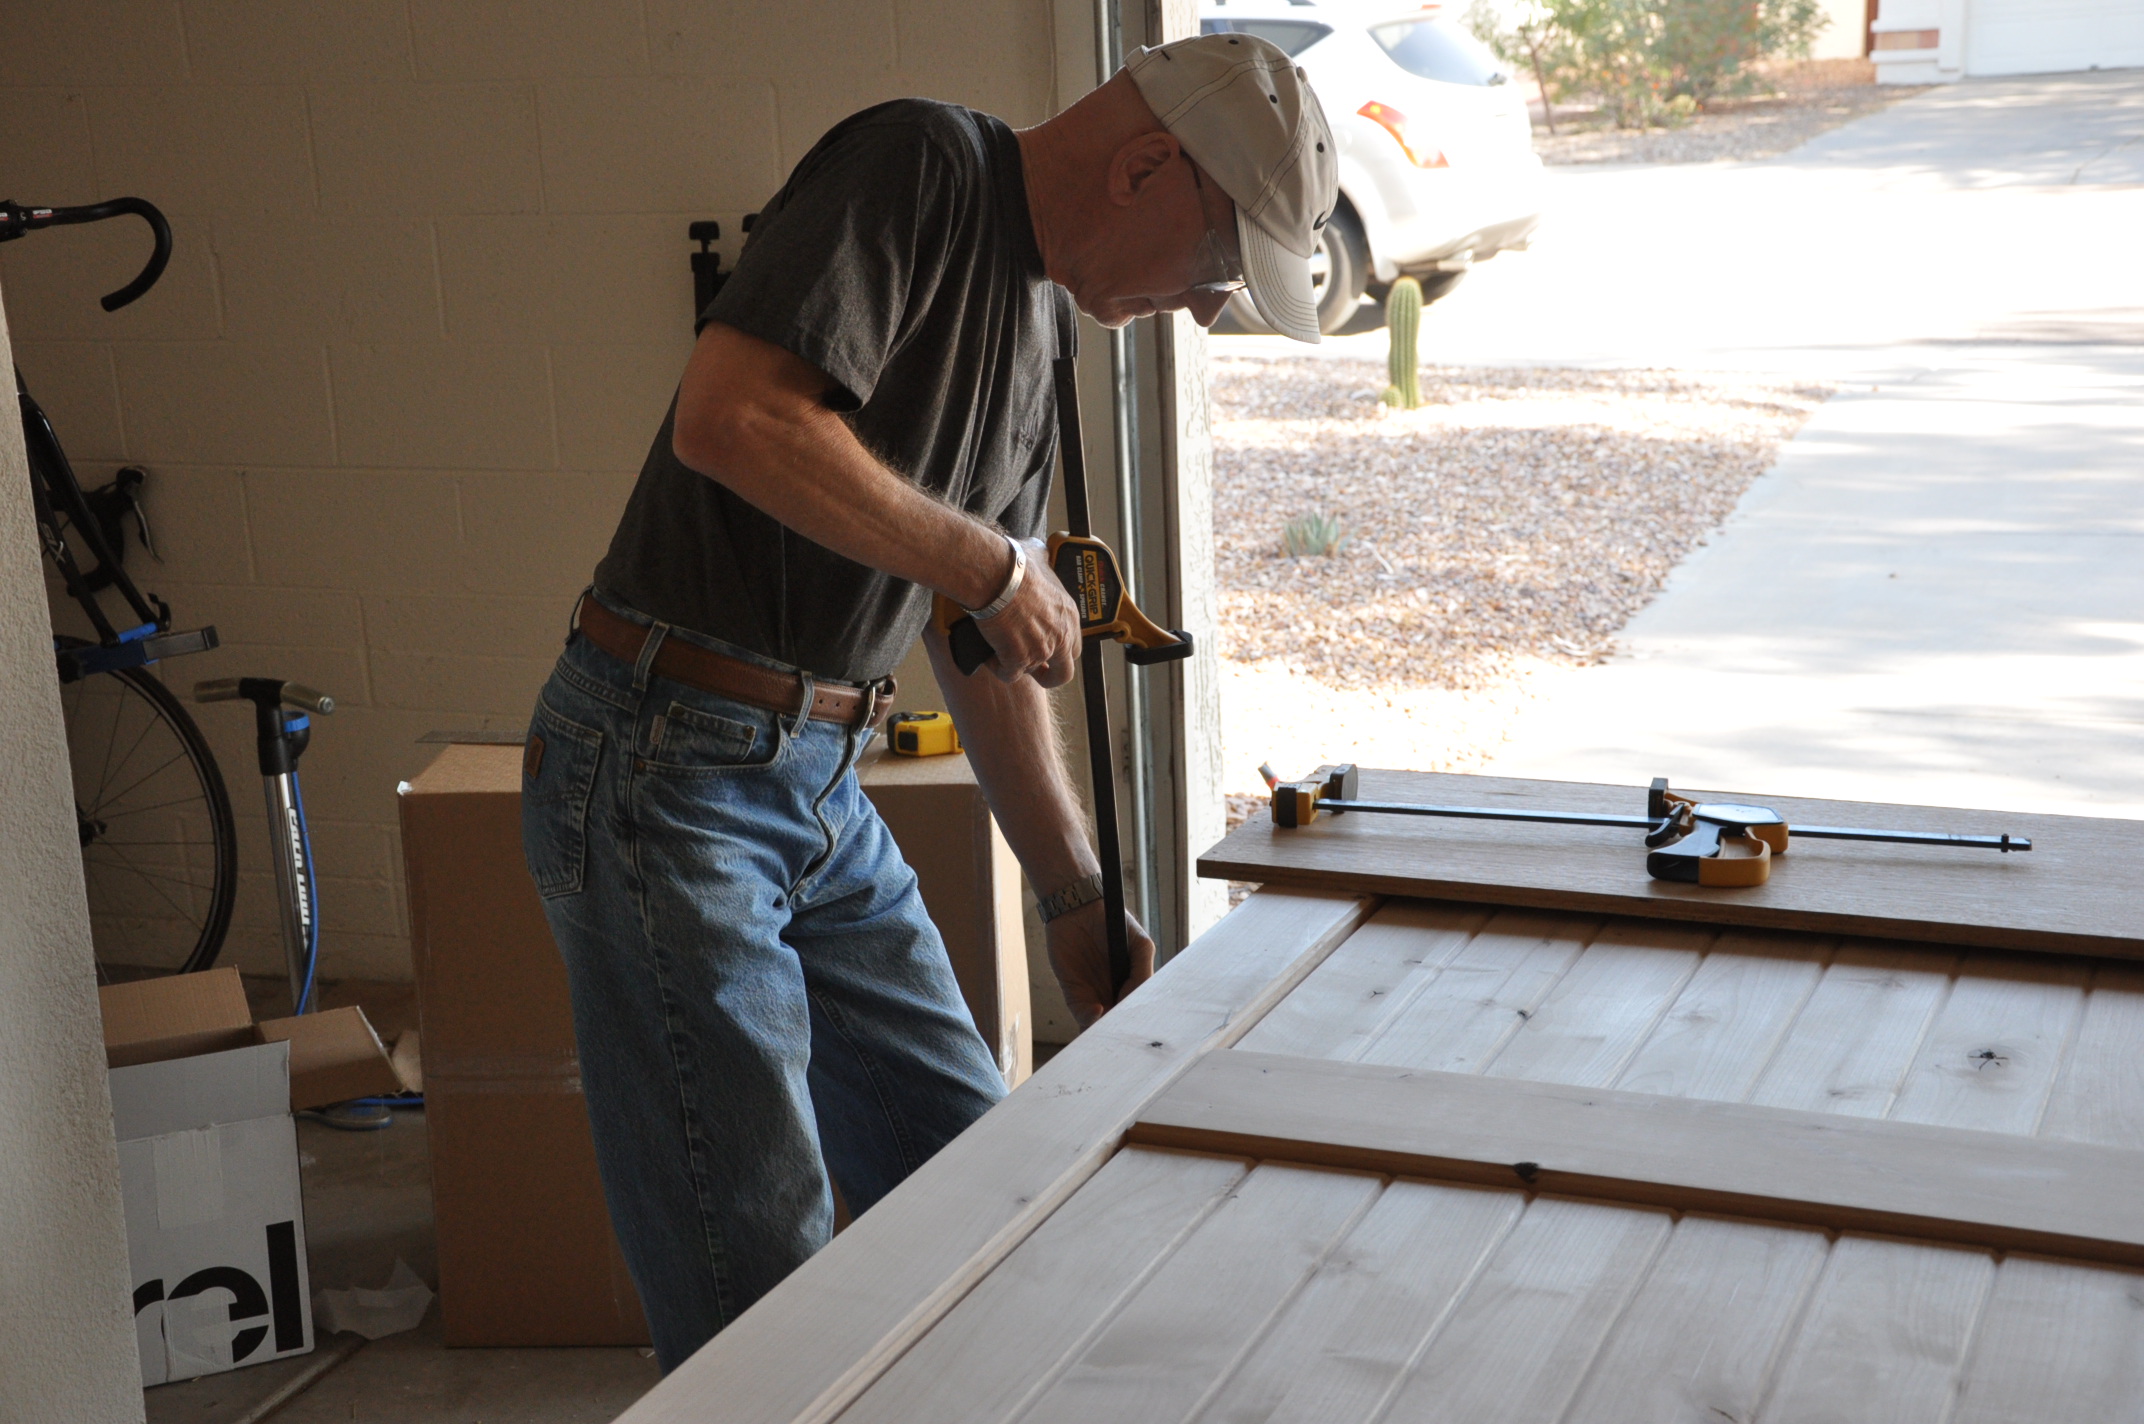
Cue: the man we turn to when the task seems impossible: Mr. Original Dreamer.
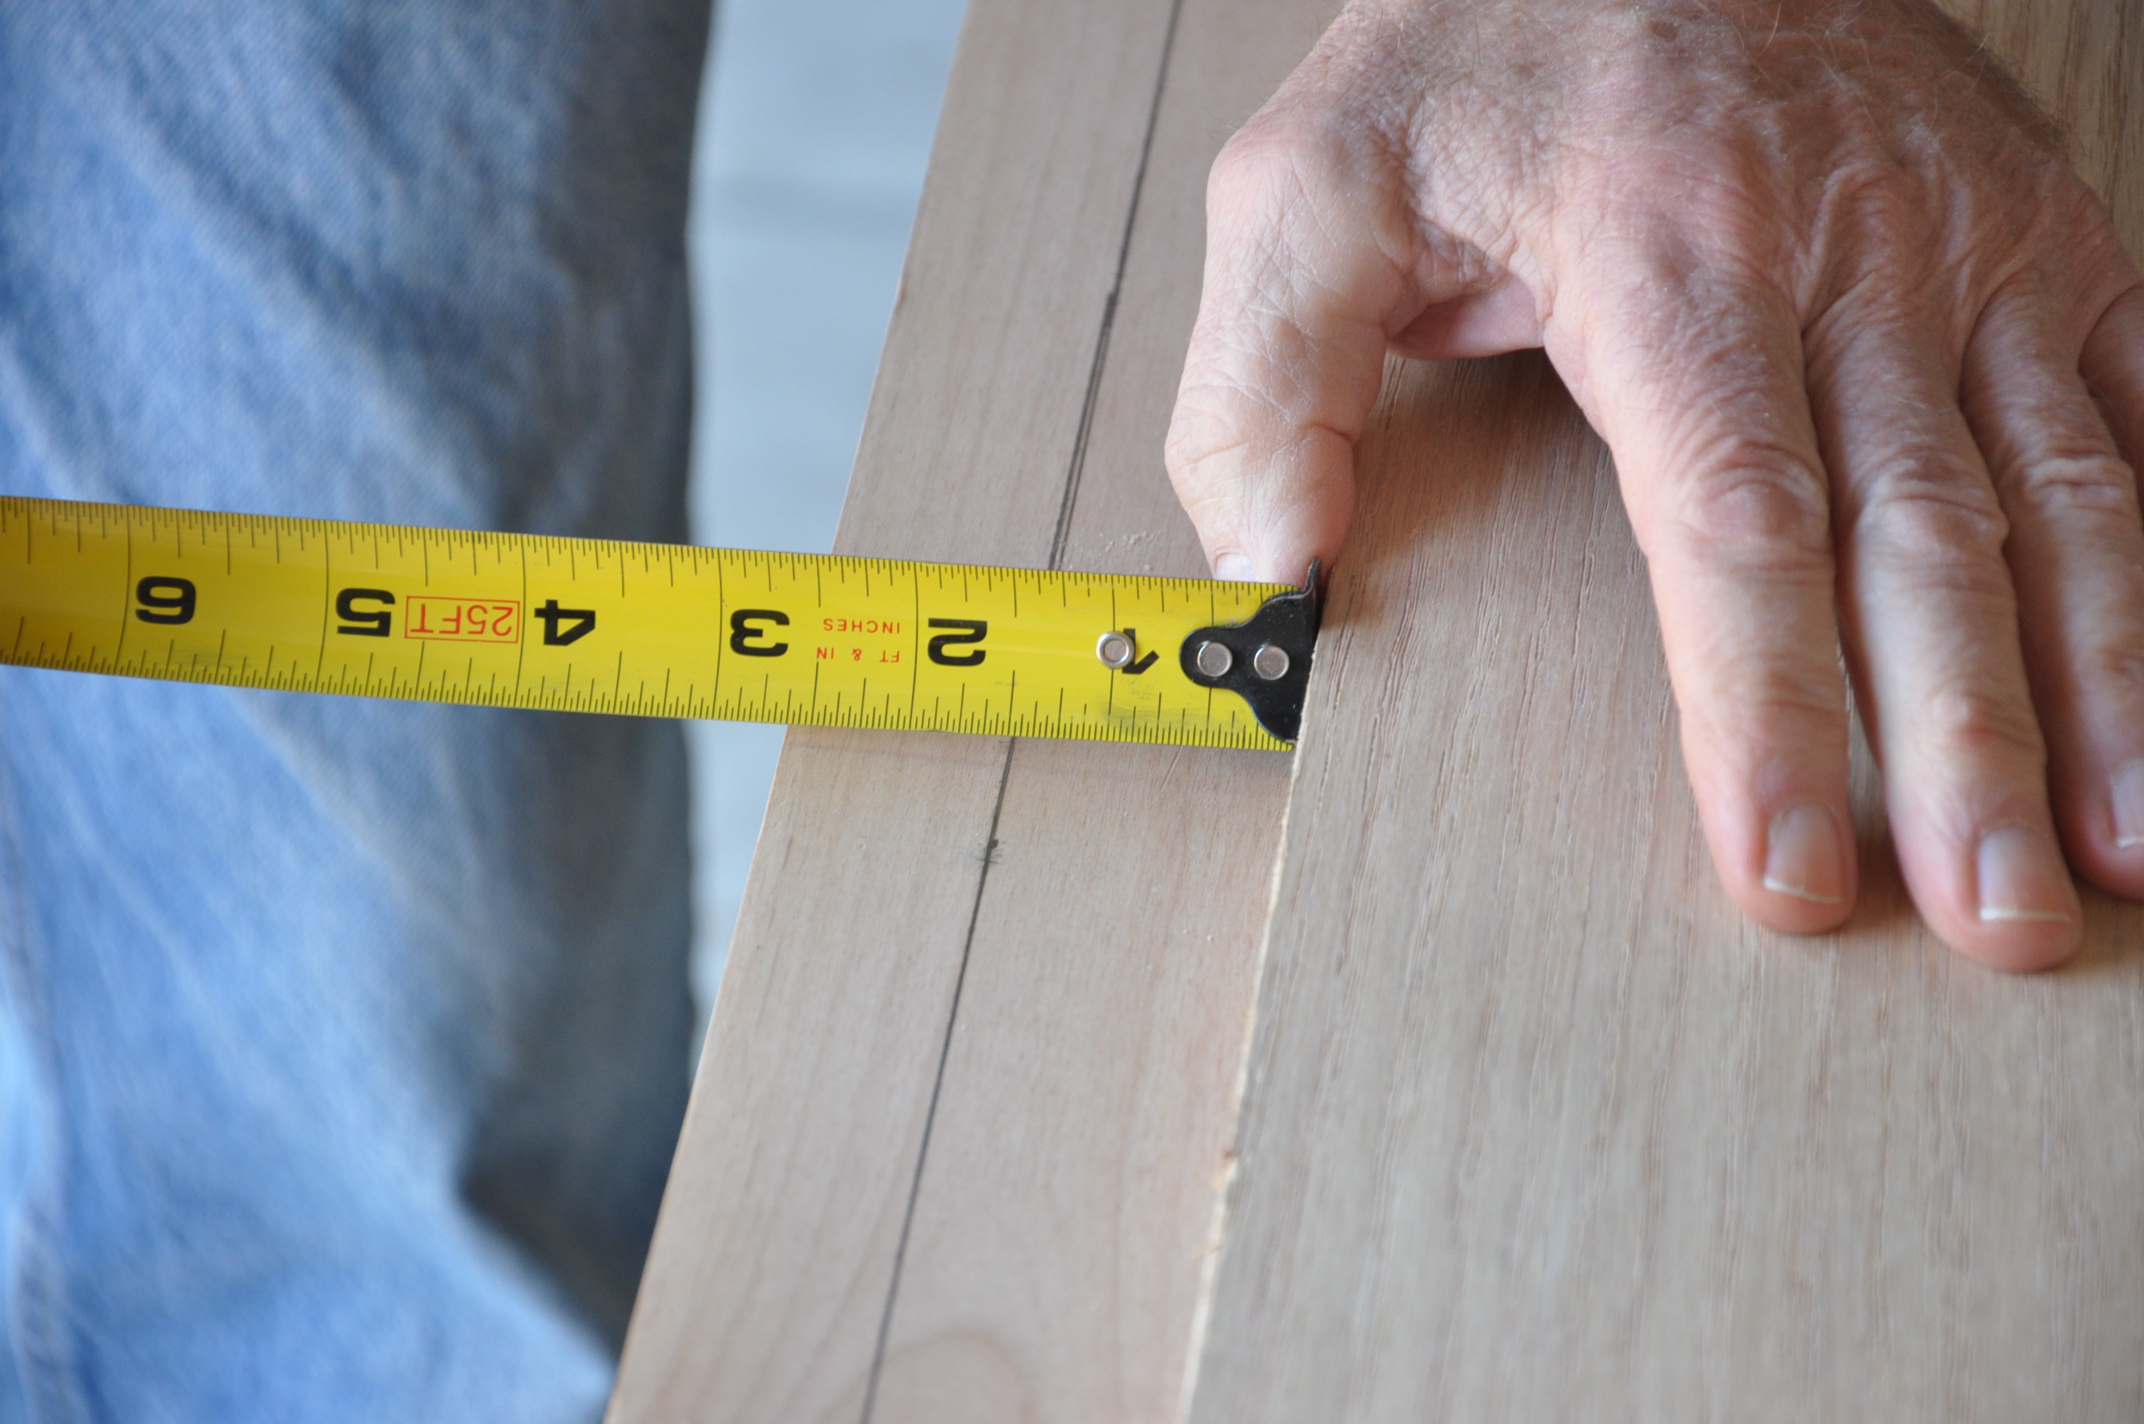
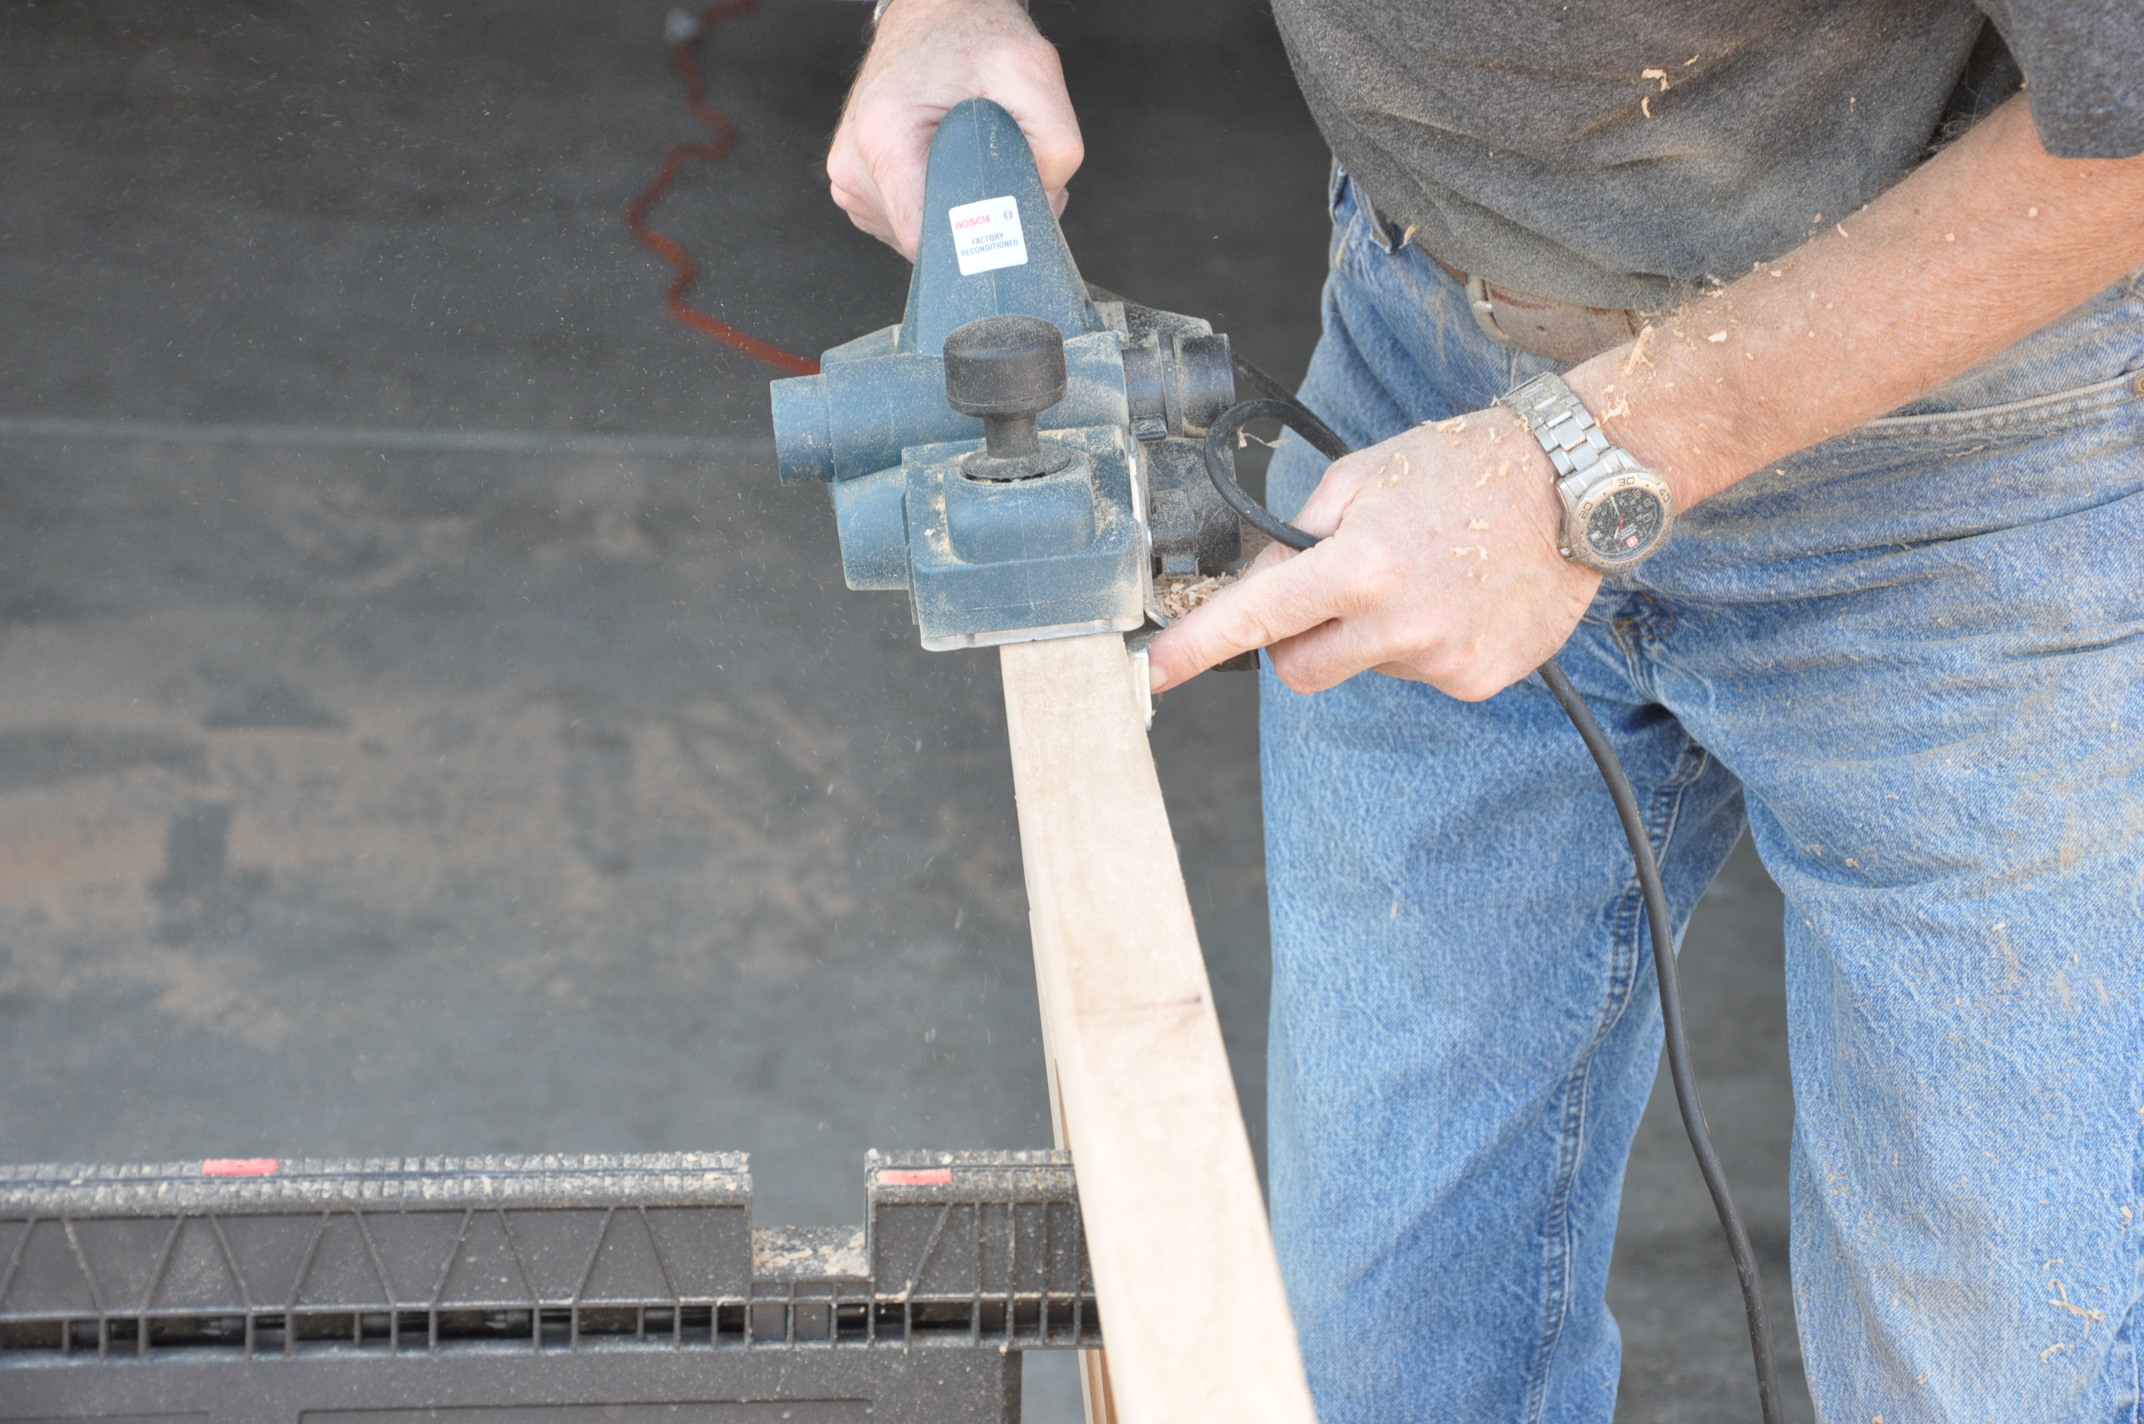
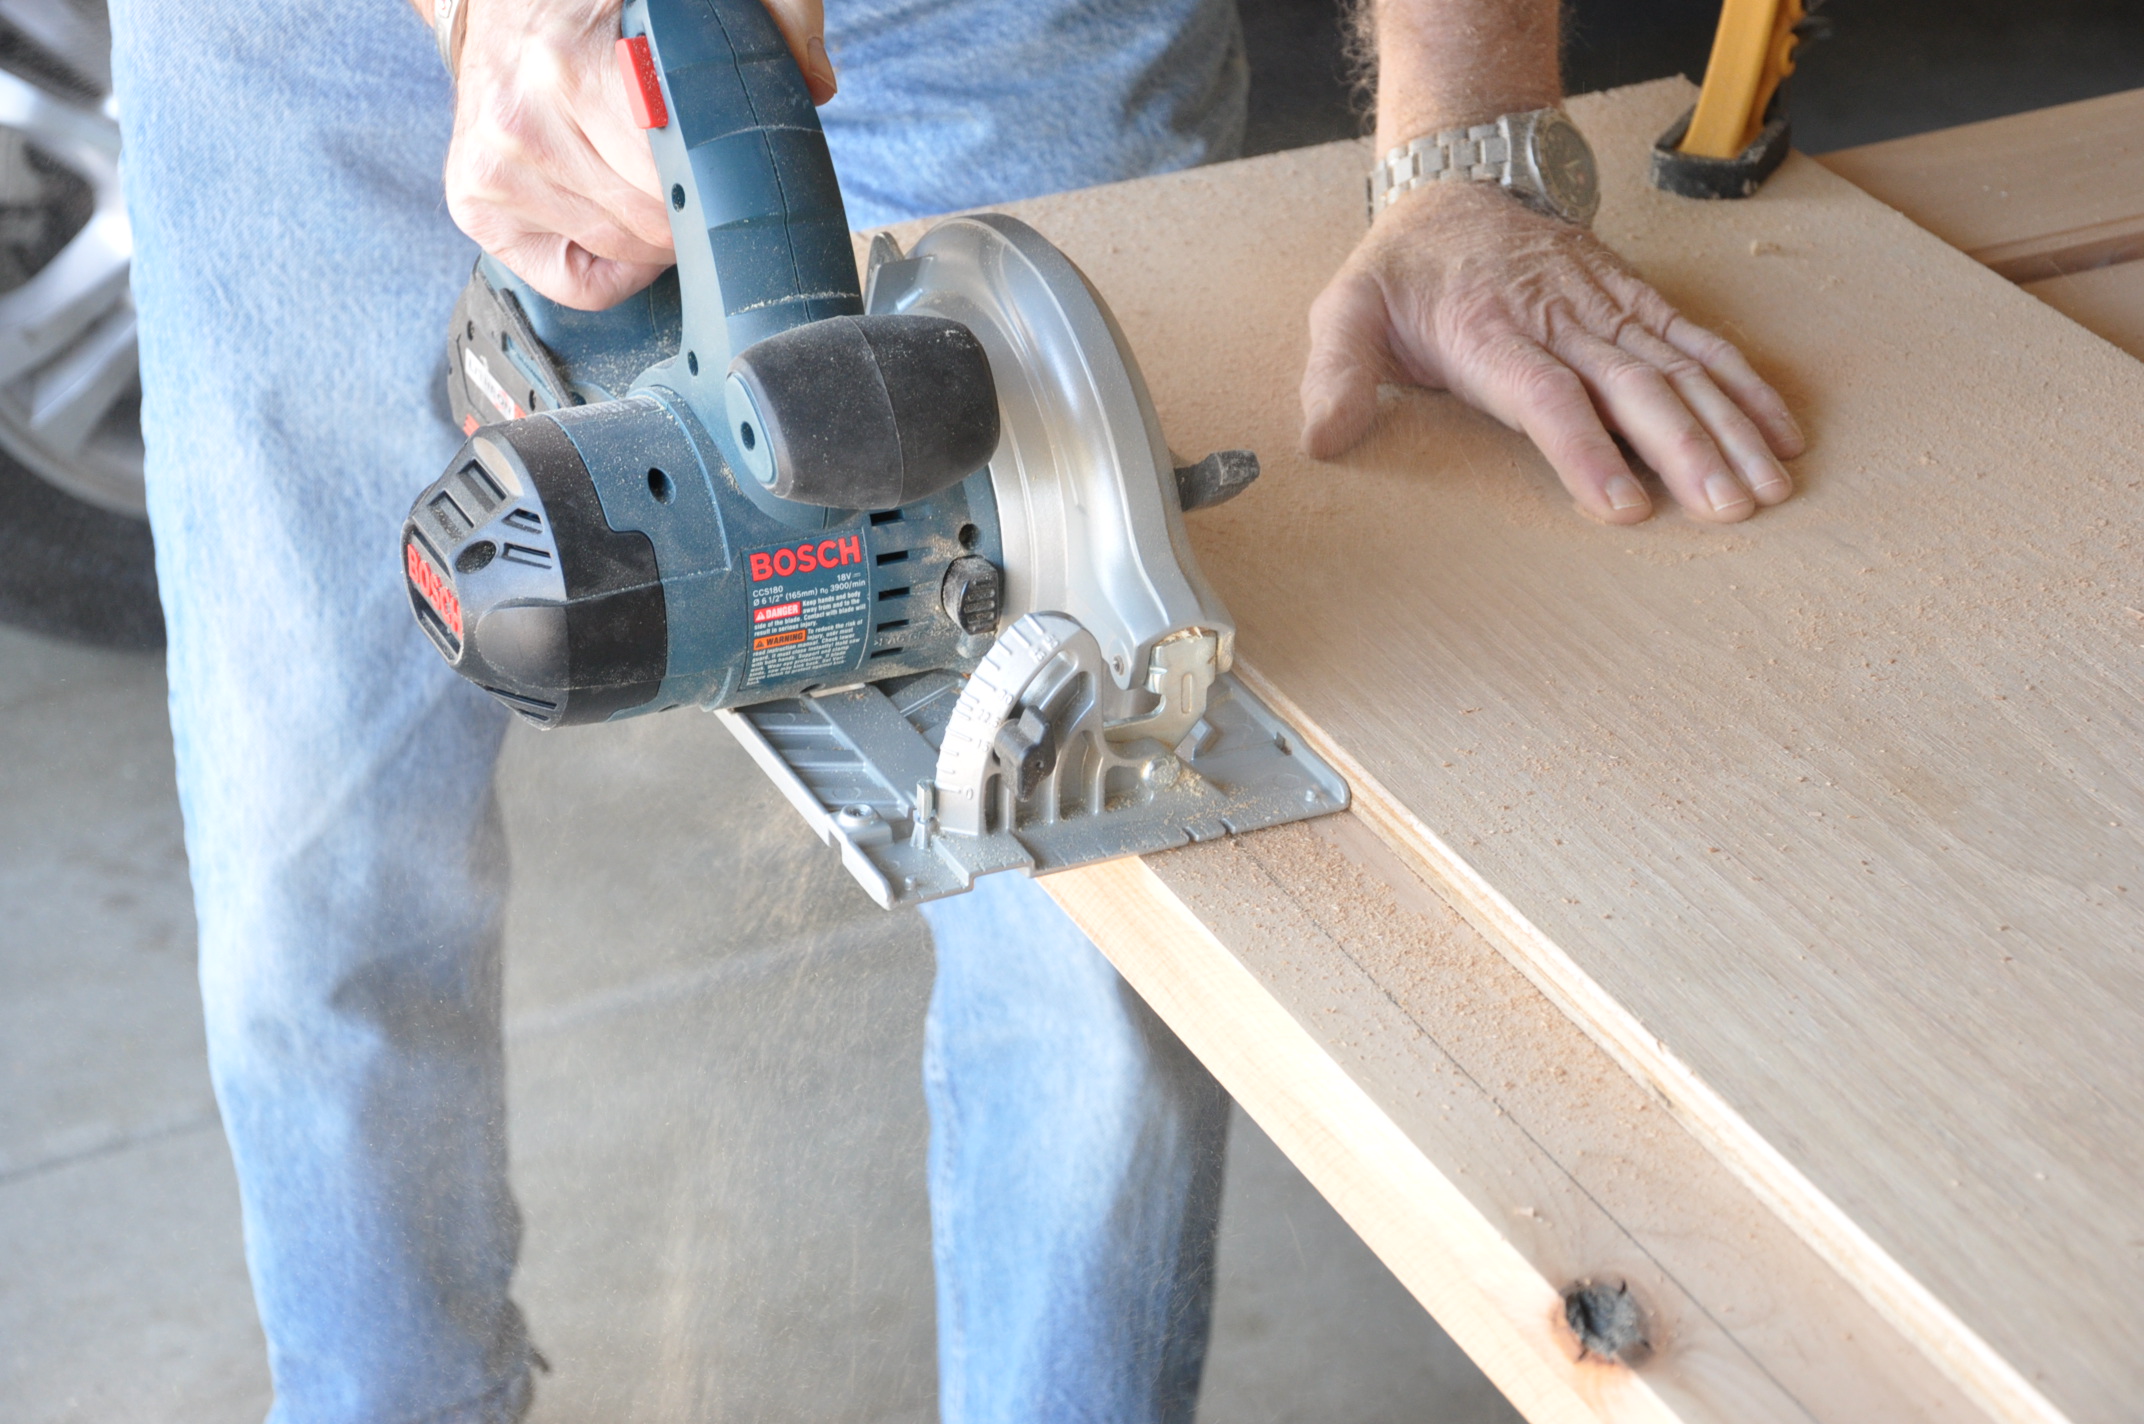
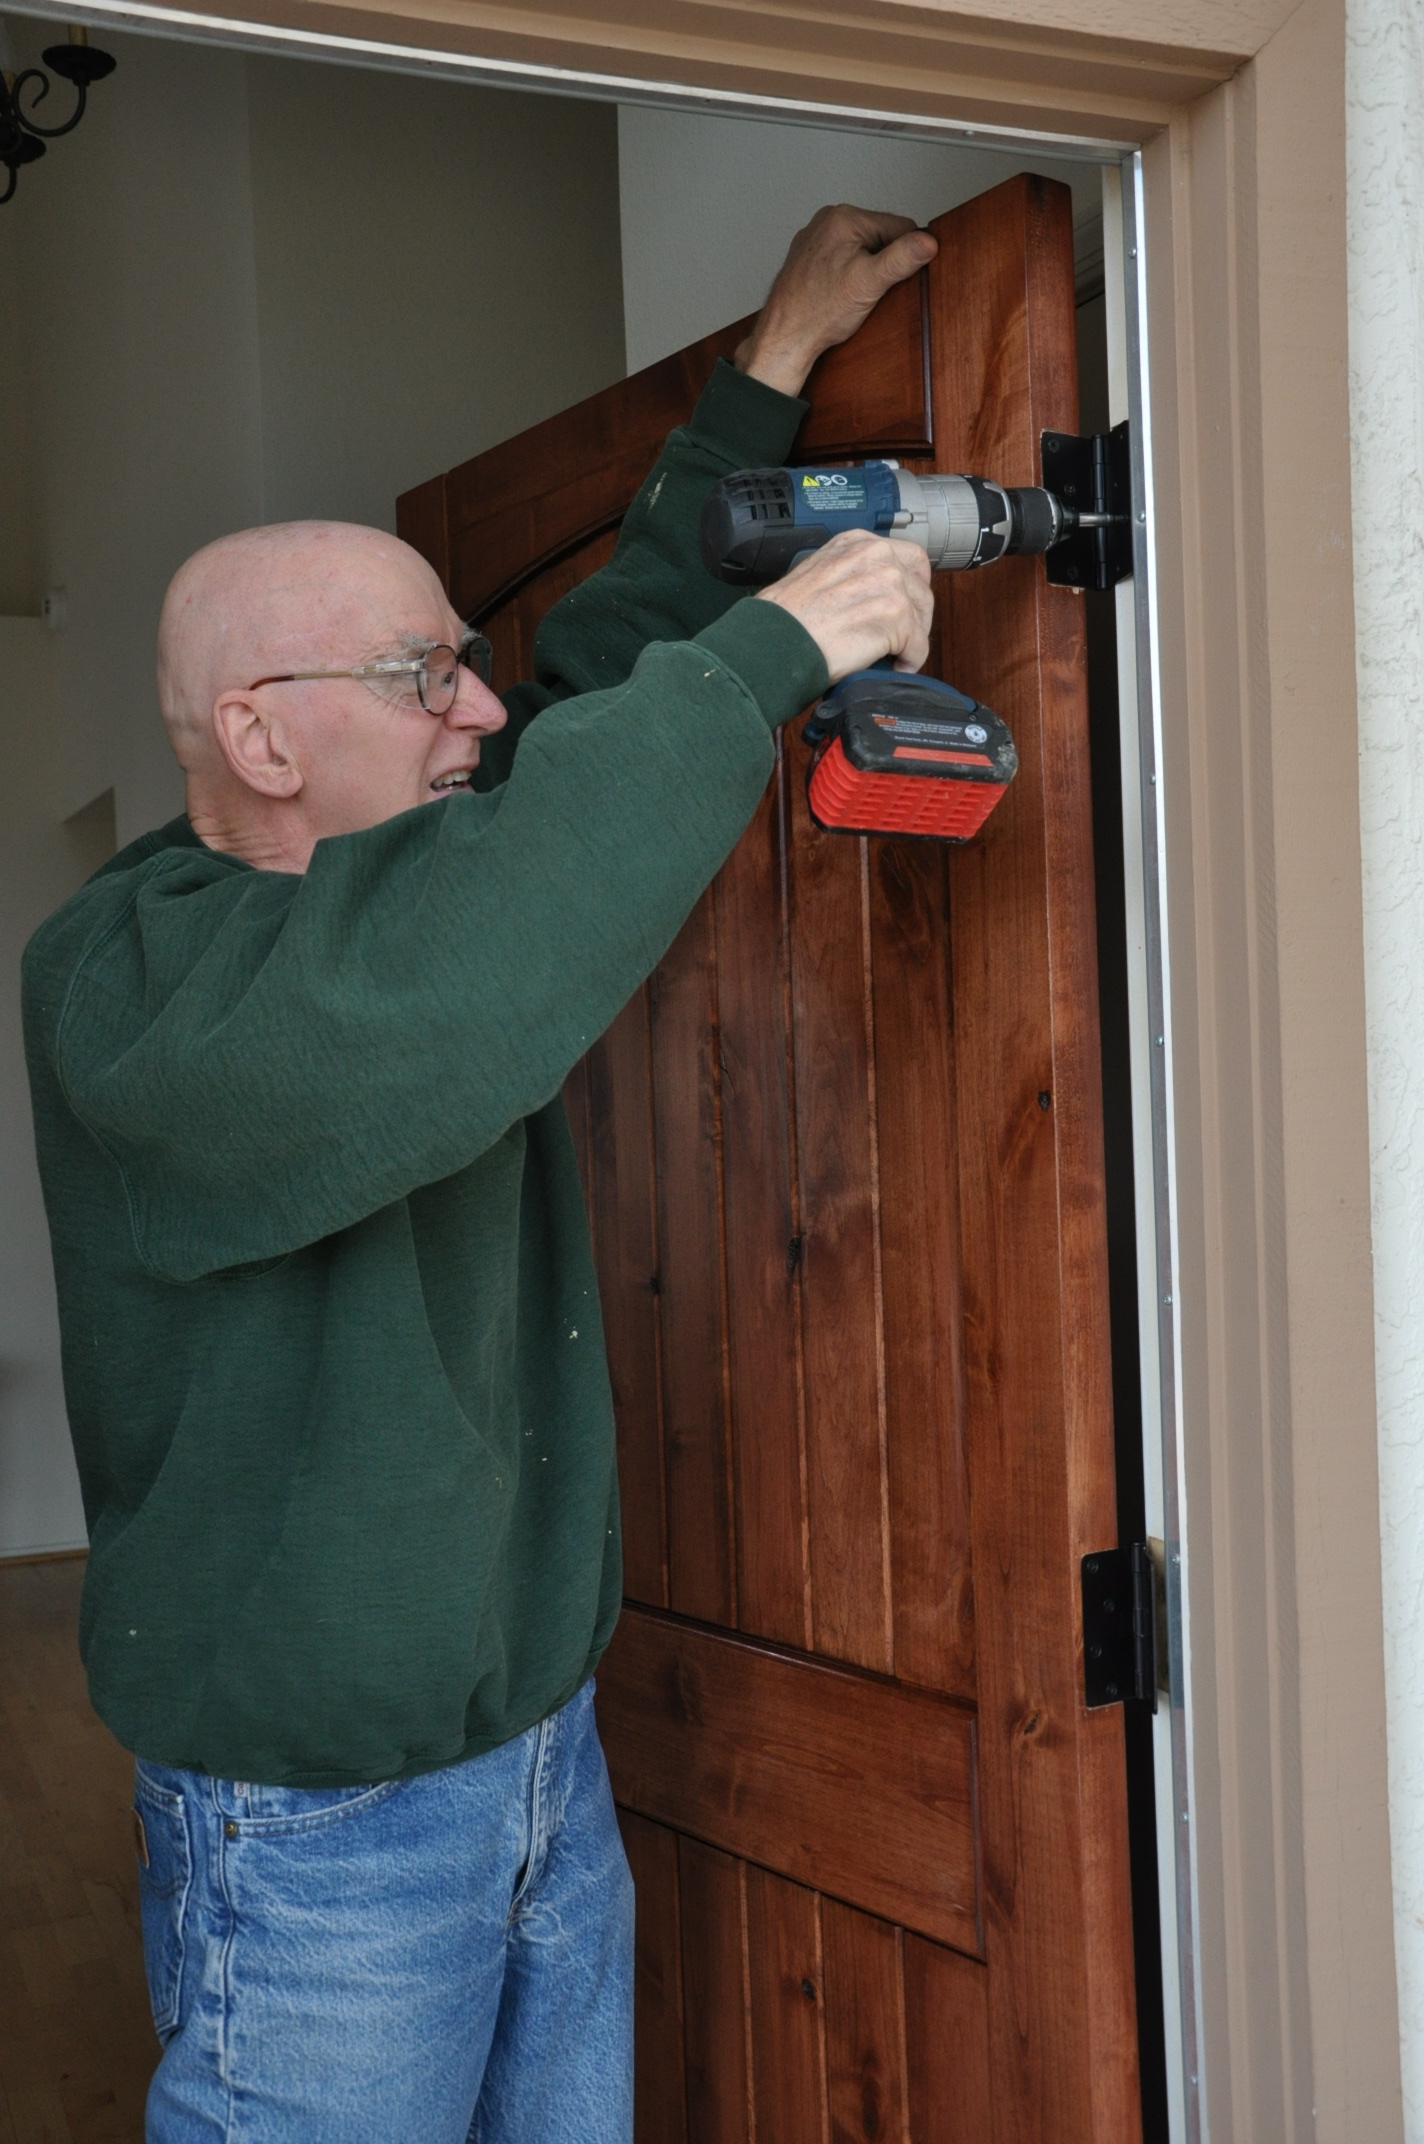
With his help, Mr. Dreamer learned many things about front door installation and together they went through the painstaking process…
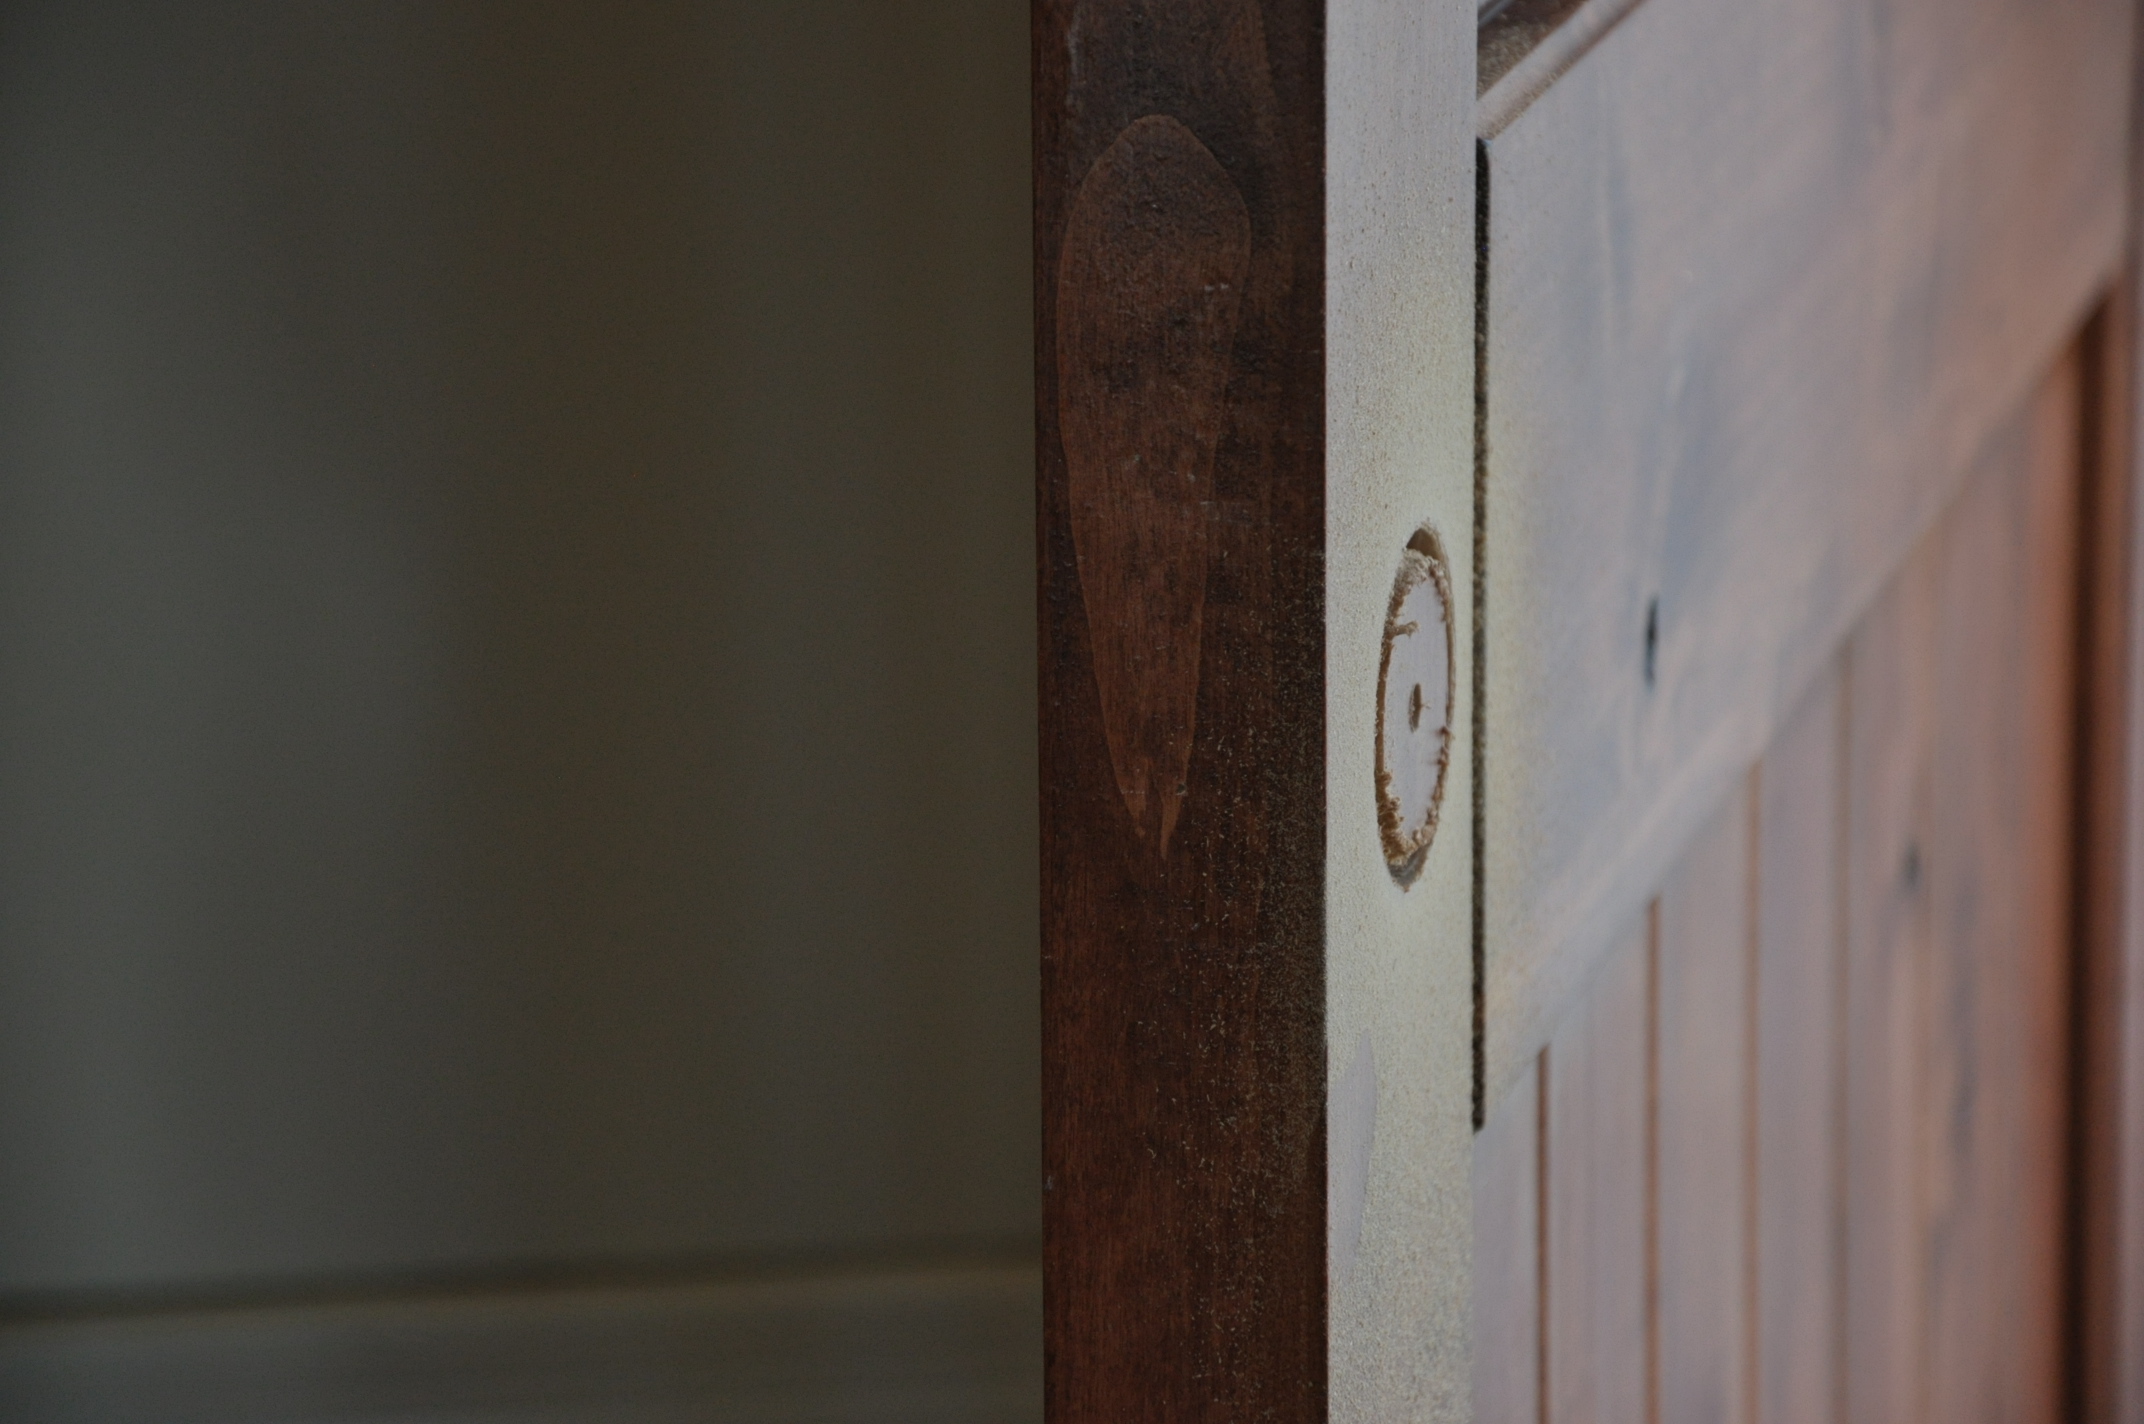
With the door resized we sanded the freshly cut edges.
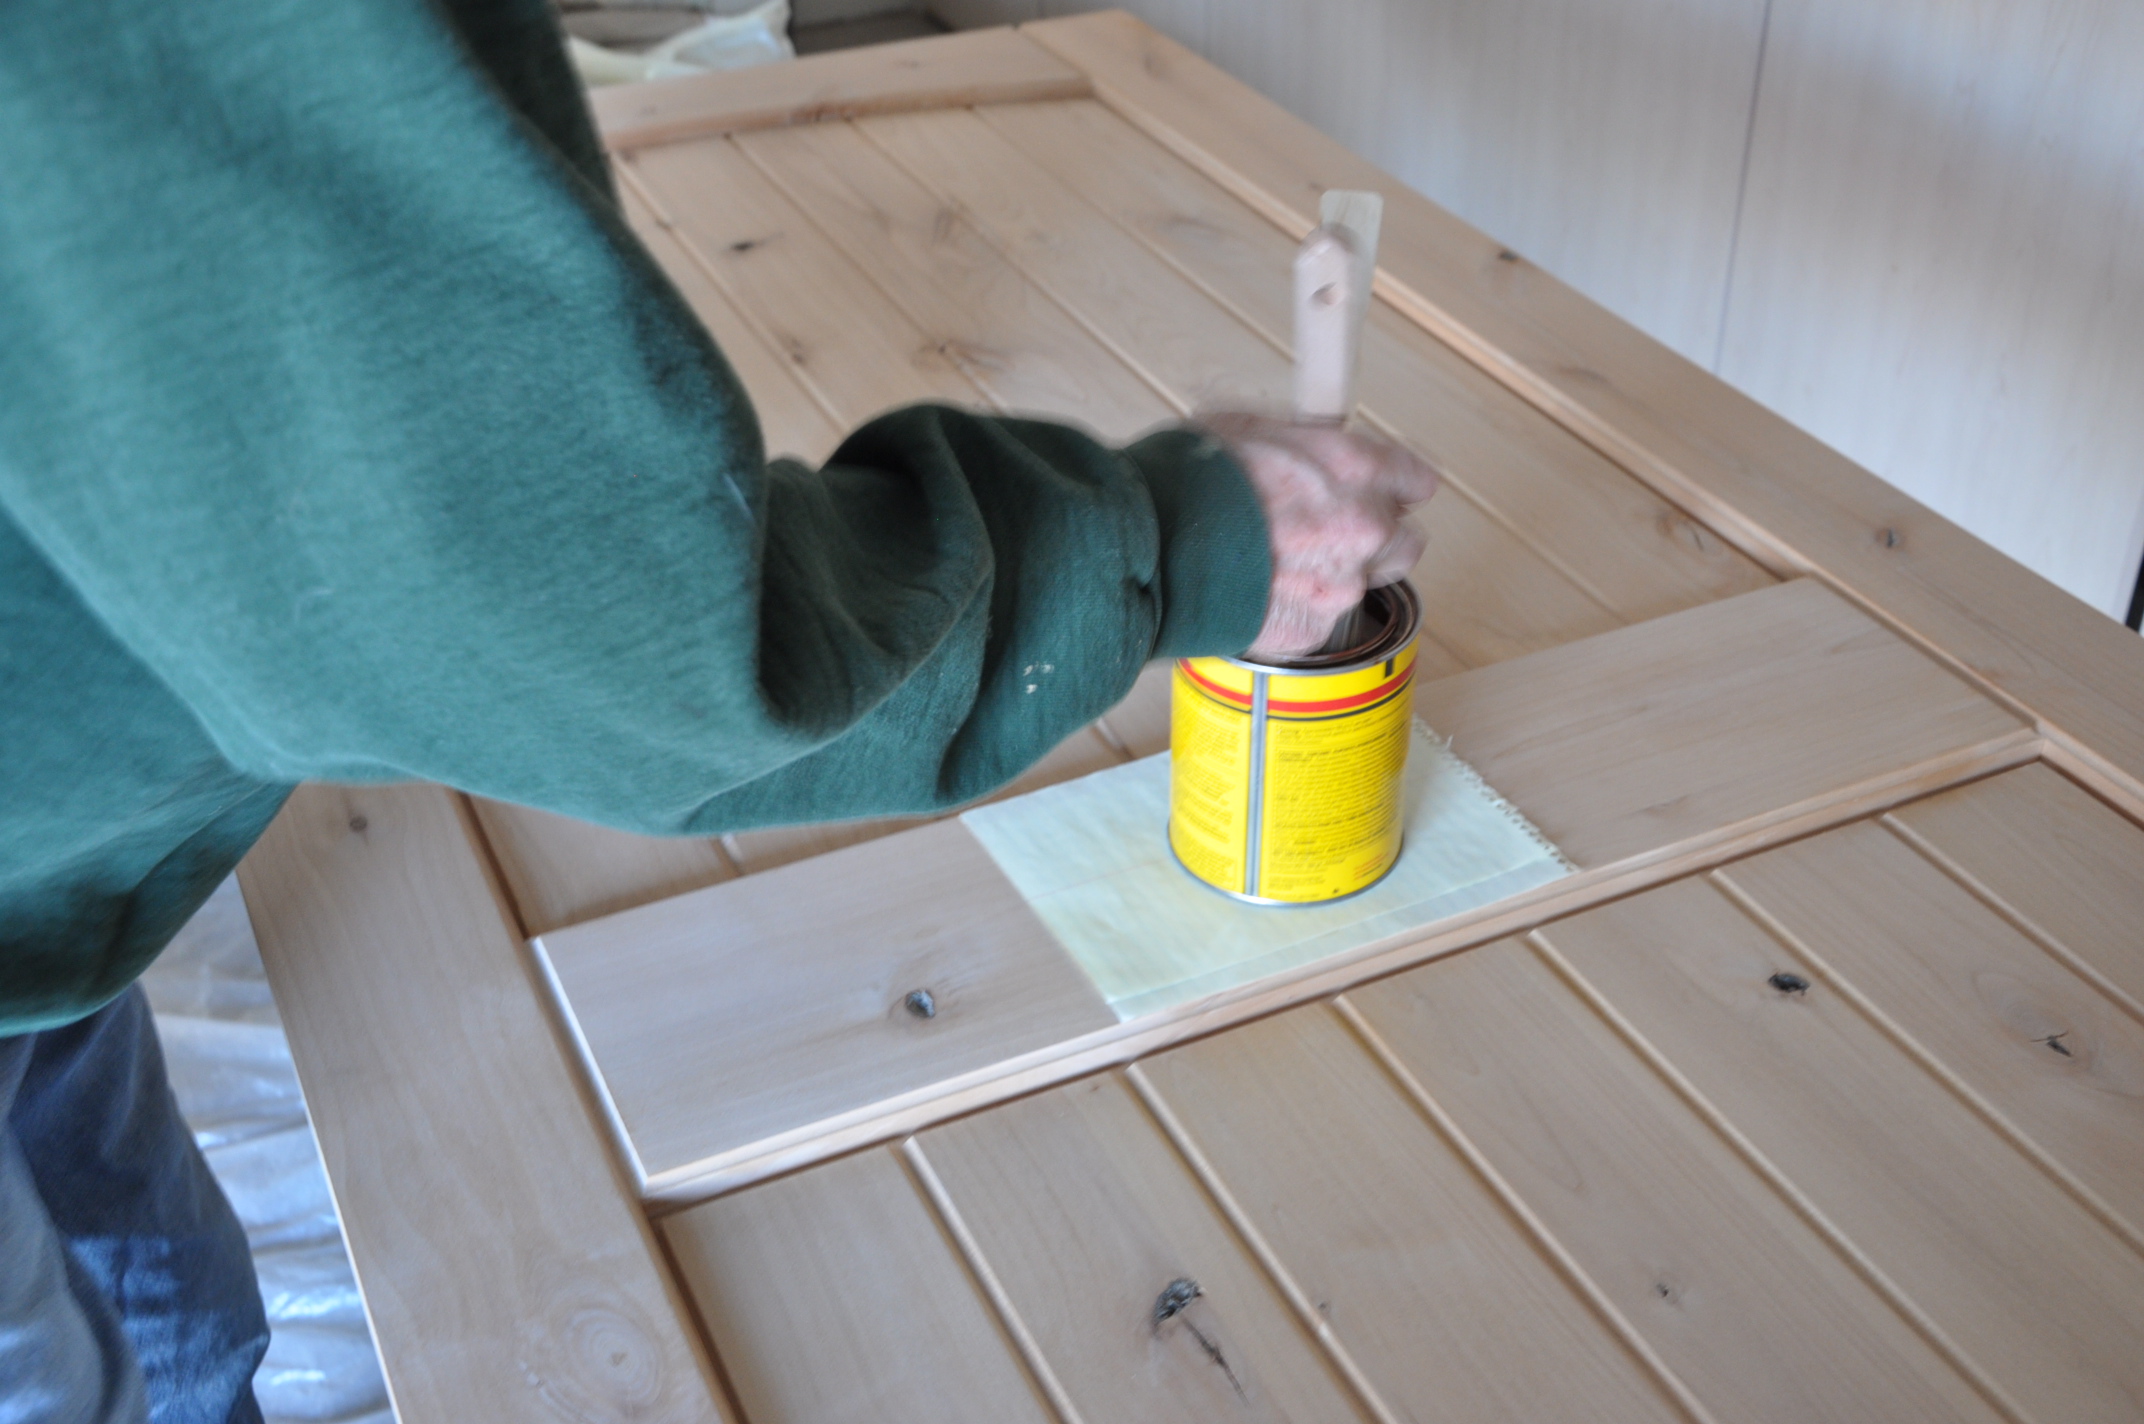
Once the raw door was fully prepped, it was time to stain and urethane.
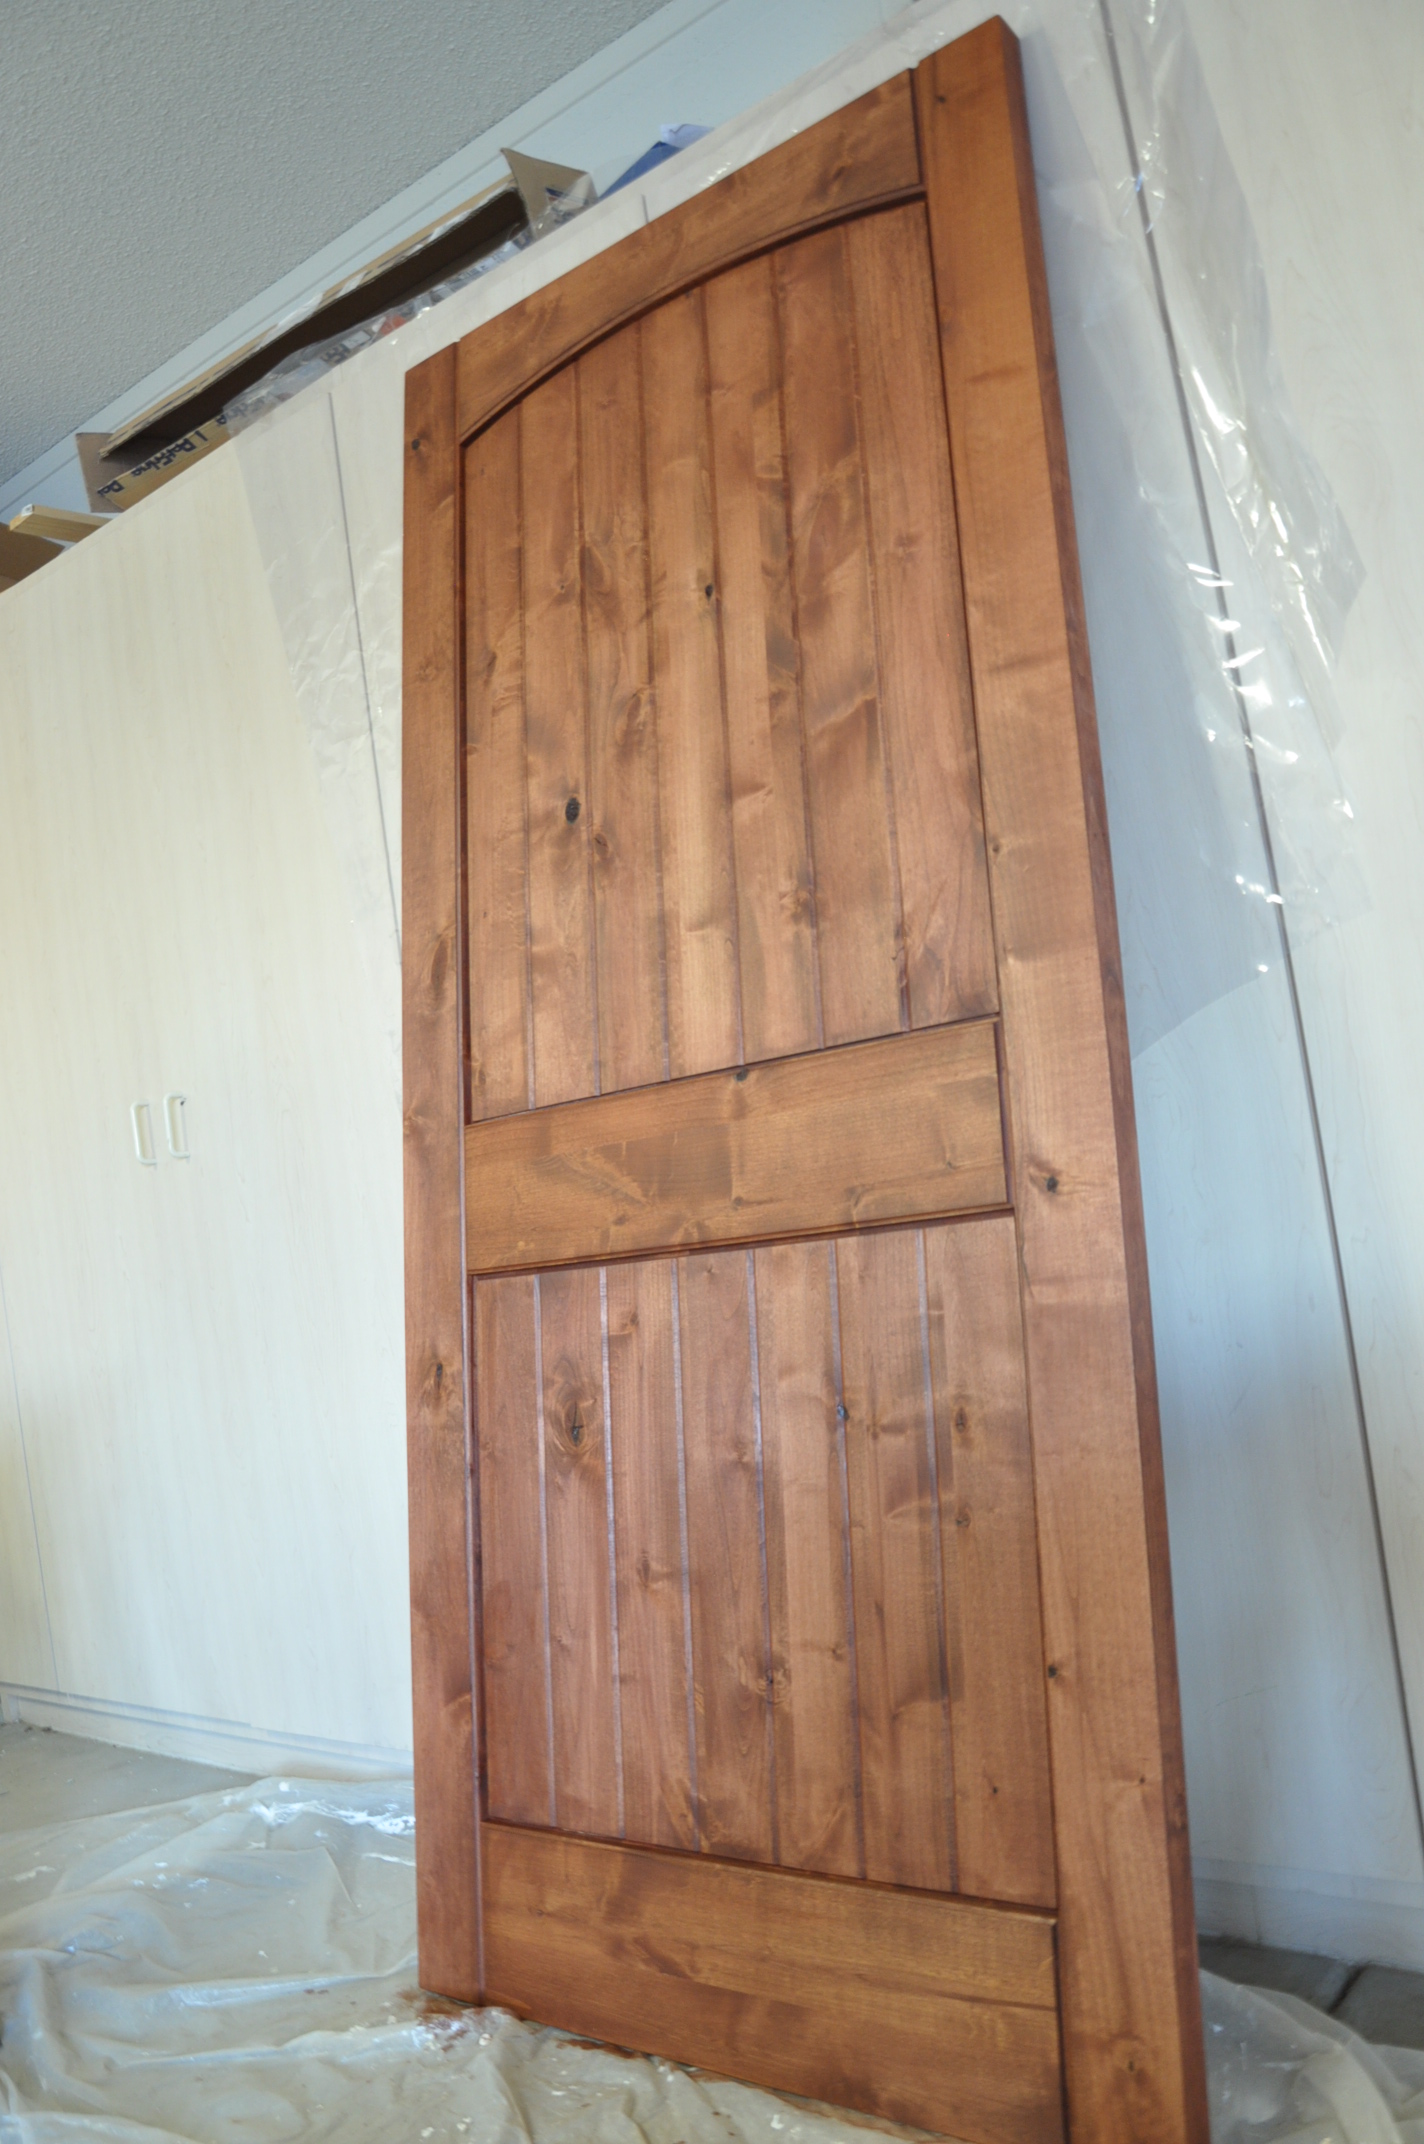
The door only required one coat of red chestnut Minwax stain, which was applied with a clean rag. Applying the urethane was more complicated. The process required three coats. In between each of the first two coats, which were applied using a sponge, Mr. Dreamer had to lightly sand the surface with 100 grit sandpaper. This step allowed for the new urethane to adhere to the previous coat. The final coat was applied with a nylon, providing a very thin layer of urethane and a “hand rubbed” finish. Admittedly, this phase took some time – applying a coat here and there after work in the evenings. Mrs. Dreamer was not allowed to breathe in the garage that week less the yet-to-be-born-Dreamer somehow grew a second head from all the fumes. Good times. But the results were worth it!
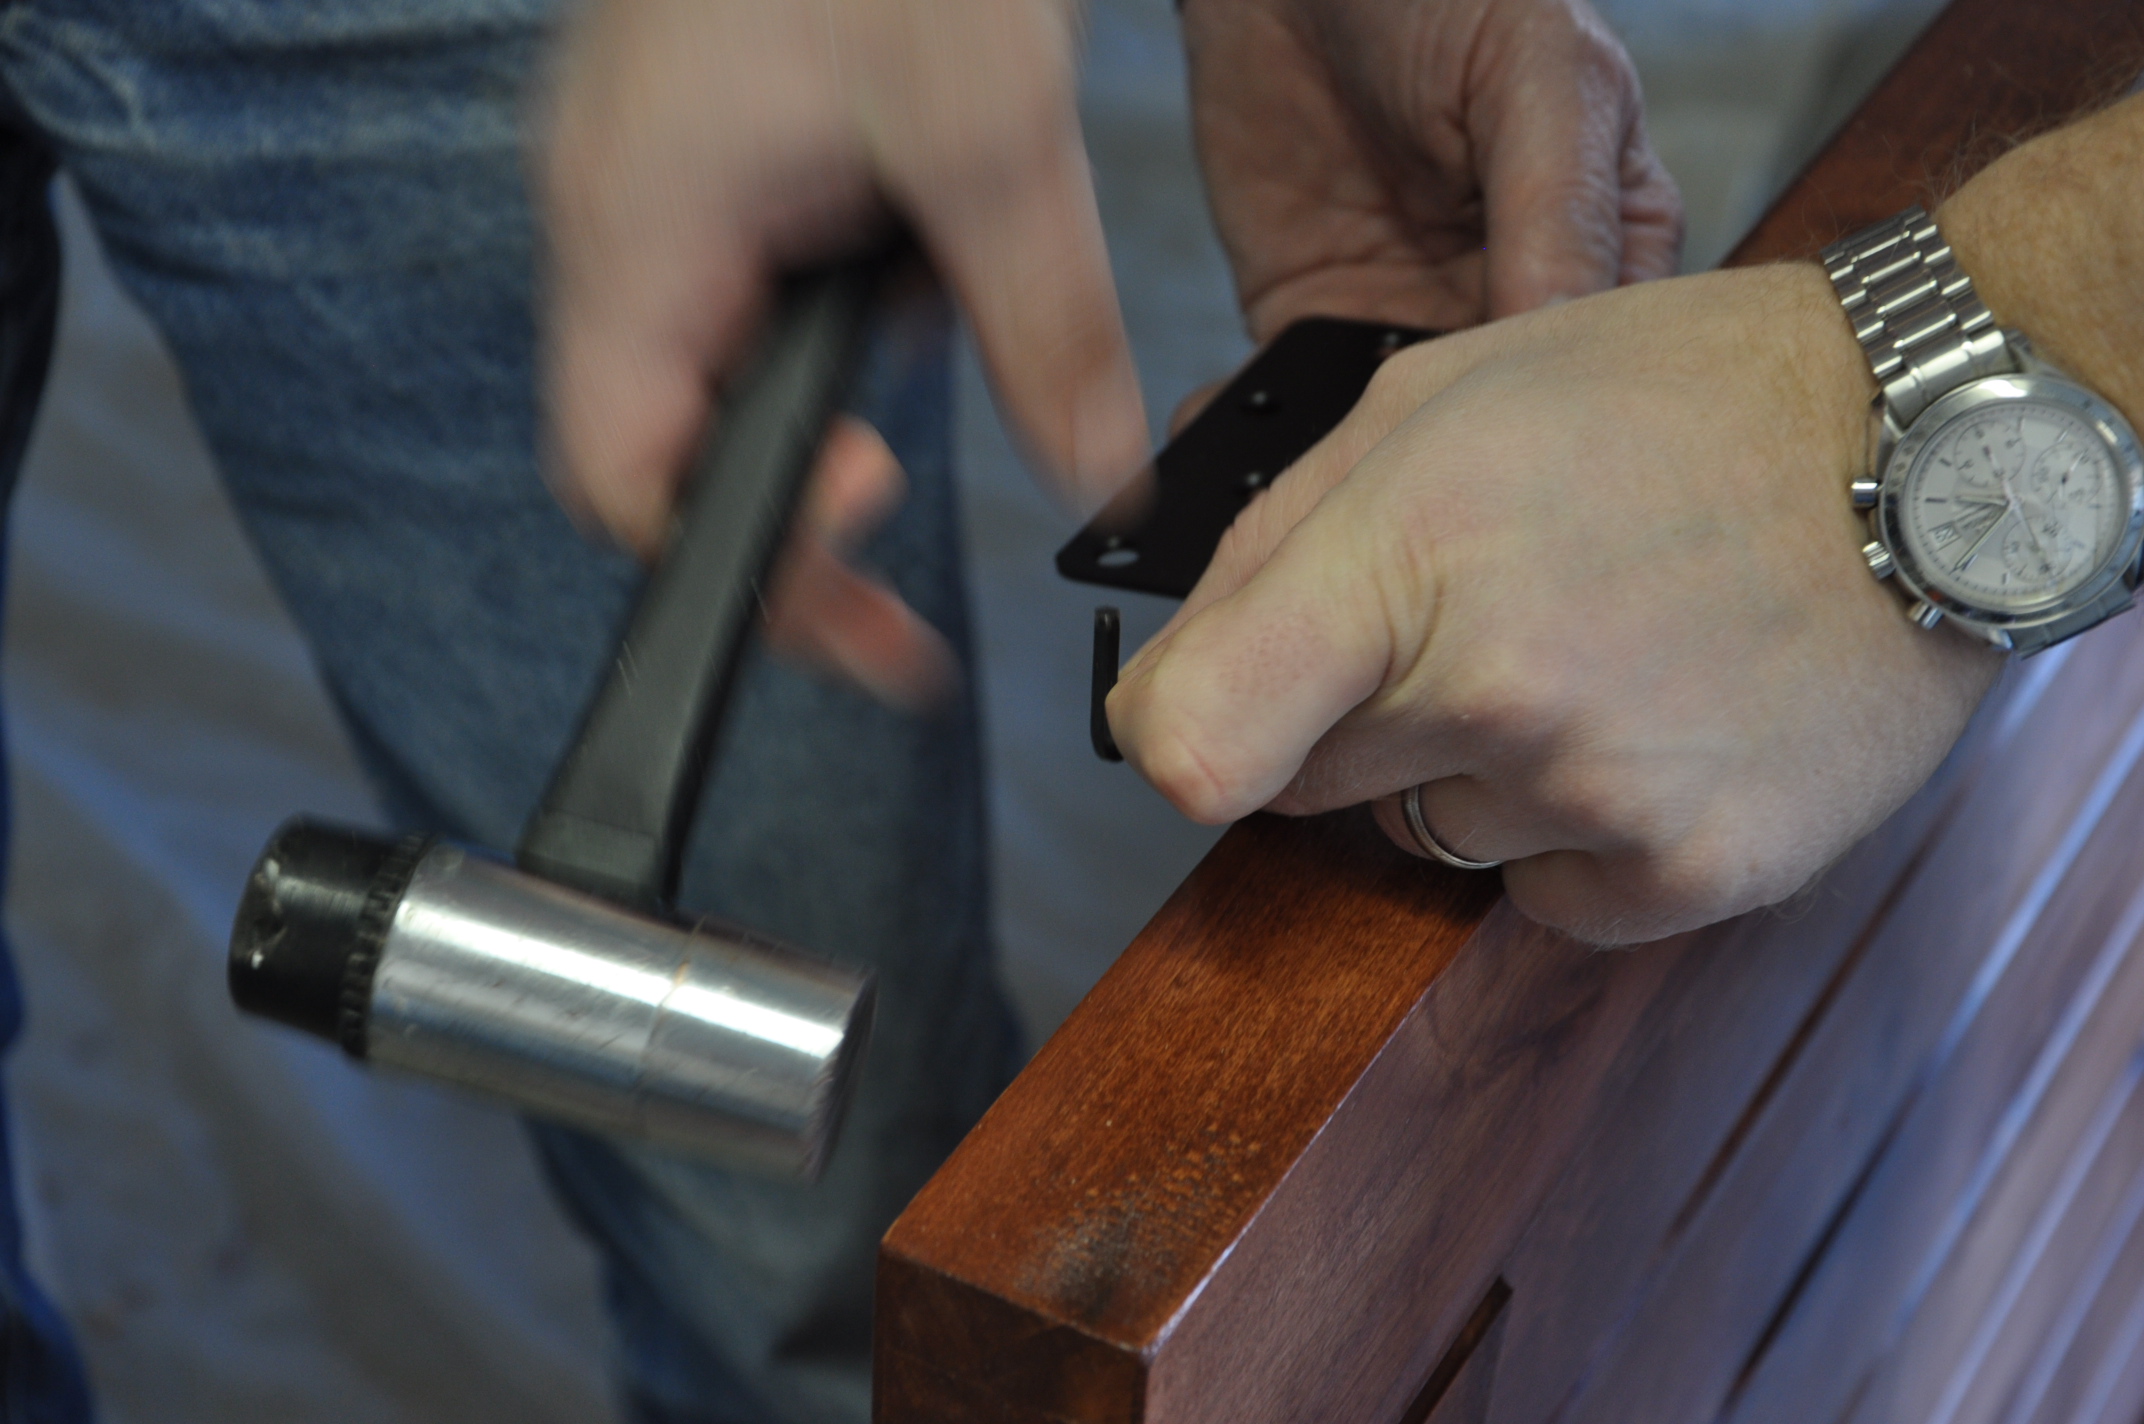
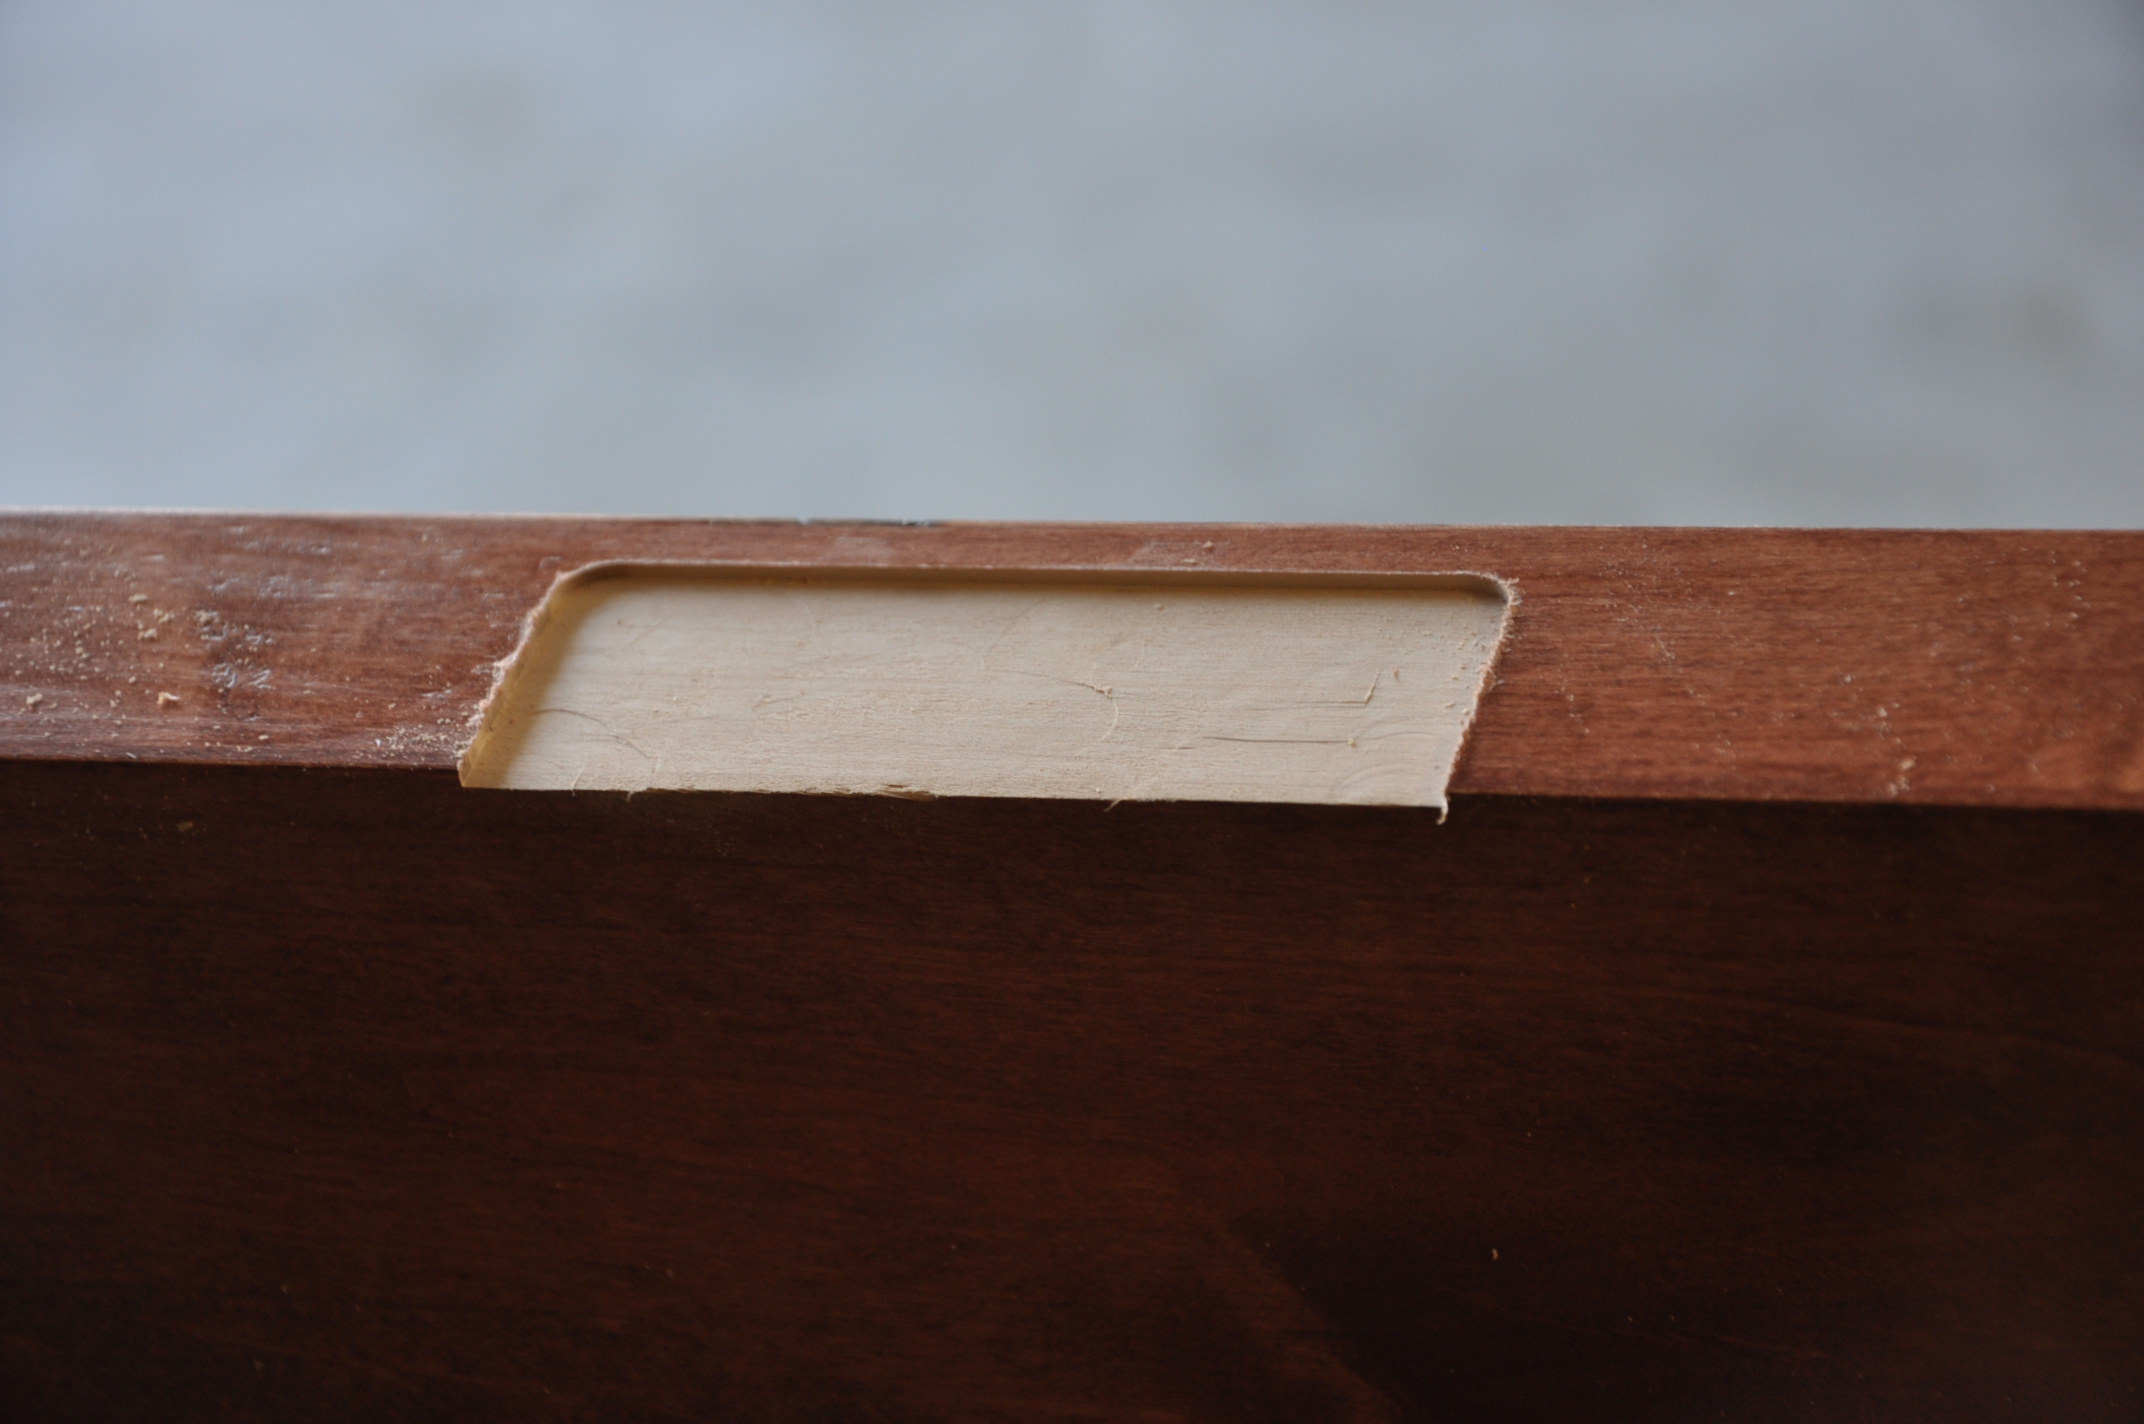
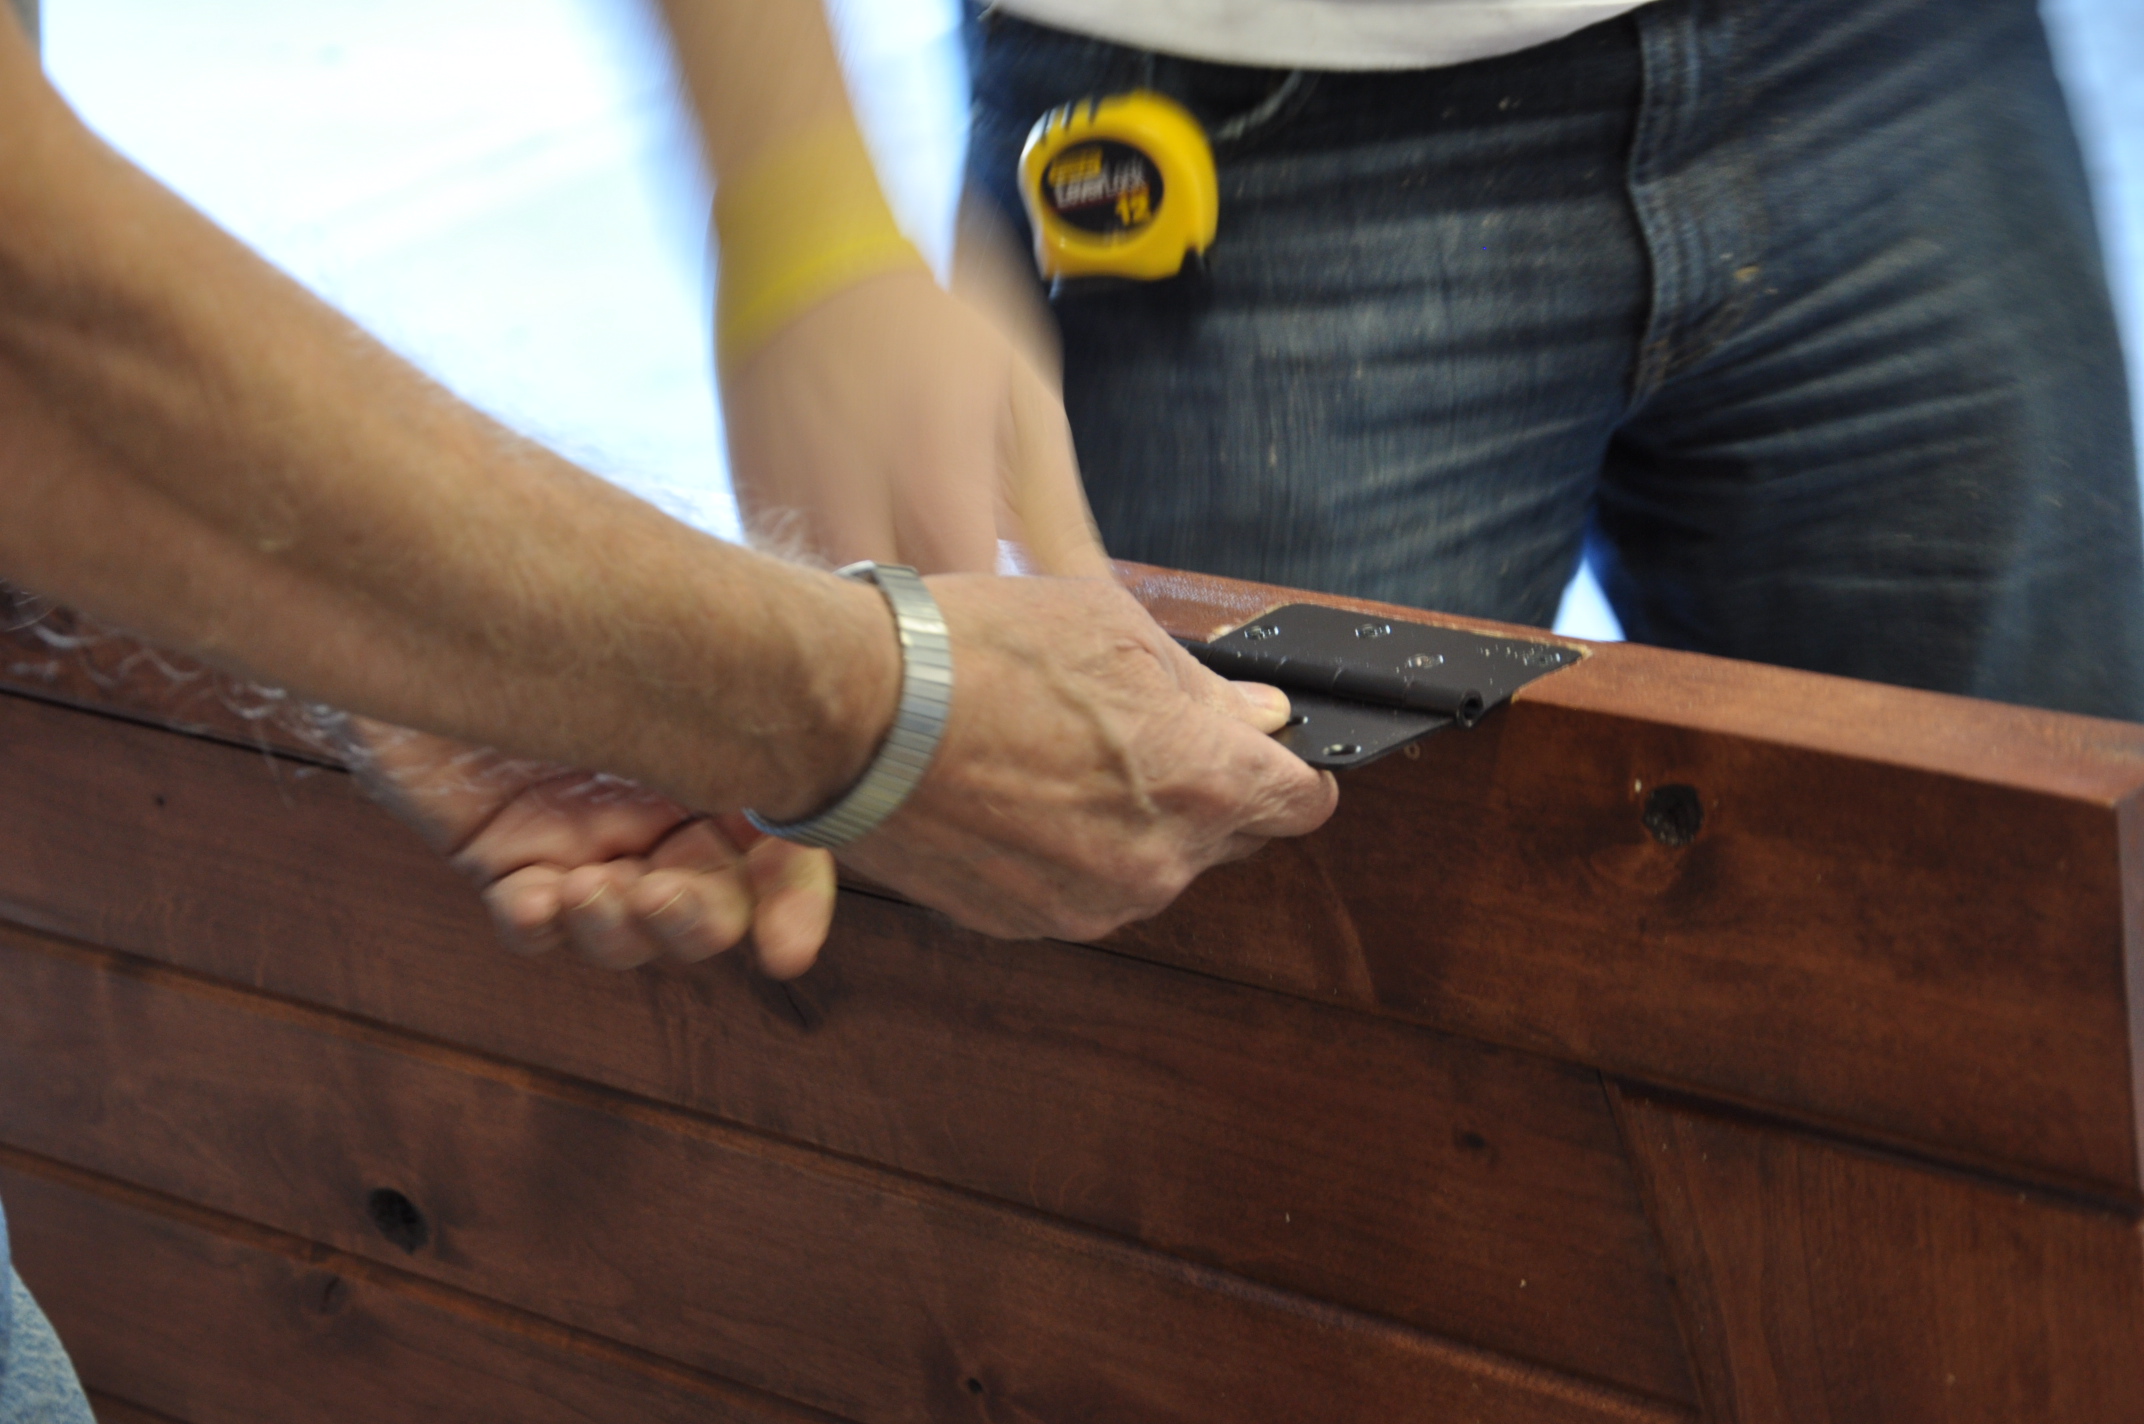
Now it was time to prep it for the hardware – first, the hinges (handles/locks had to wait until the door was actually hanging).
Here, our door-DIY’rs hit a snag.
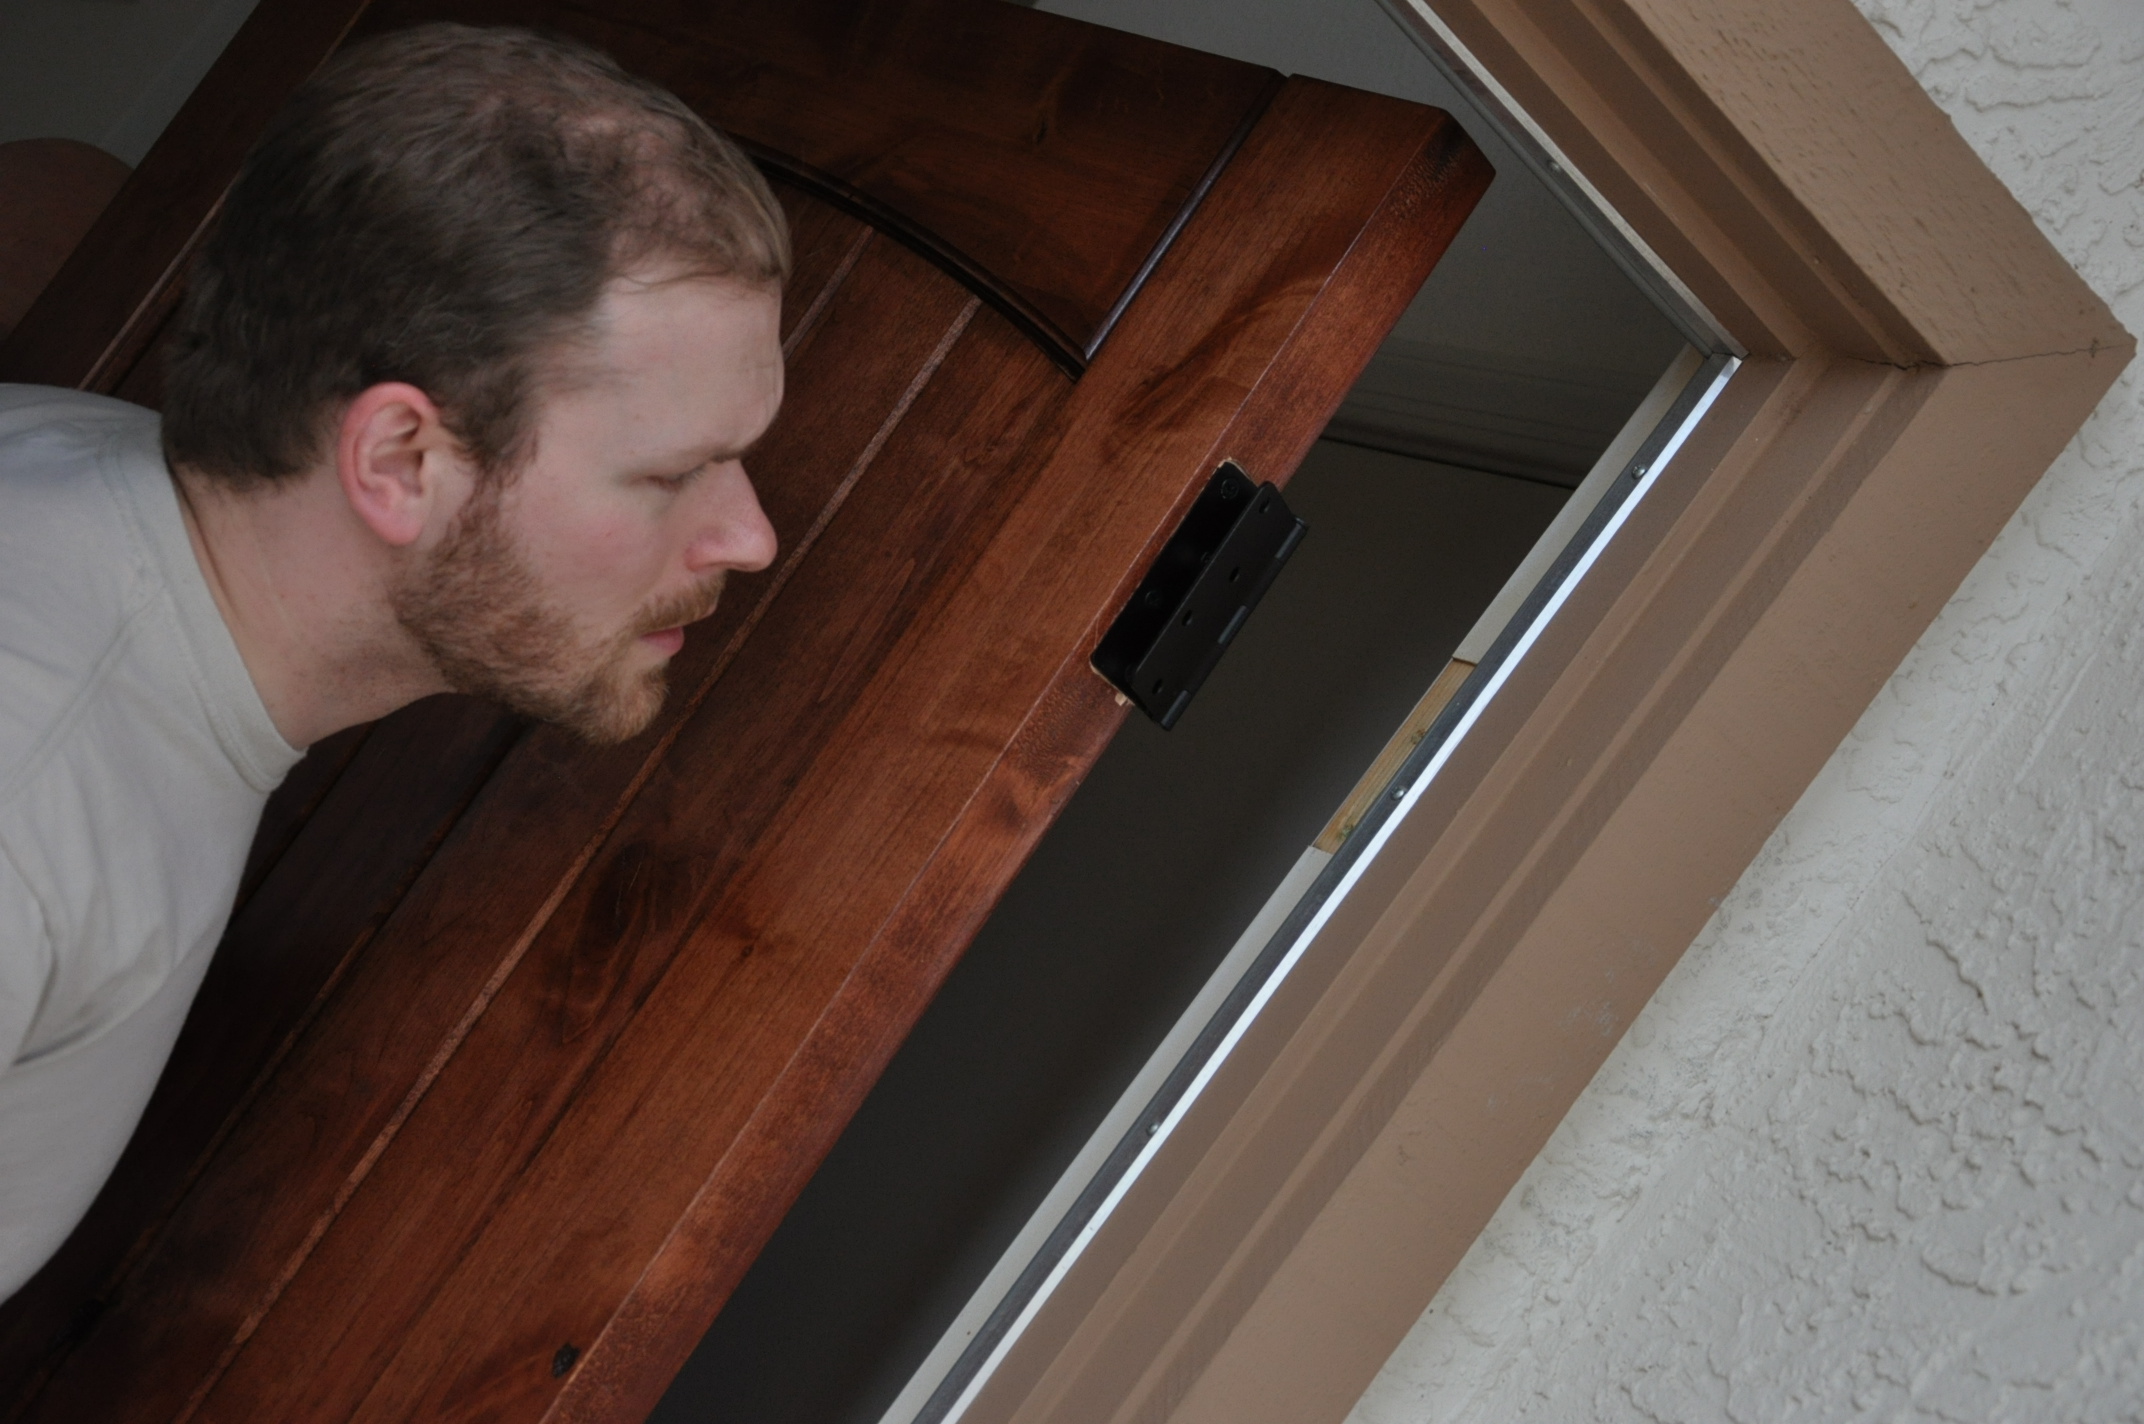
First, they tried chiseling away at the spot where the hinge would go. (You see, you have to create a space in the wood for it to sit flush with the surface.) They quickly noted that was going nowhere fast – so, it was off to Home Depot.
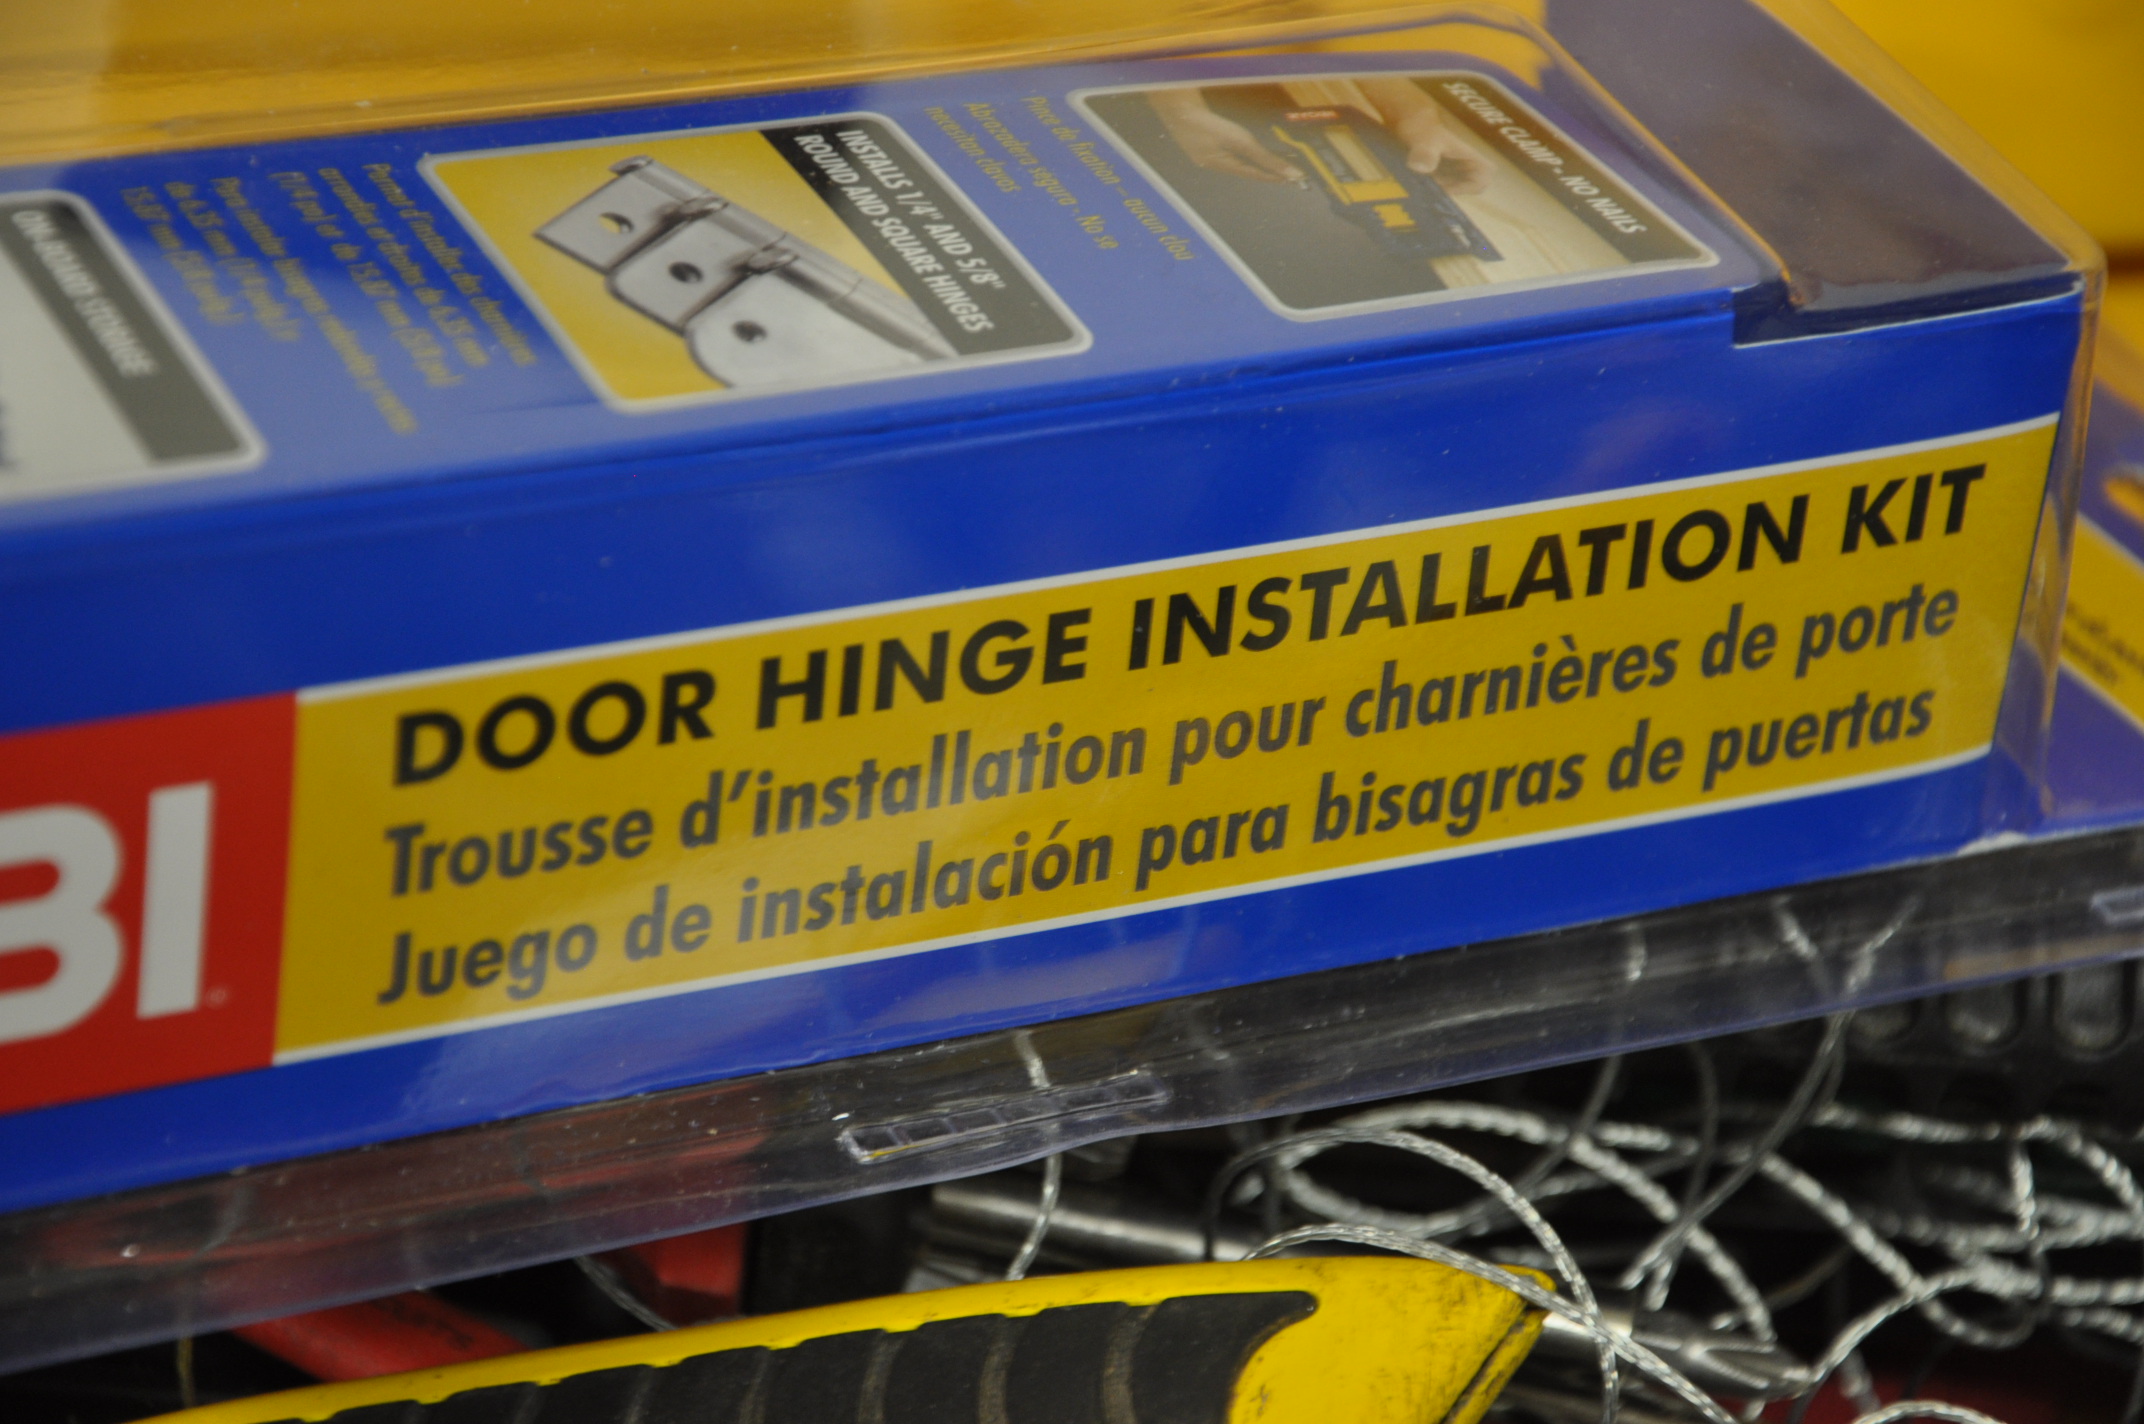
This handy tool ended up being a lifesaver. With this hinge jig, they were able to quickly and easily prepare the spaces for the hinges using a router.
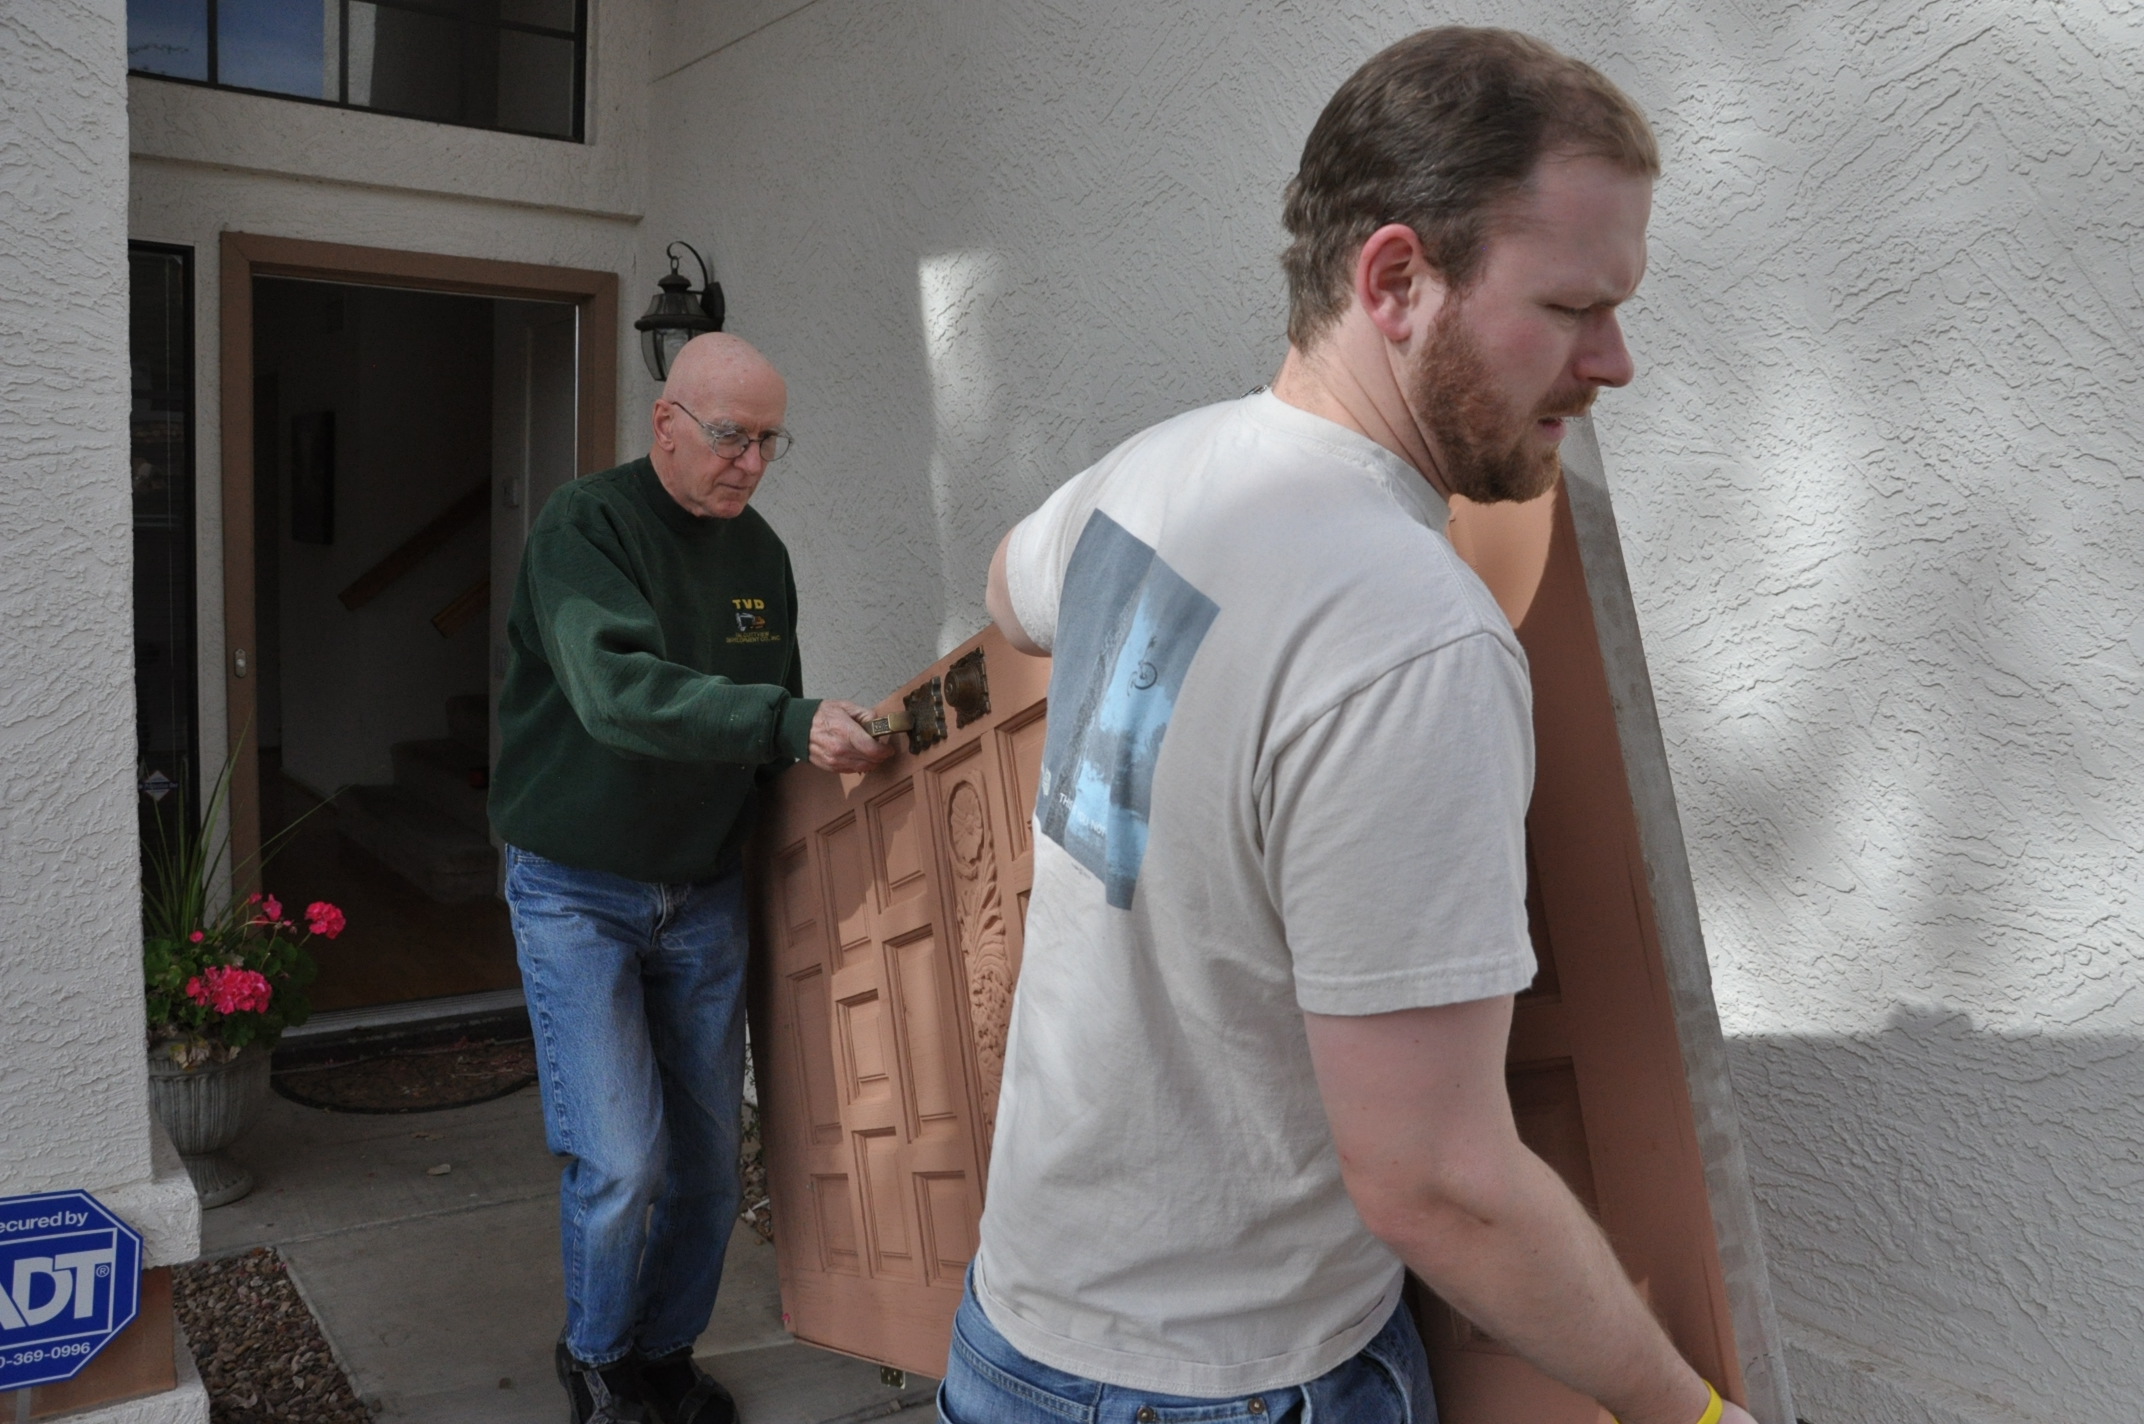
Once that was done – the door was ready to go up! After, of course, the old door came down…
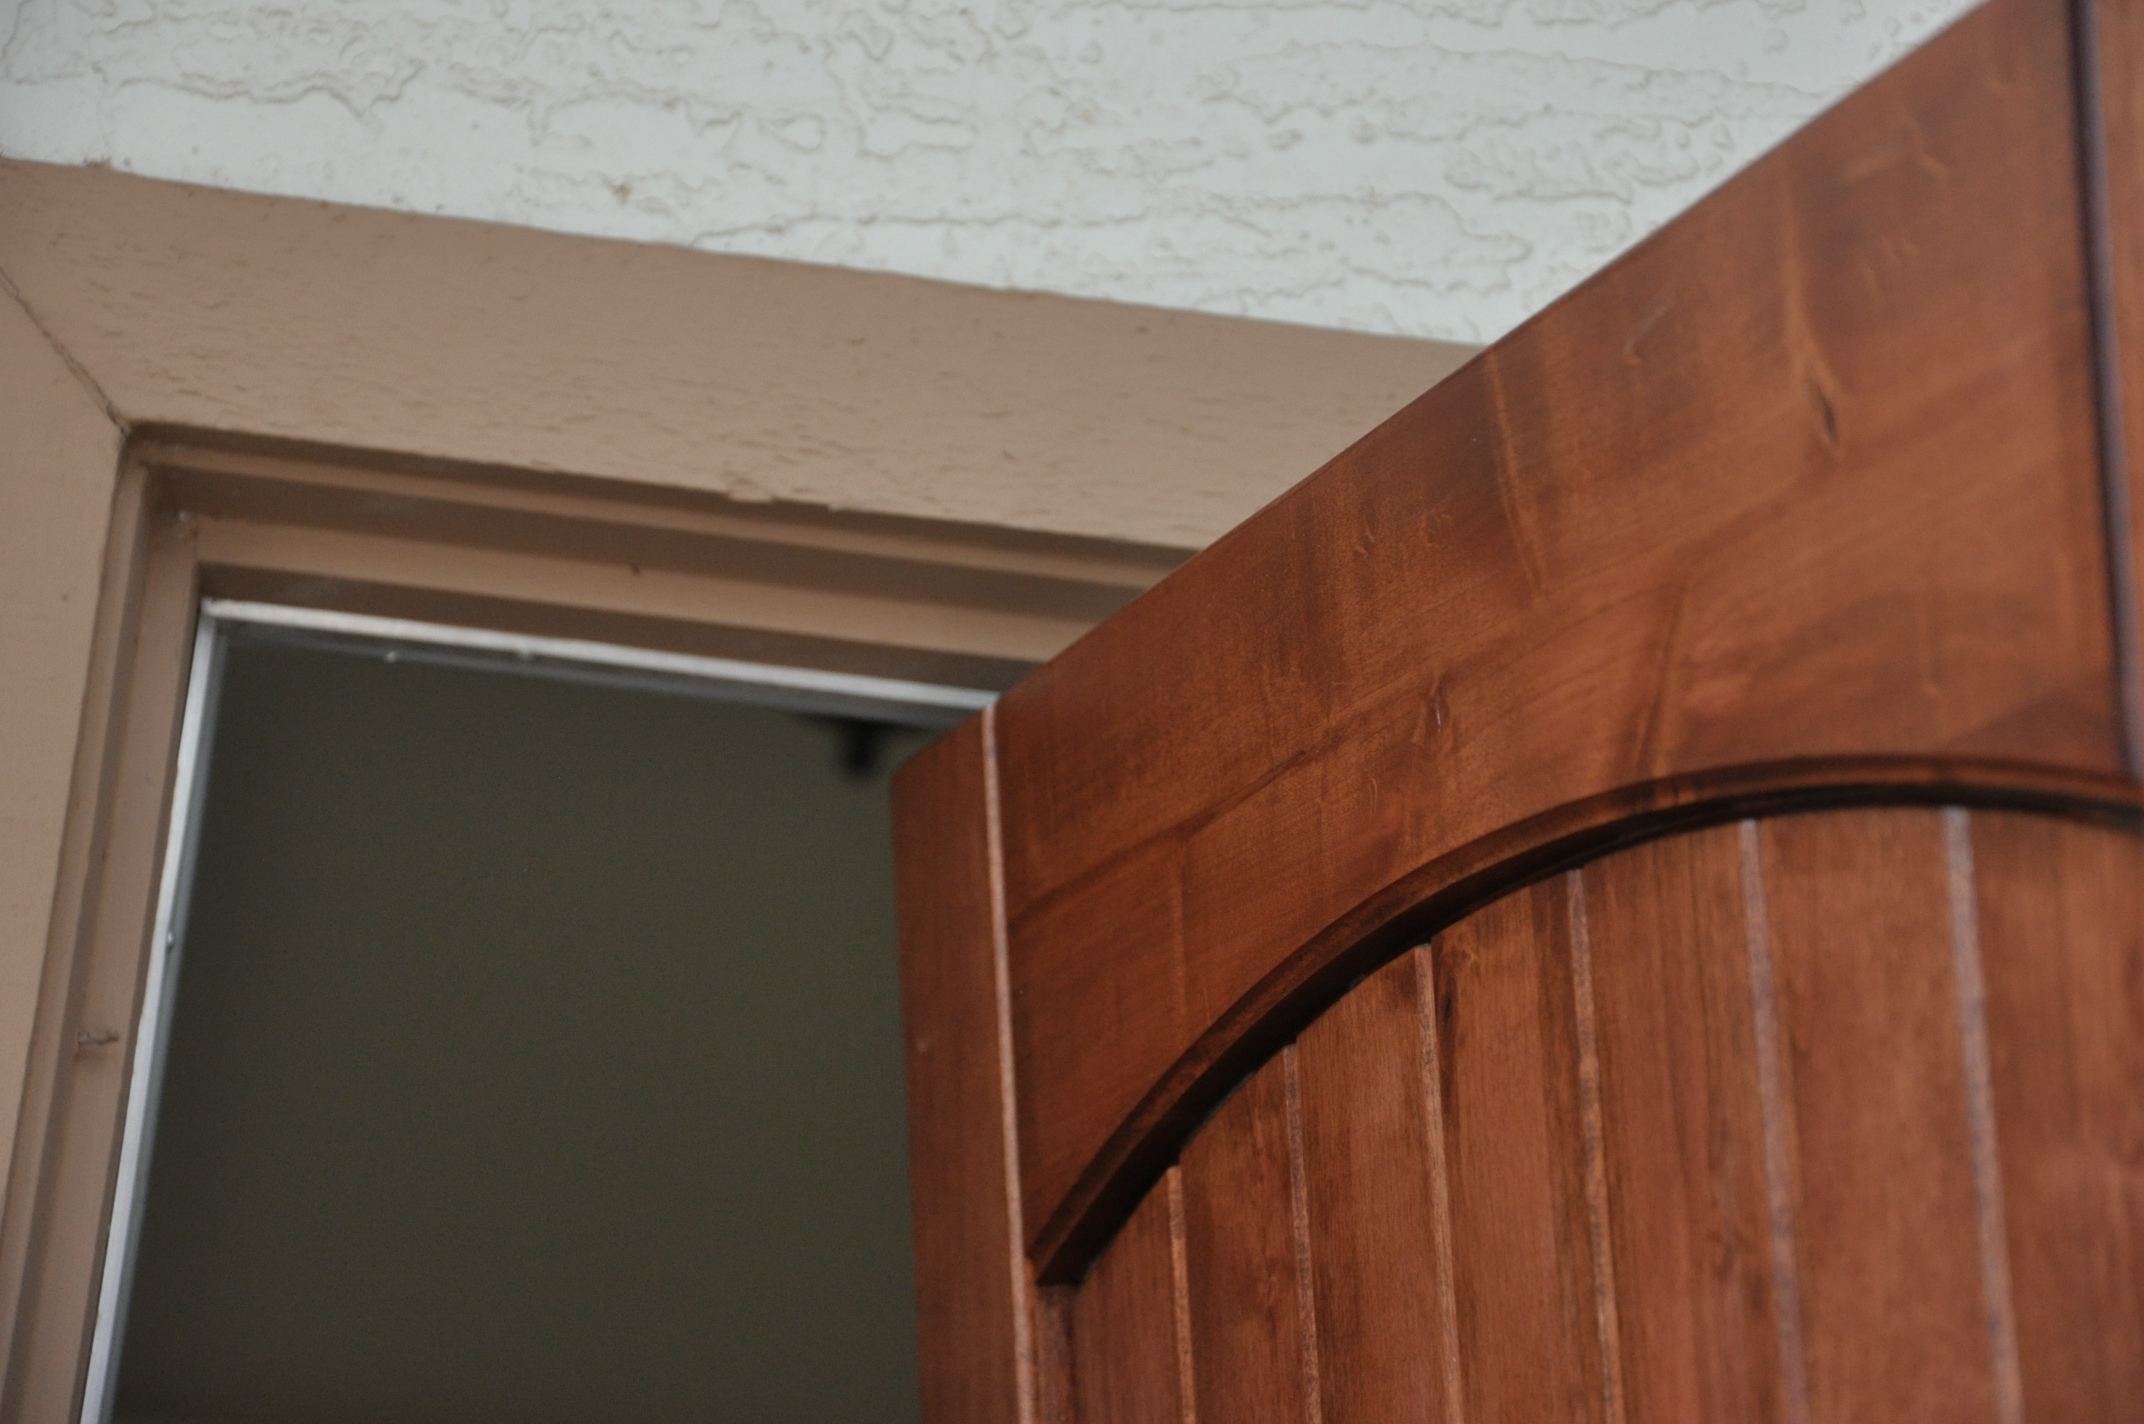
Now… we held our breath – hoping all that measuring, planing, and sanding was spot on and…
it was a PERFECT FIT! Sweet.
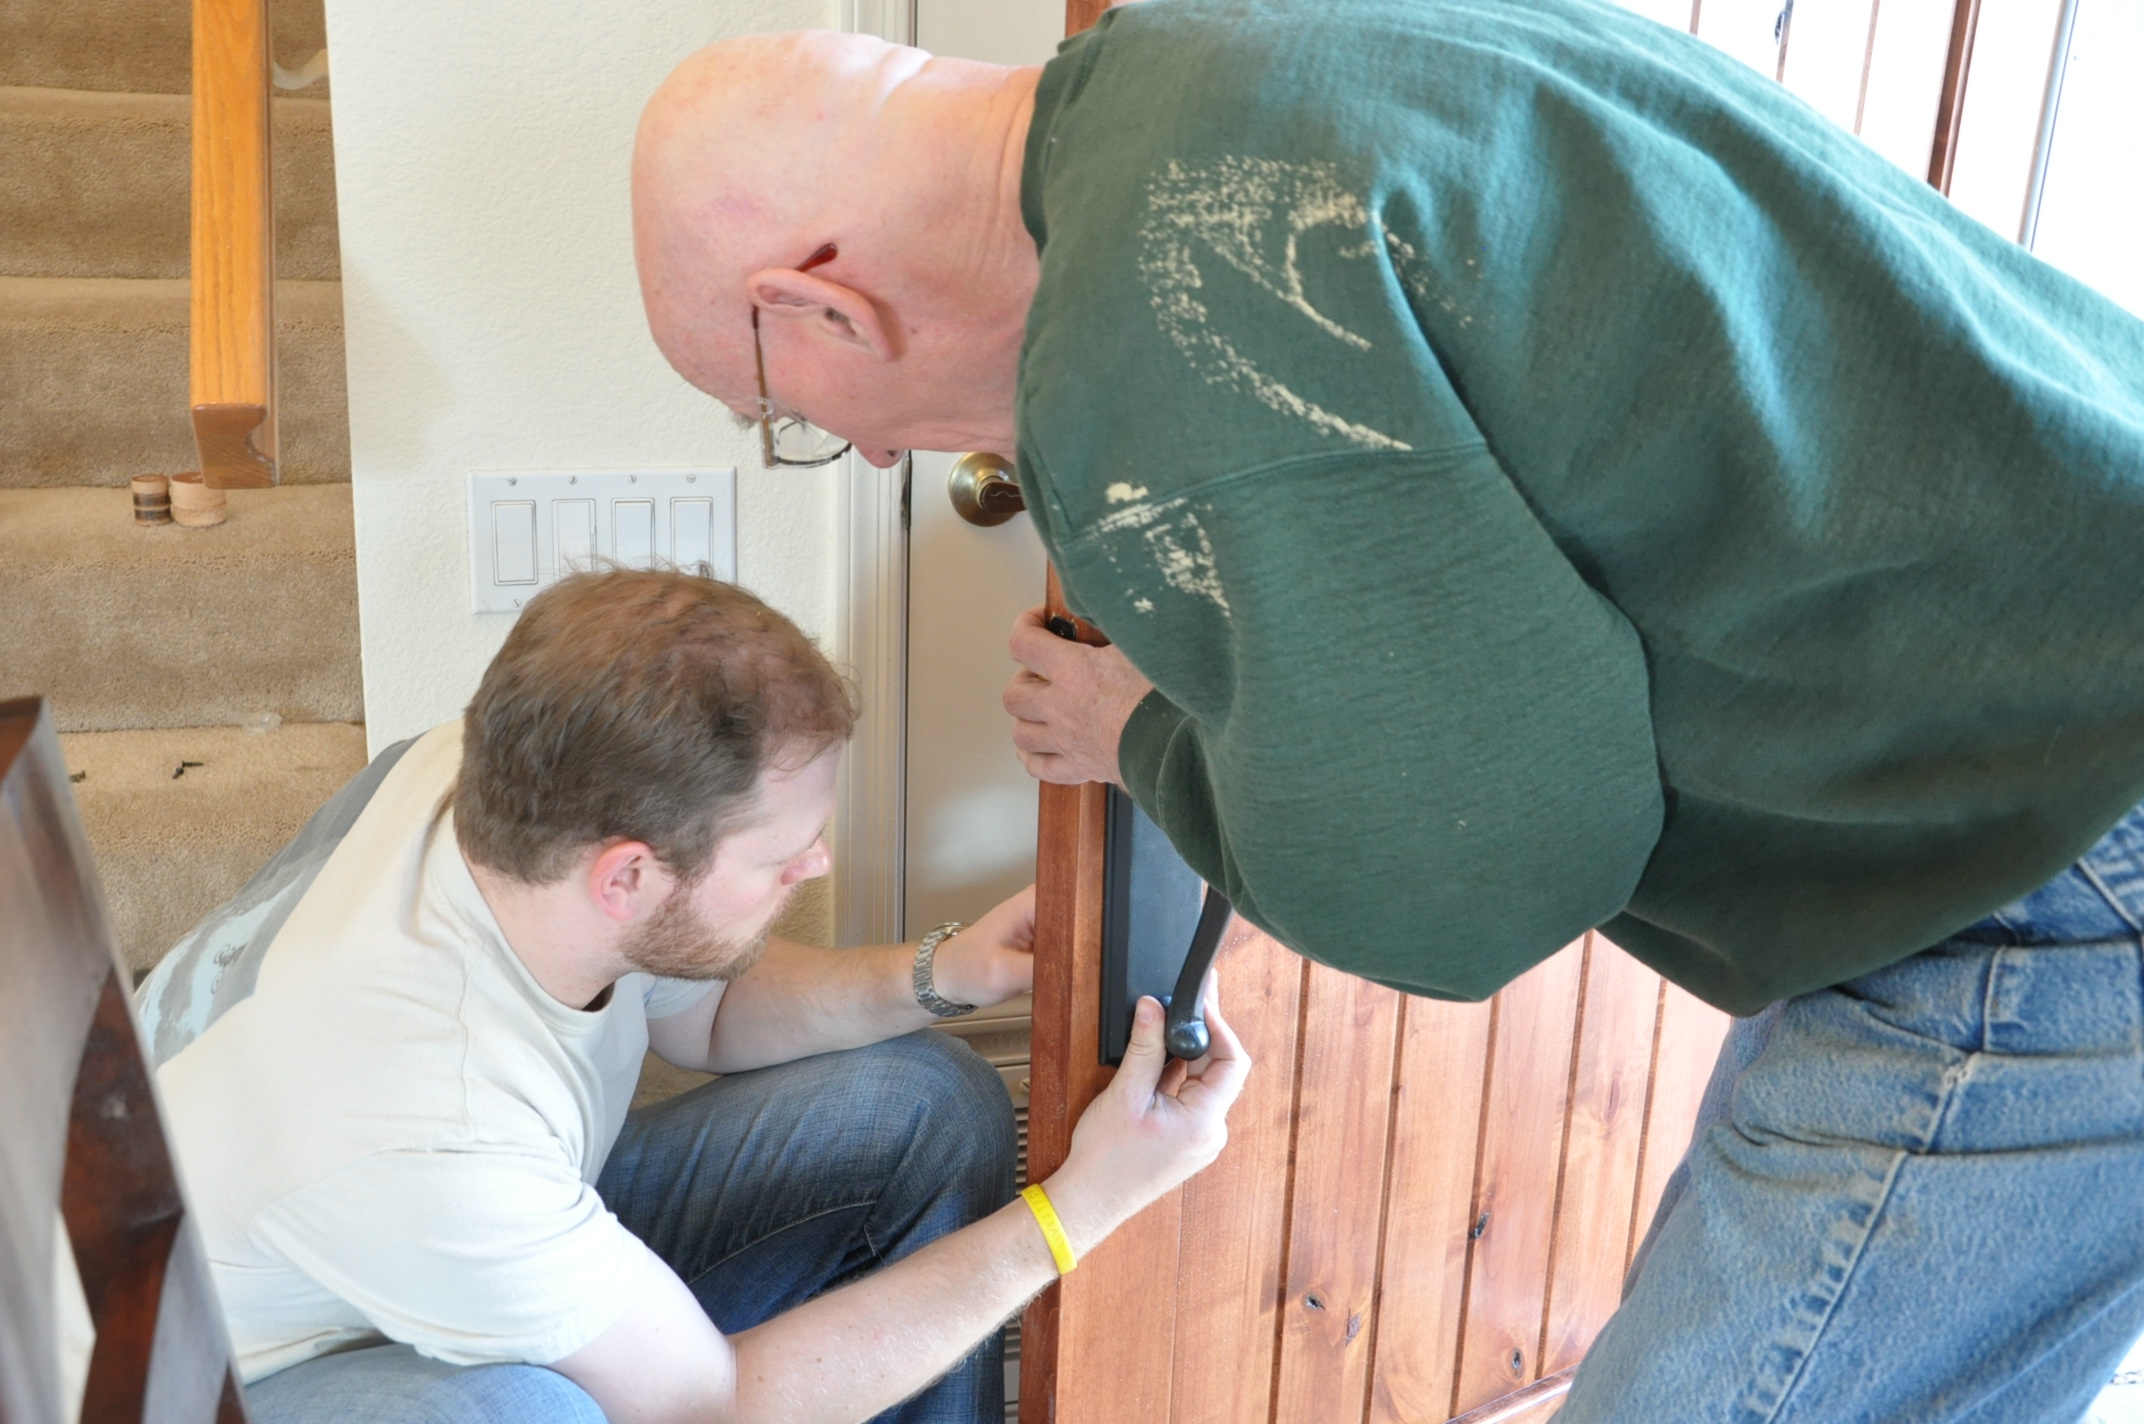
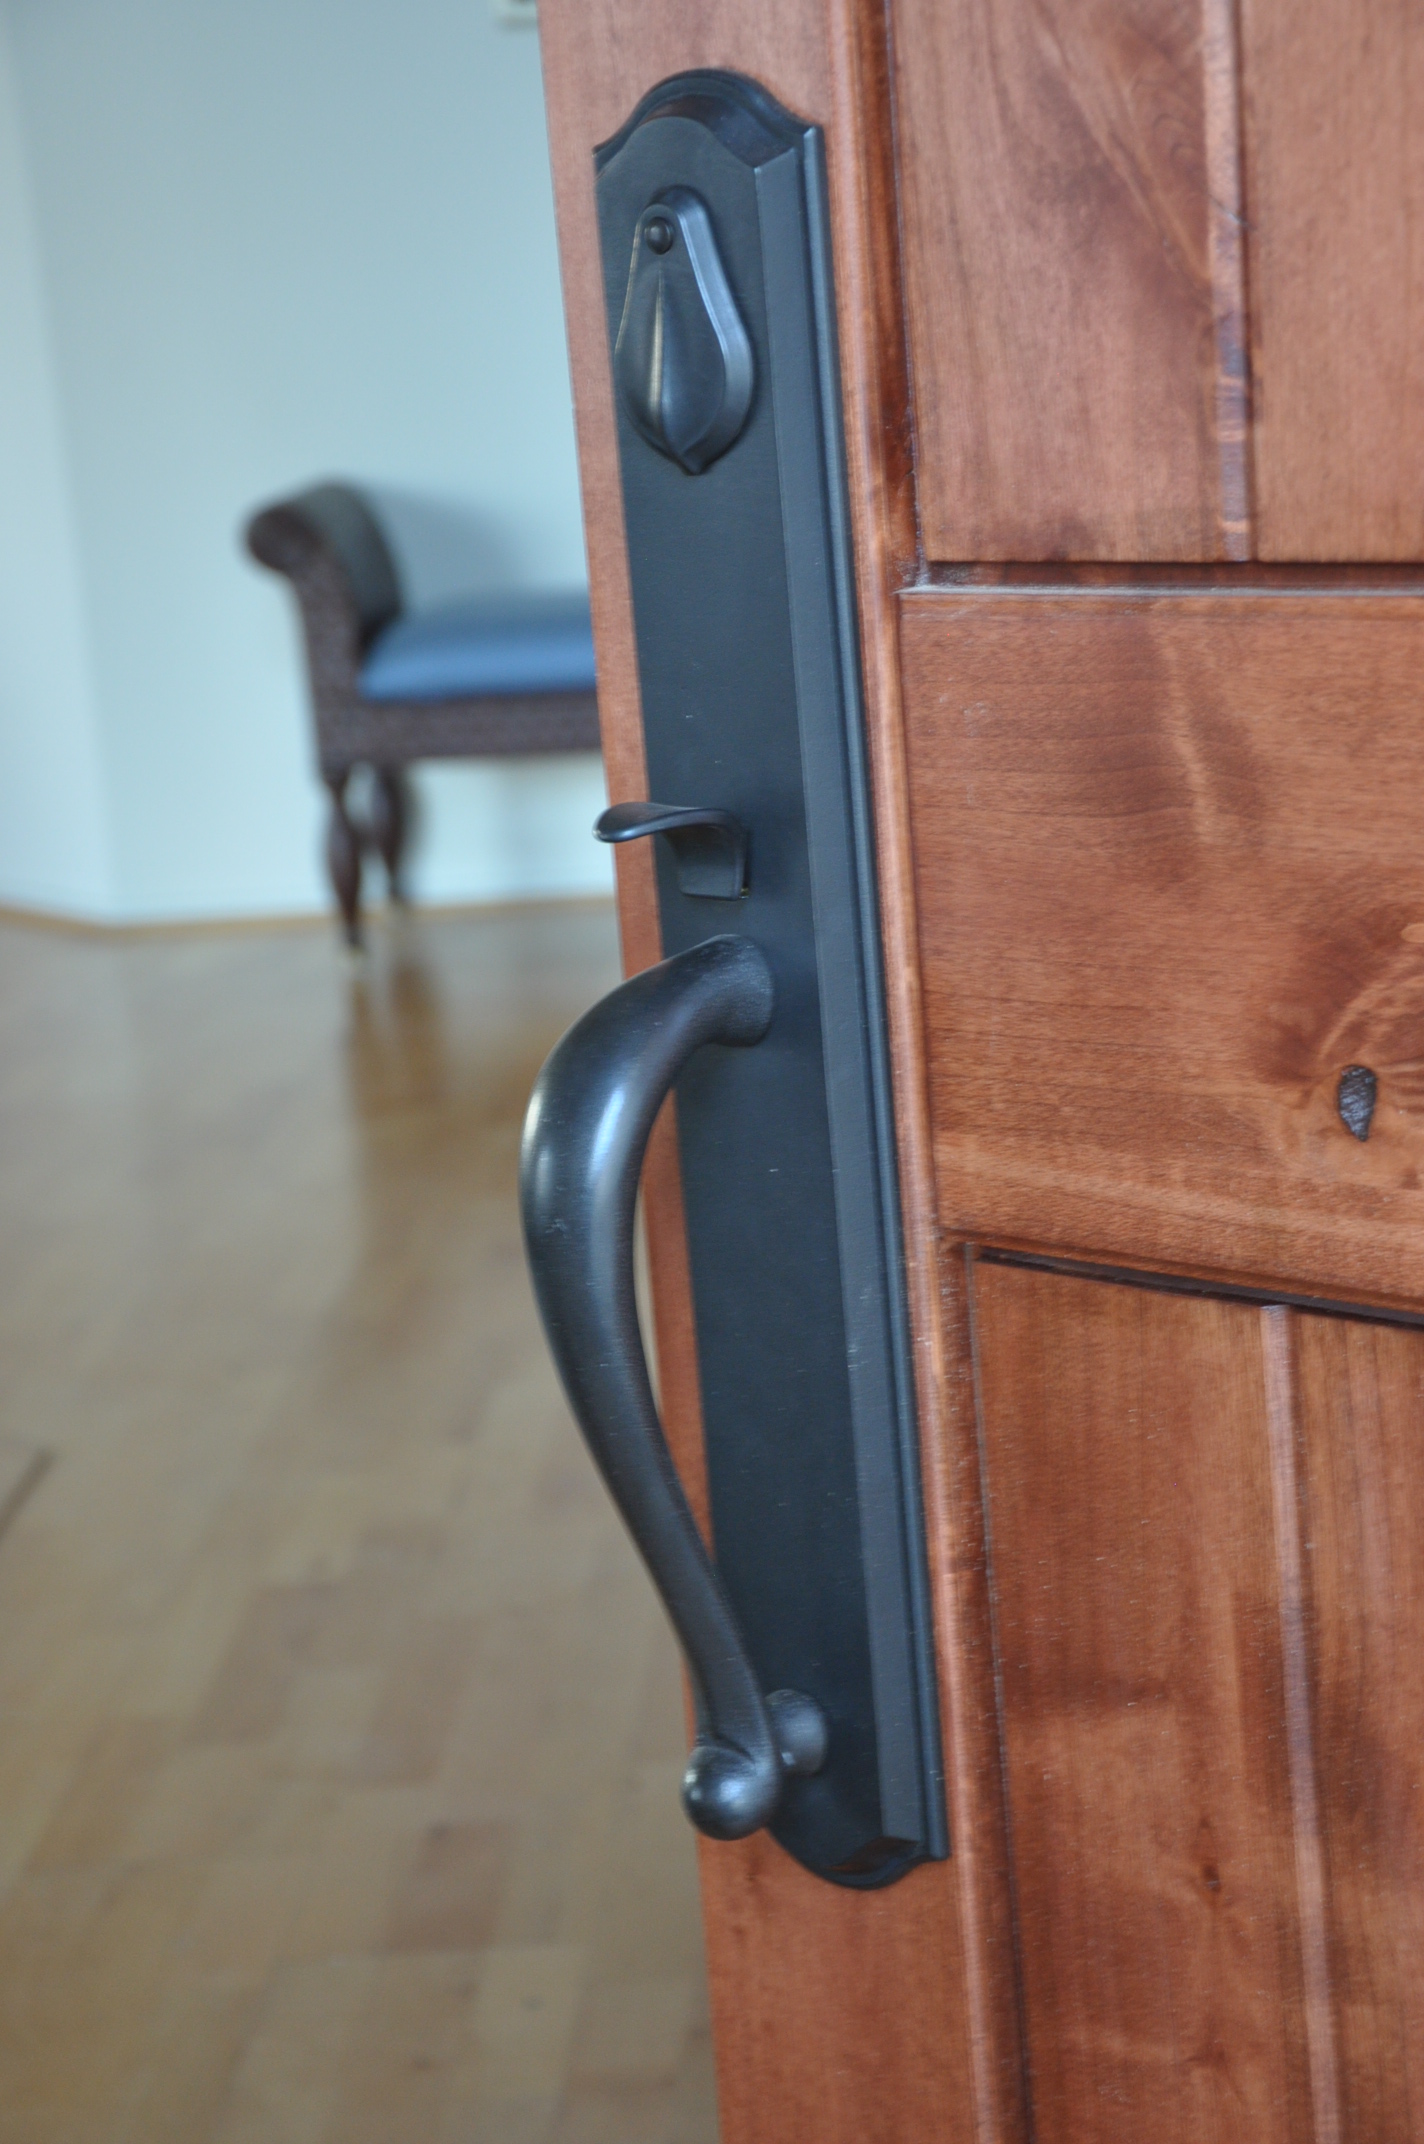
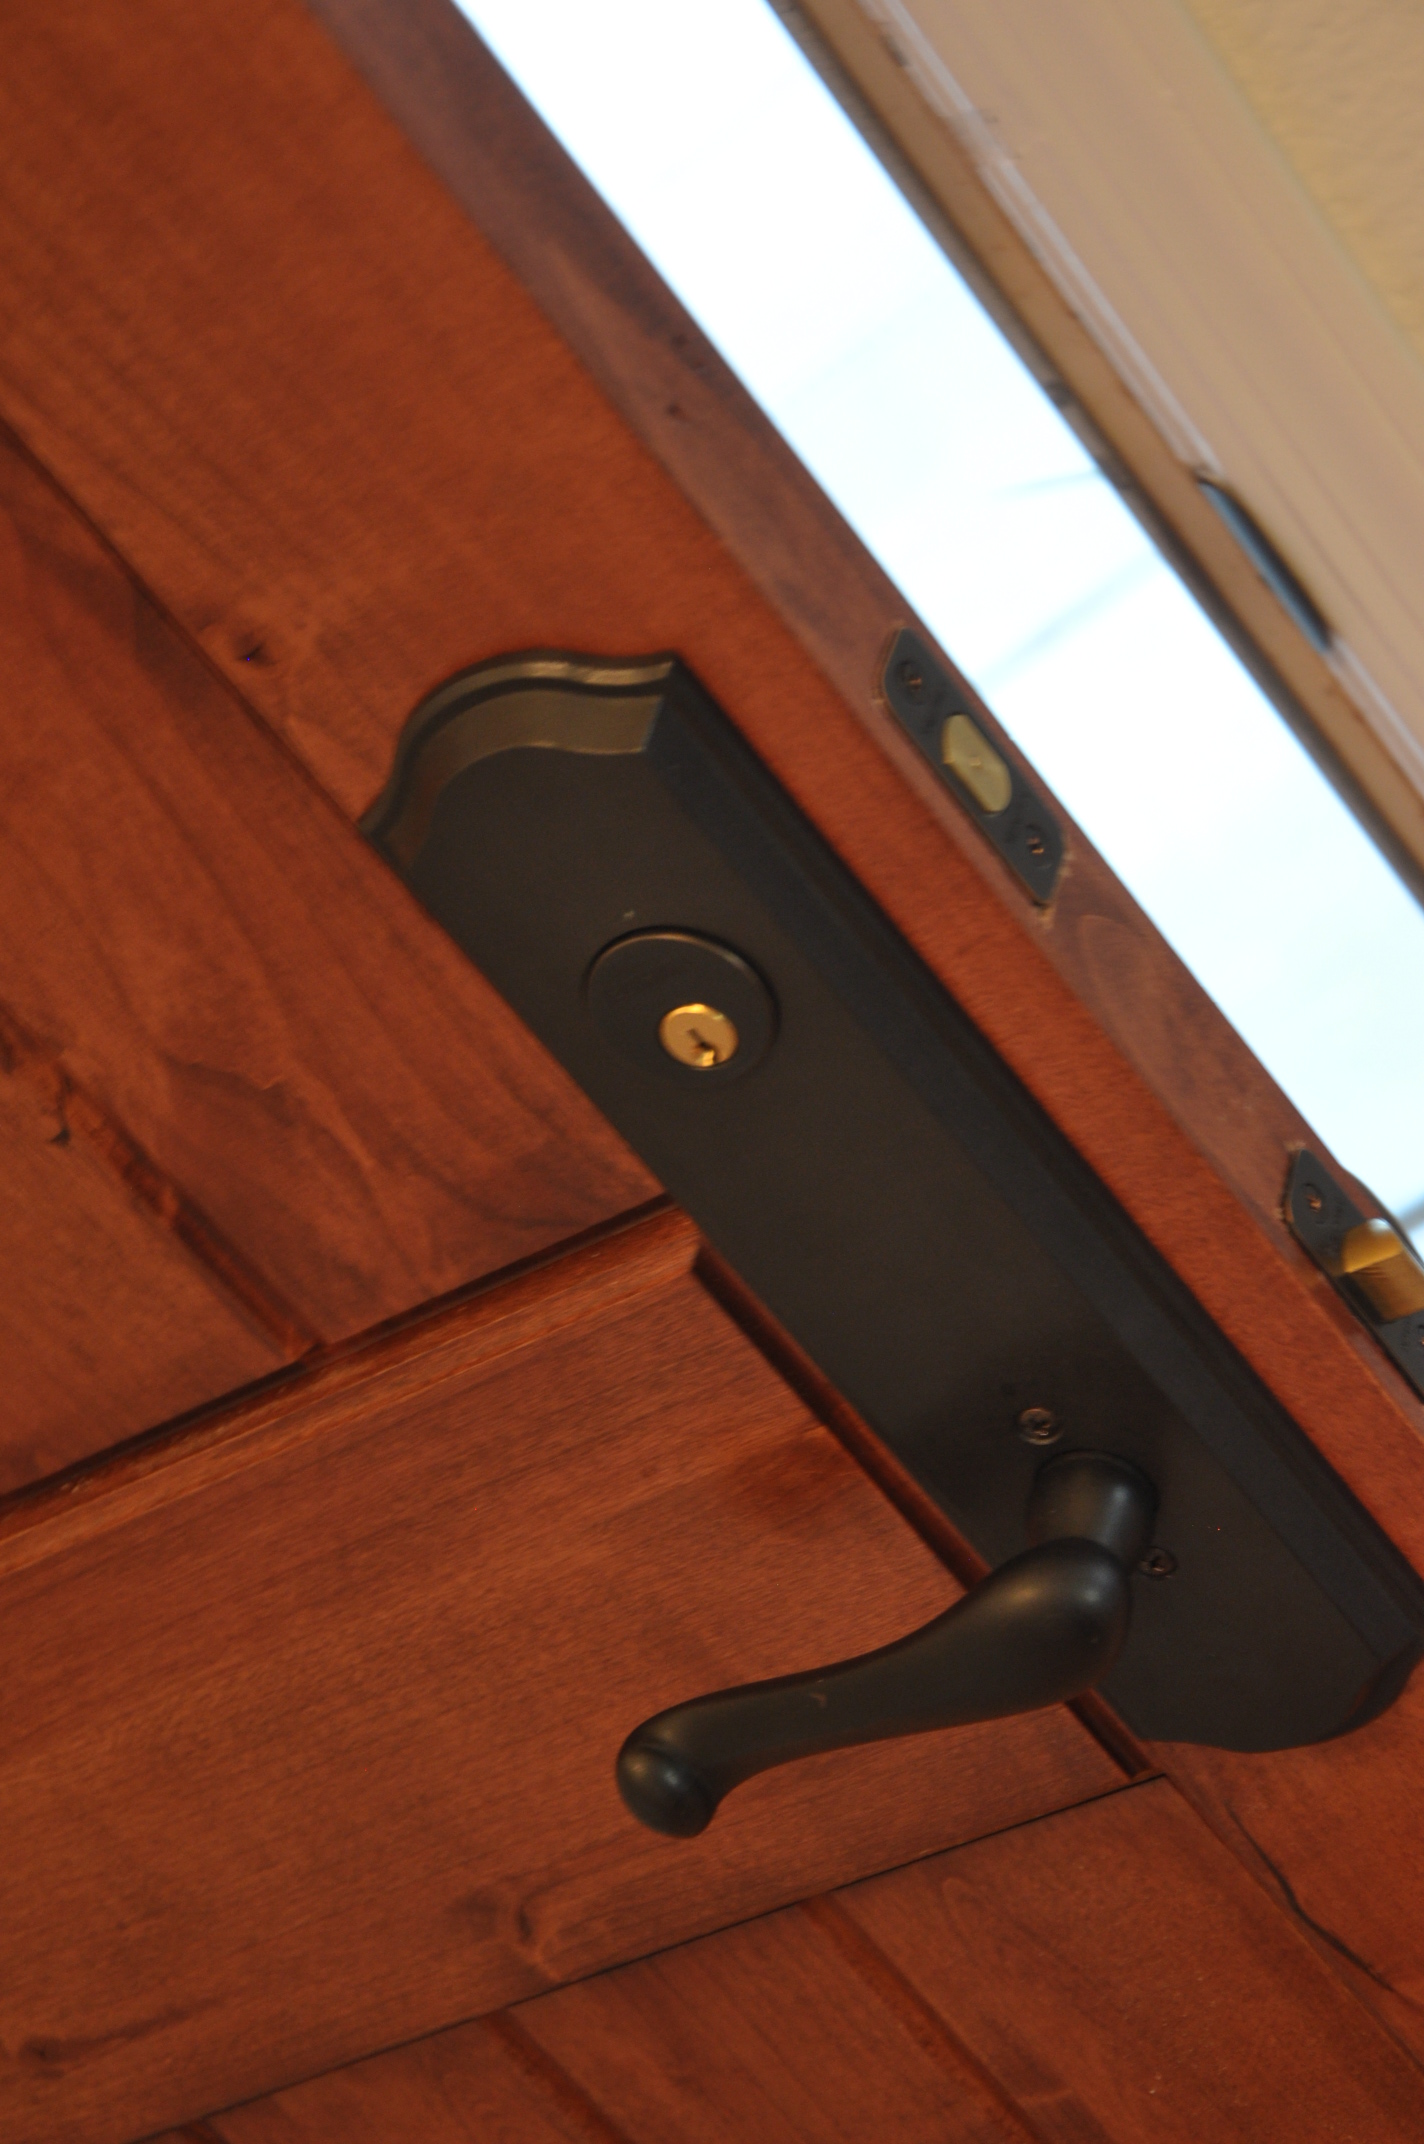
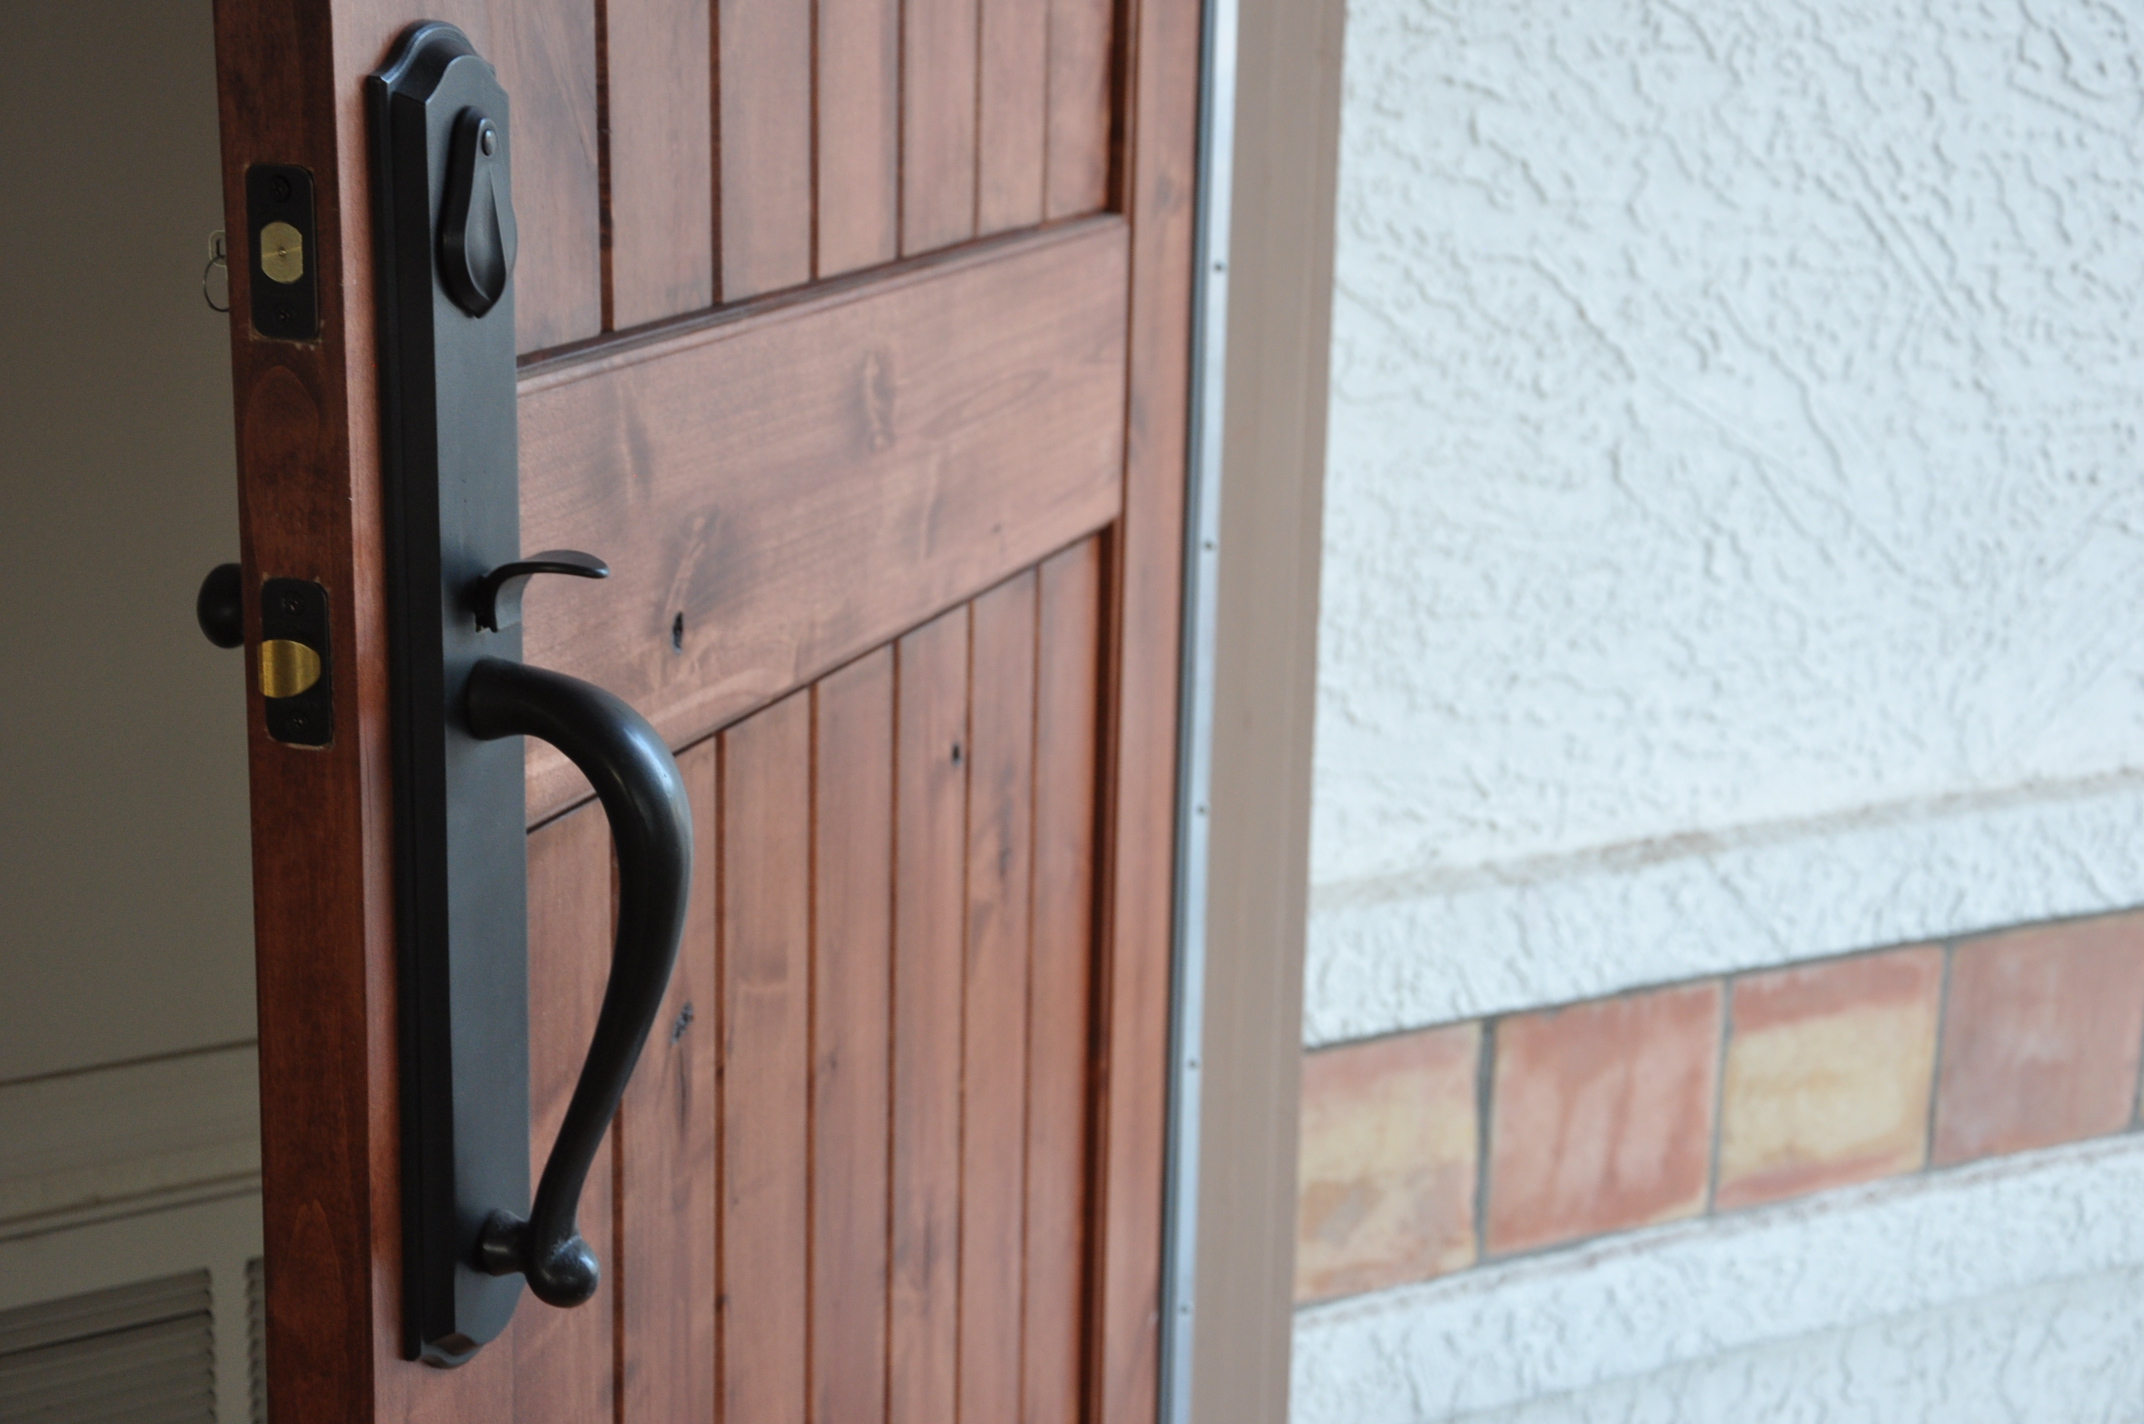
Once the manly-door-makers got it in place, they set to work on the hardware. Now, a note about the hardware…do you have ANY IDEA how expensive front door hardware can be? Most of the handle/lock combos that we found and liked were north of $500! Call us crazy, but we had an aversion to paying more for the handle than we did for the door. We could have gone for a cheap $99 or so version from Home Depot or Lowes – but we had aversions to that too. Our first door & hardware lasted 24 years. We figure this new door will last at least that long too. Hardware is so specific – if you want something new, in most cases, you have to swap out the whole door. So, we weren’t going to compromise on the quality of our hardware – but there was no way we were going to pay $500, $400 or even $300 either! And thanks to Ebay, we didn’t have to.
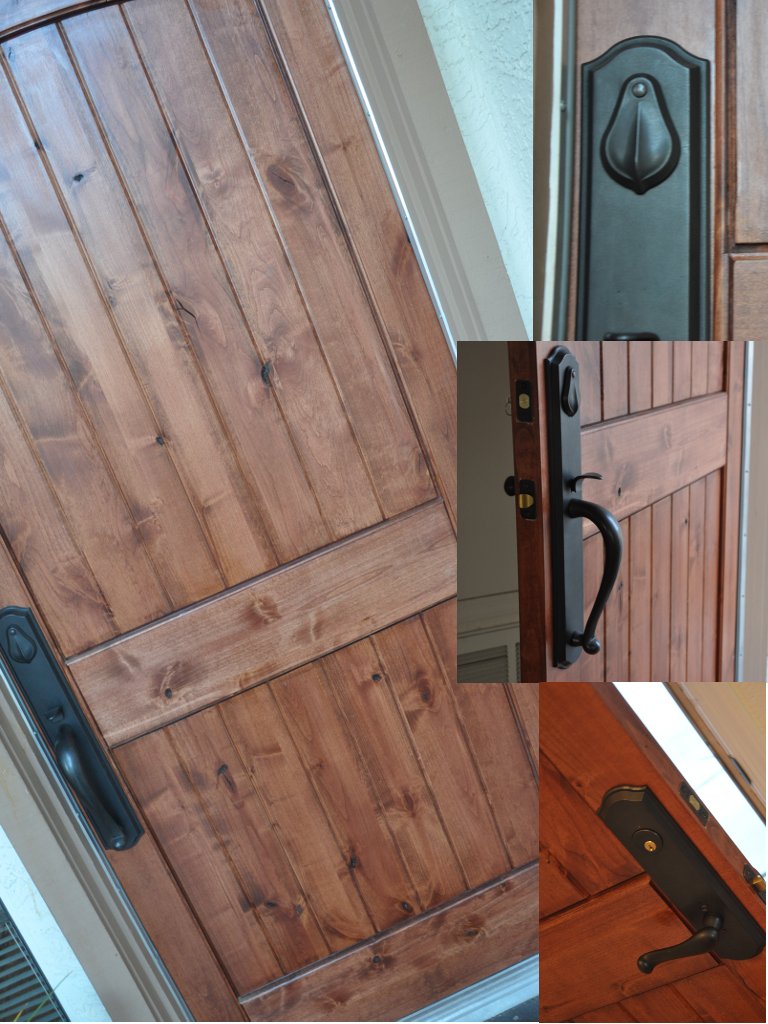
Typically you special order this gorgeous Baldwin handle/lock for $460 – but we scored it on Ebay for $126. Oh, YEAH! Okay, now back to the project:
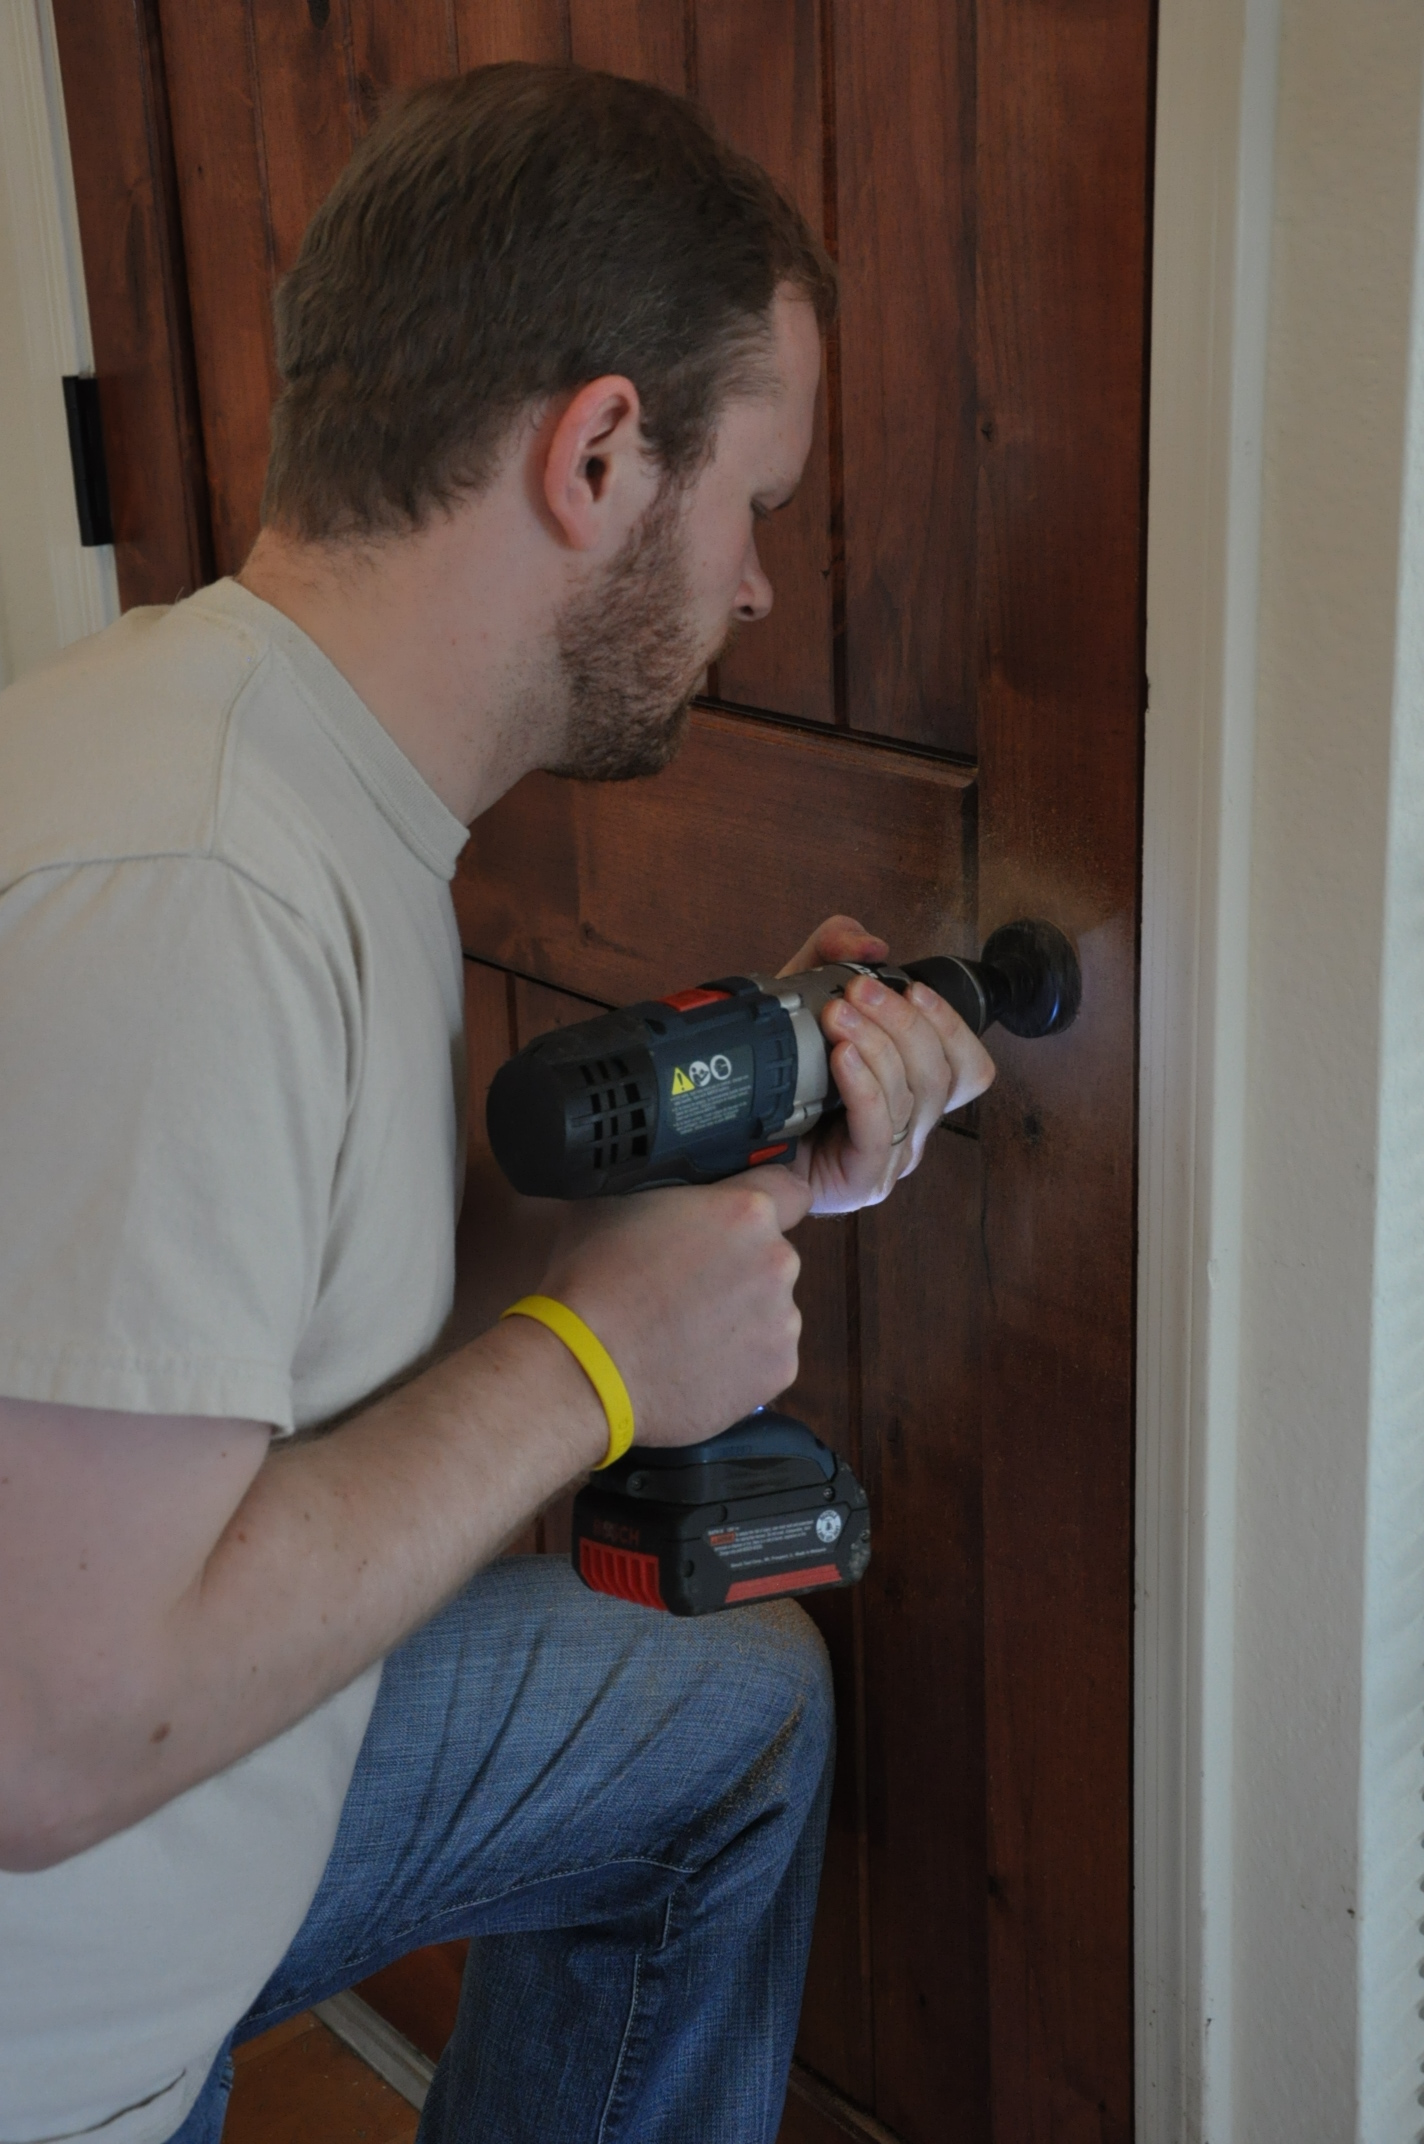
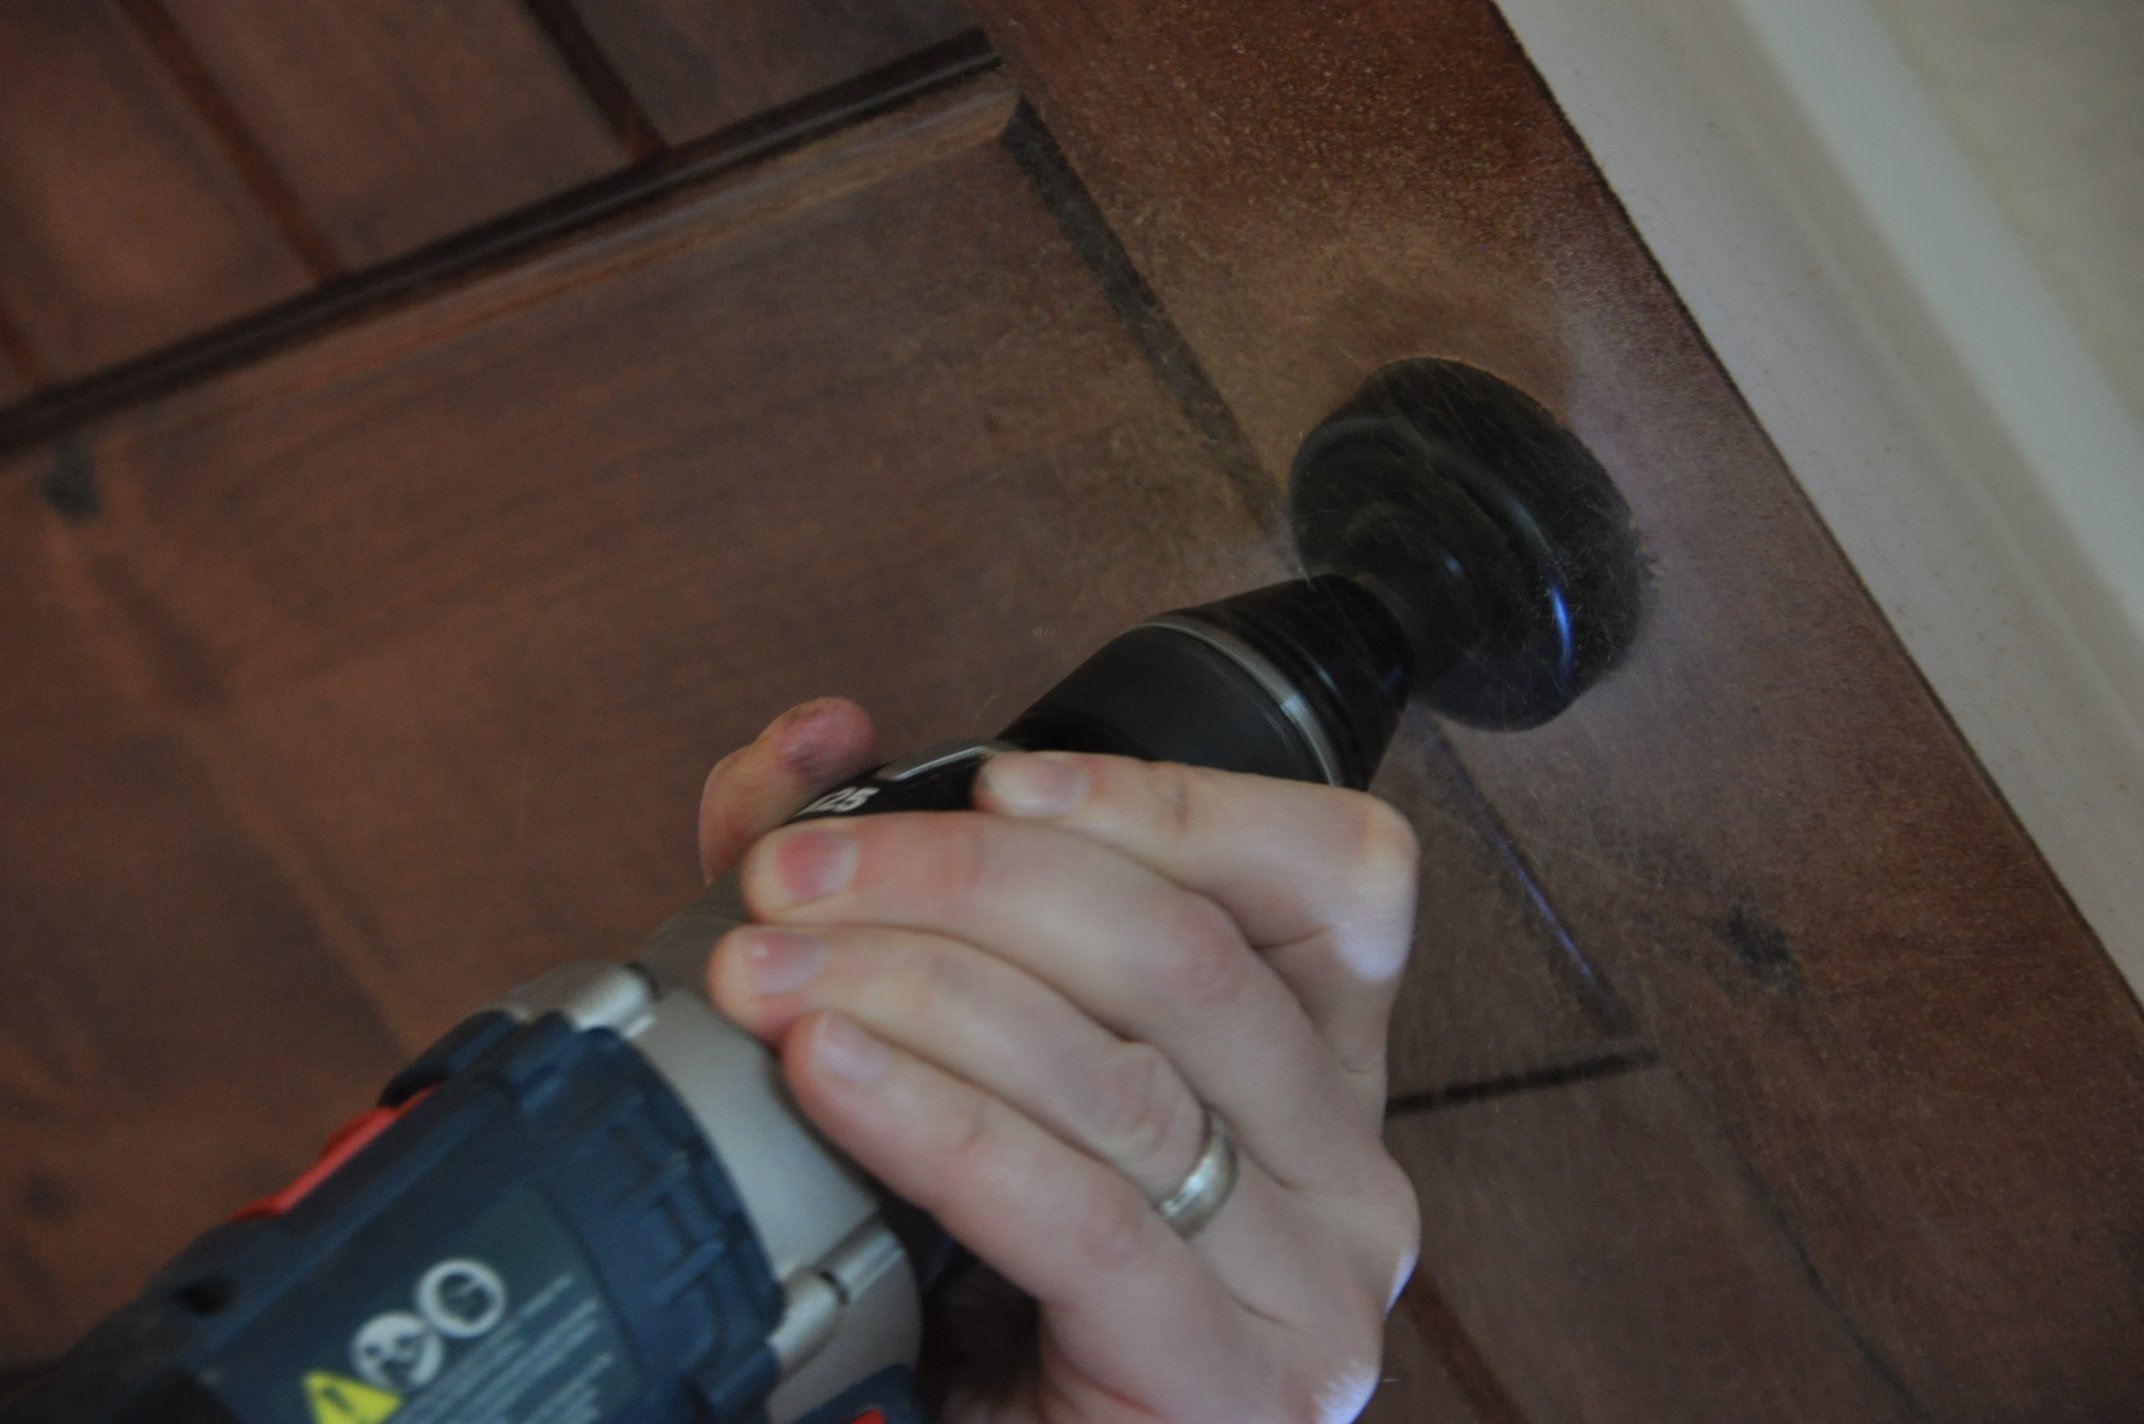
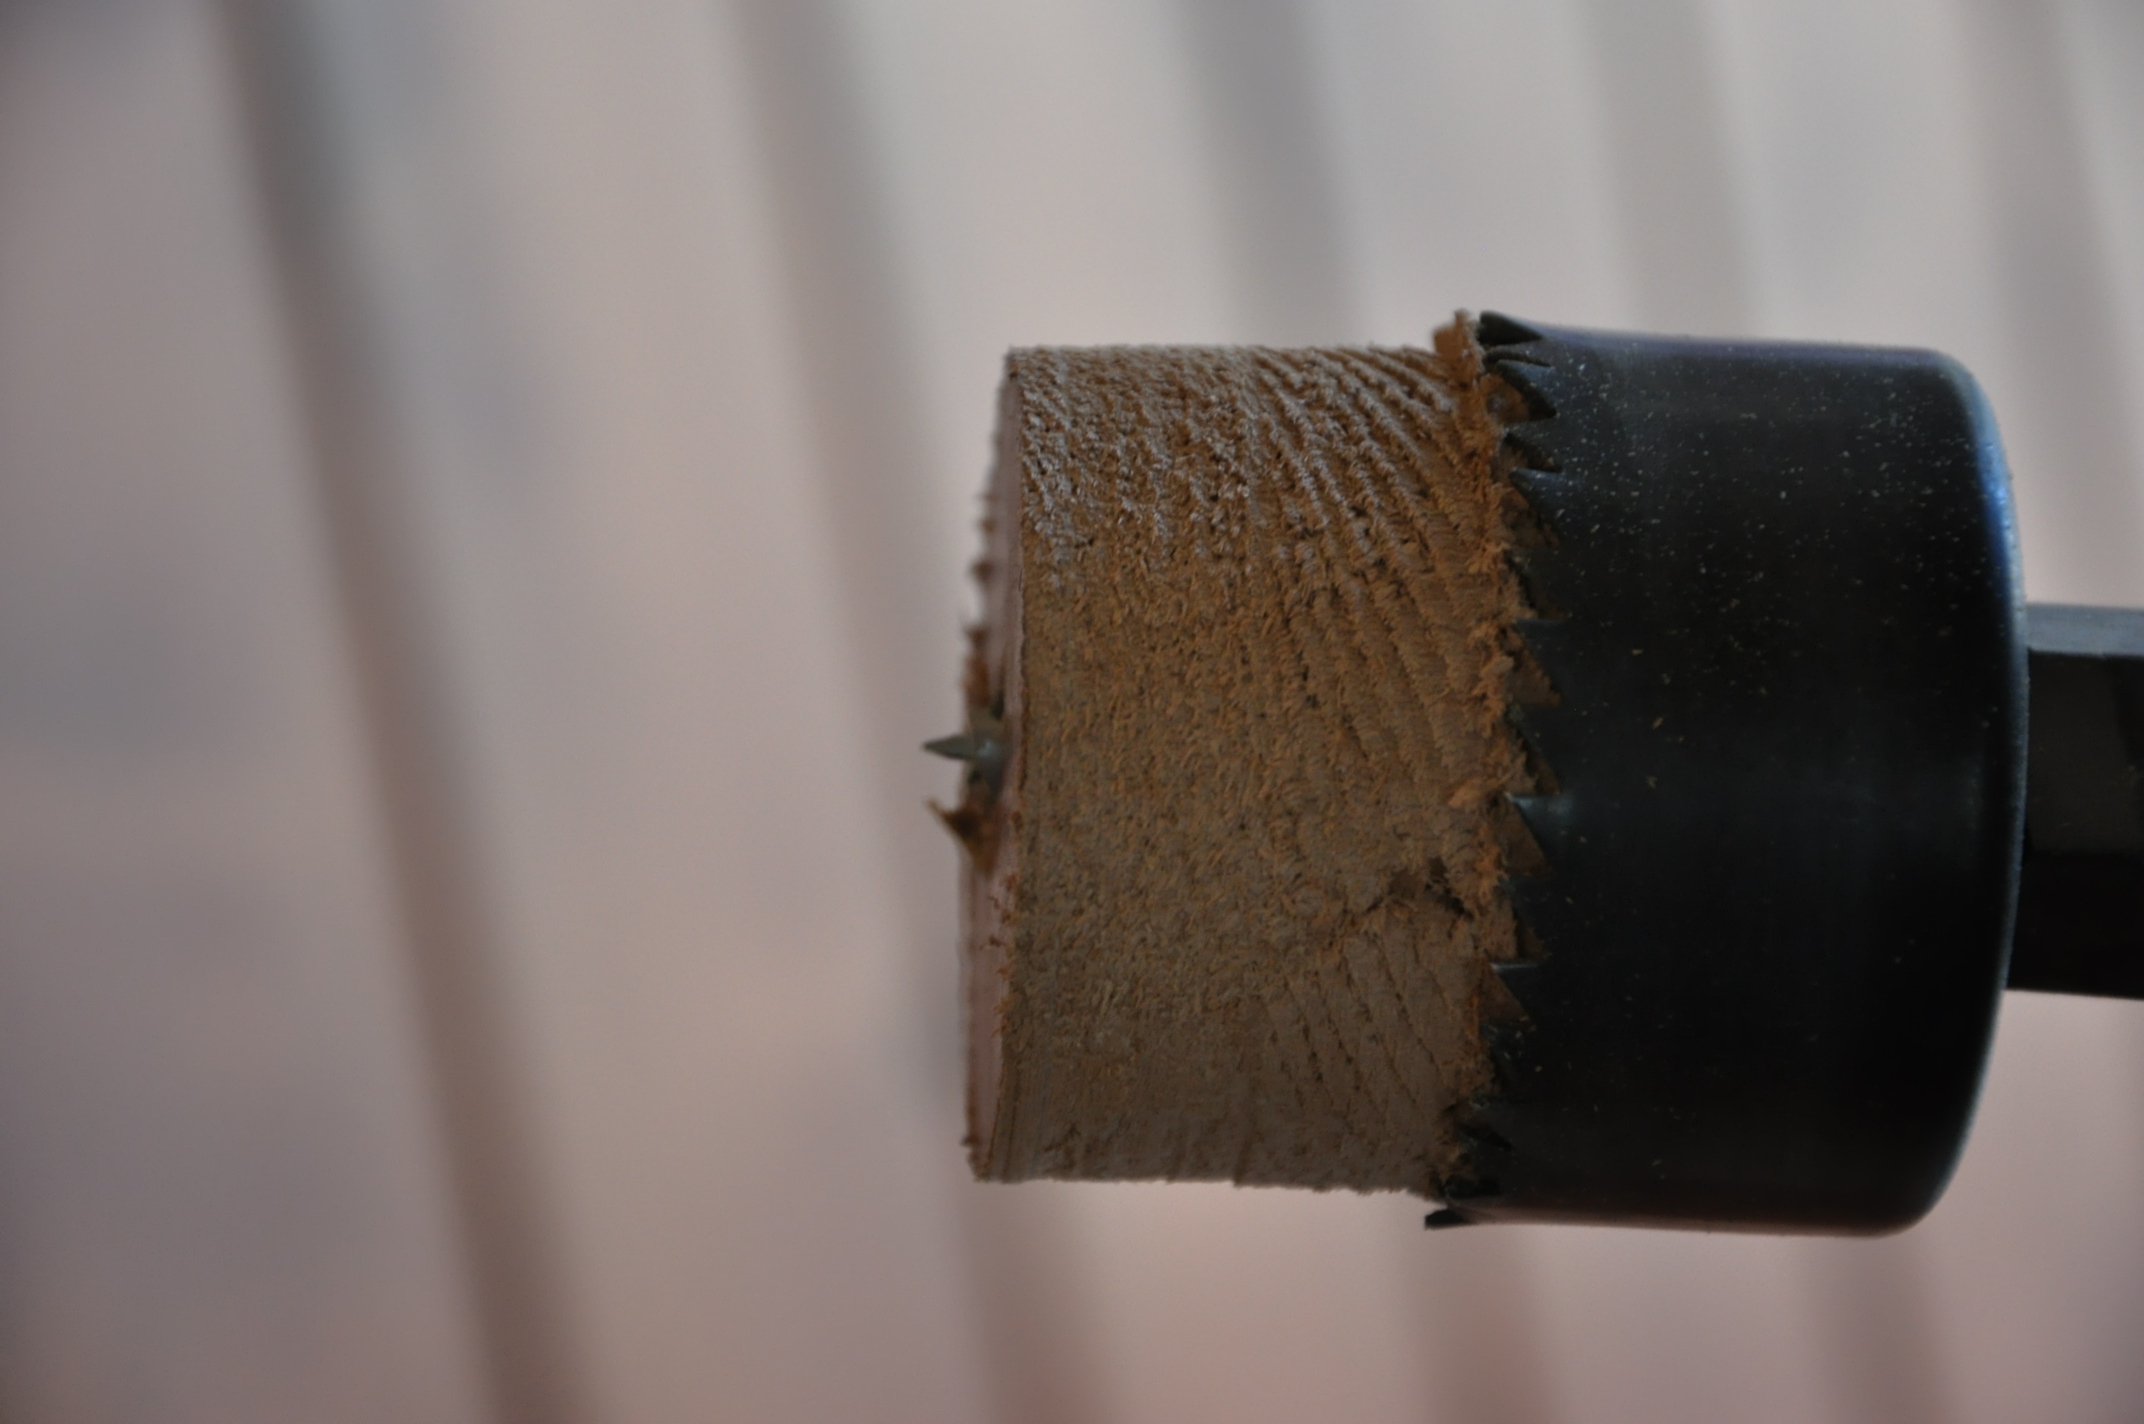
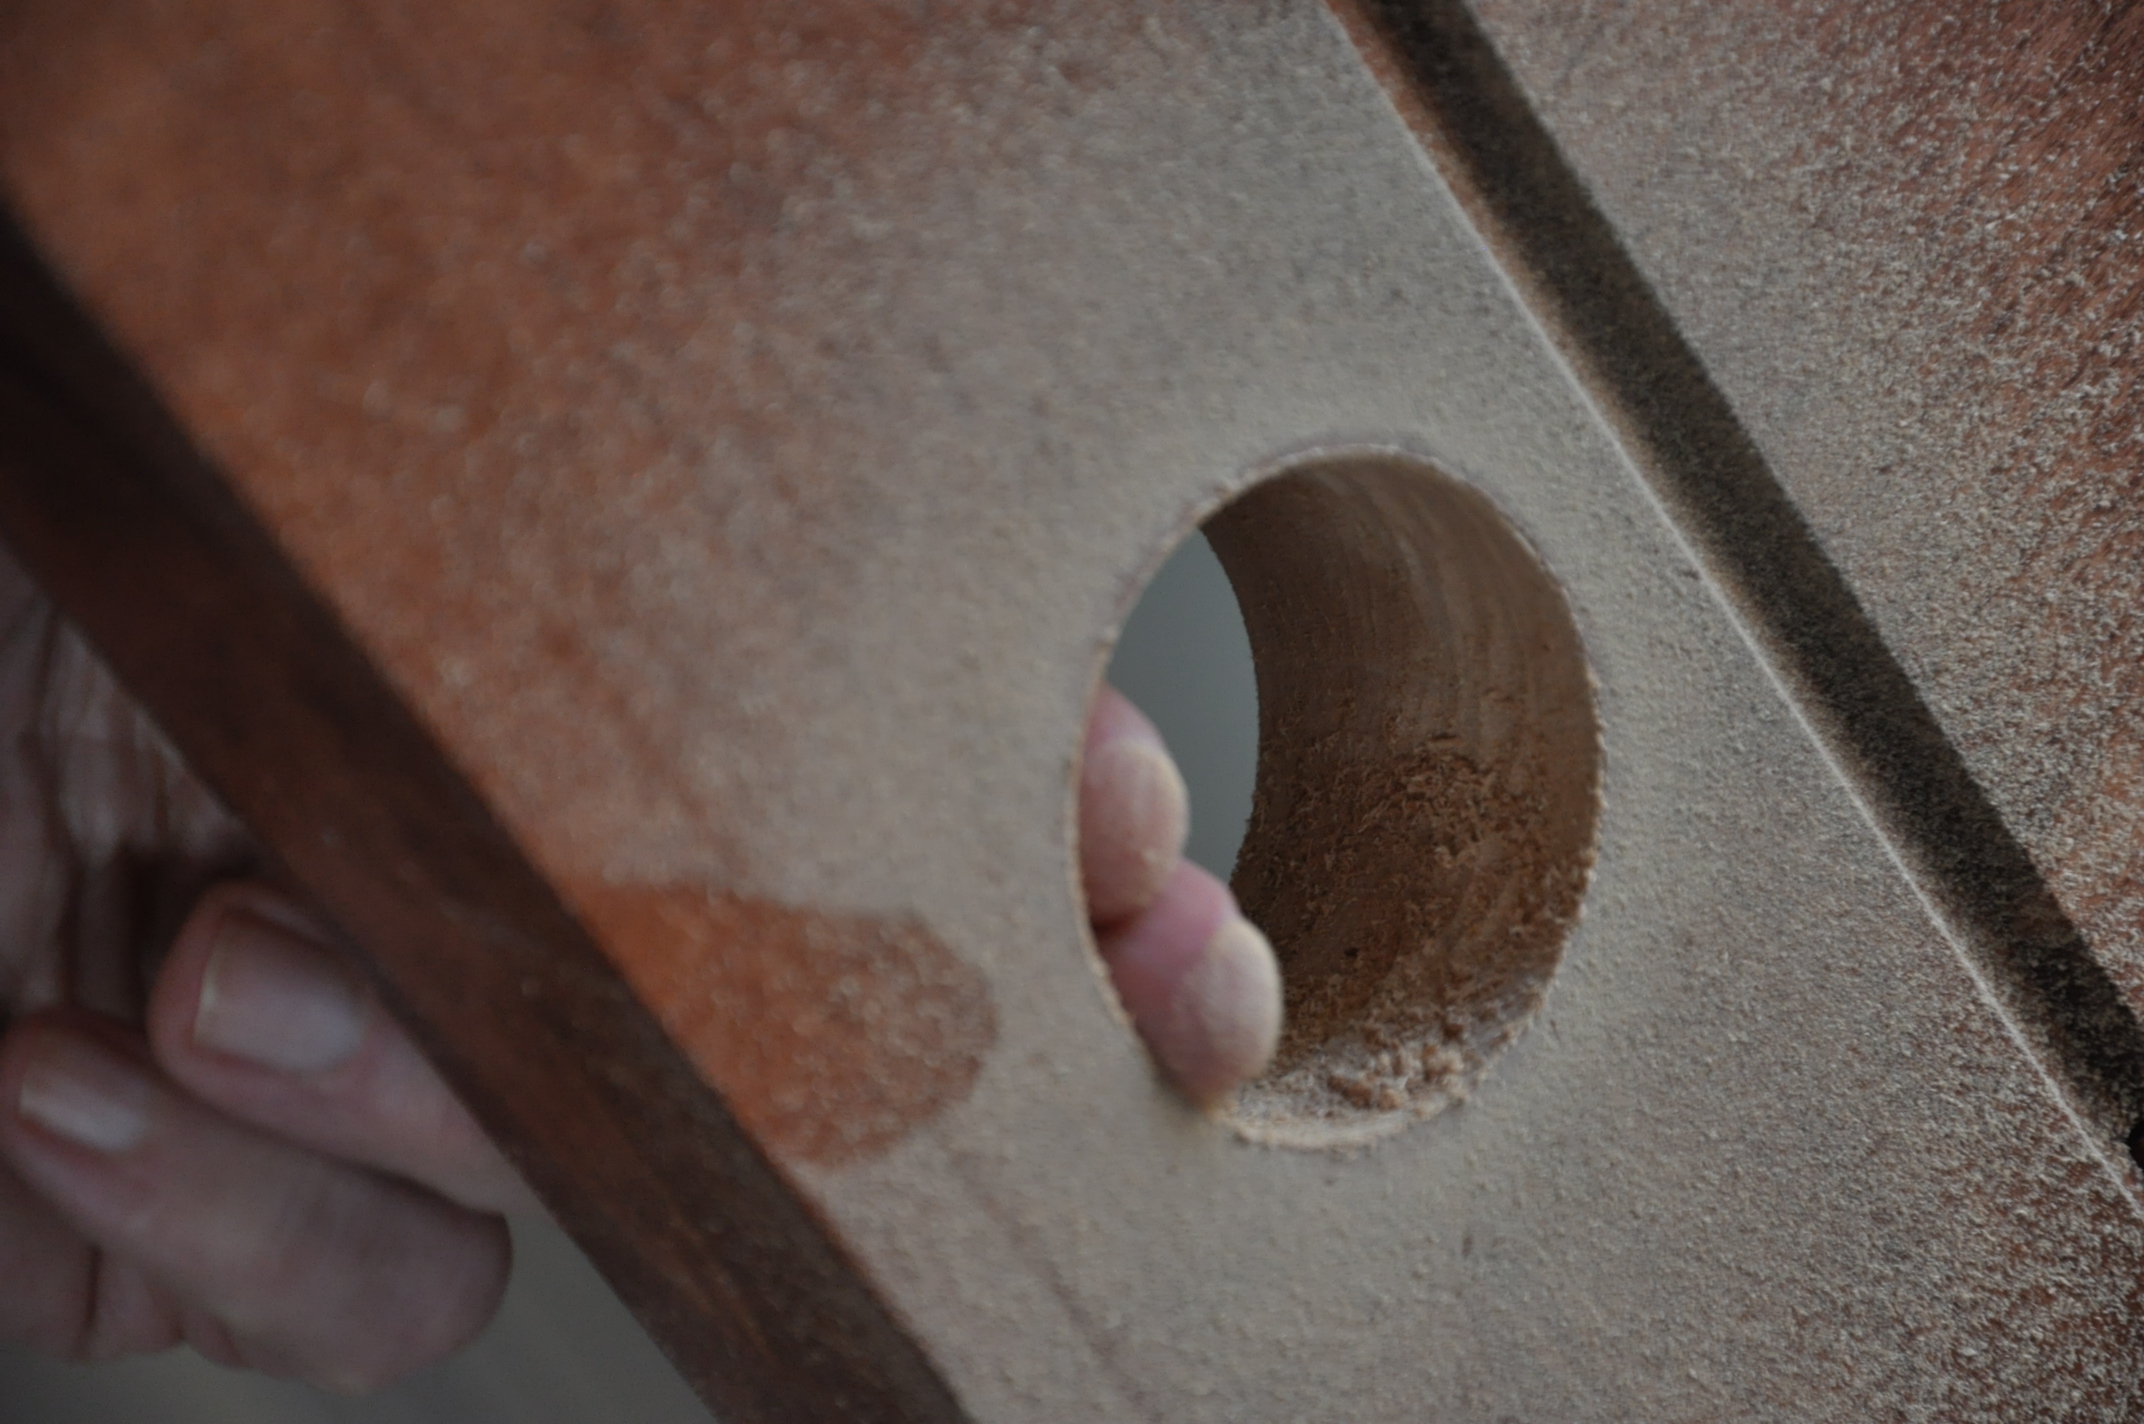
The Original and the Mr. used another handy tool, a door knob installation kit, to get the hardware just right.
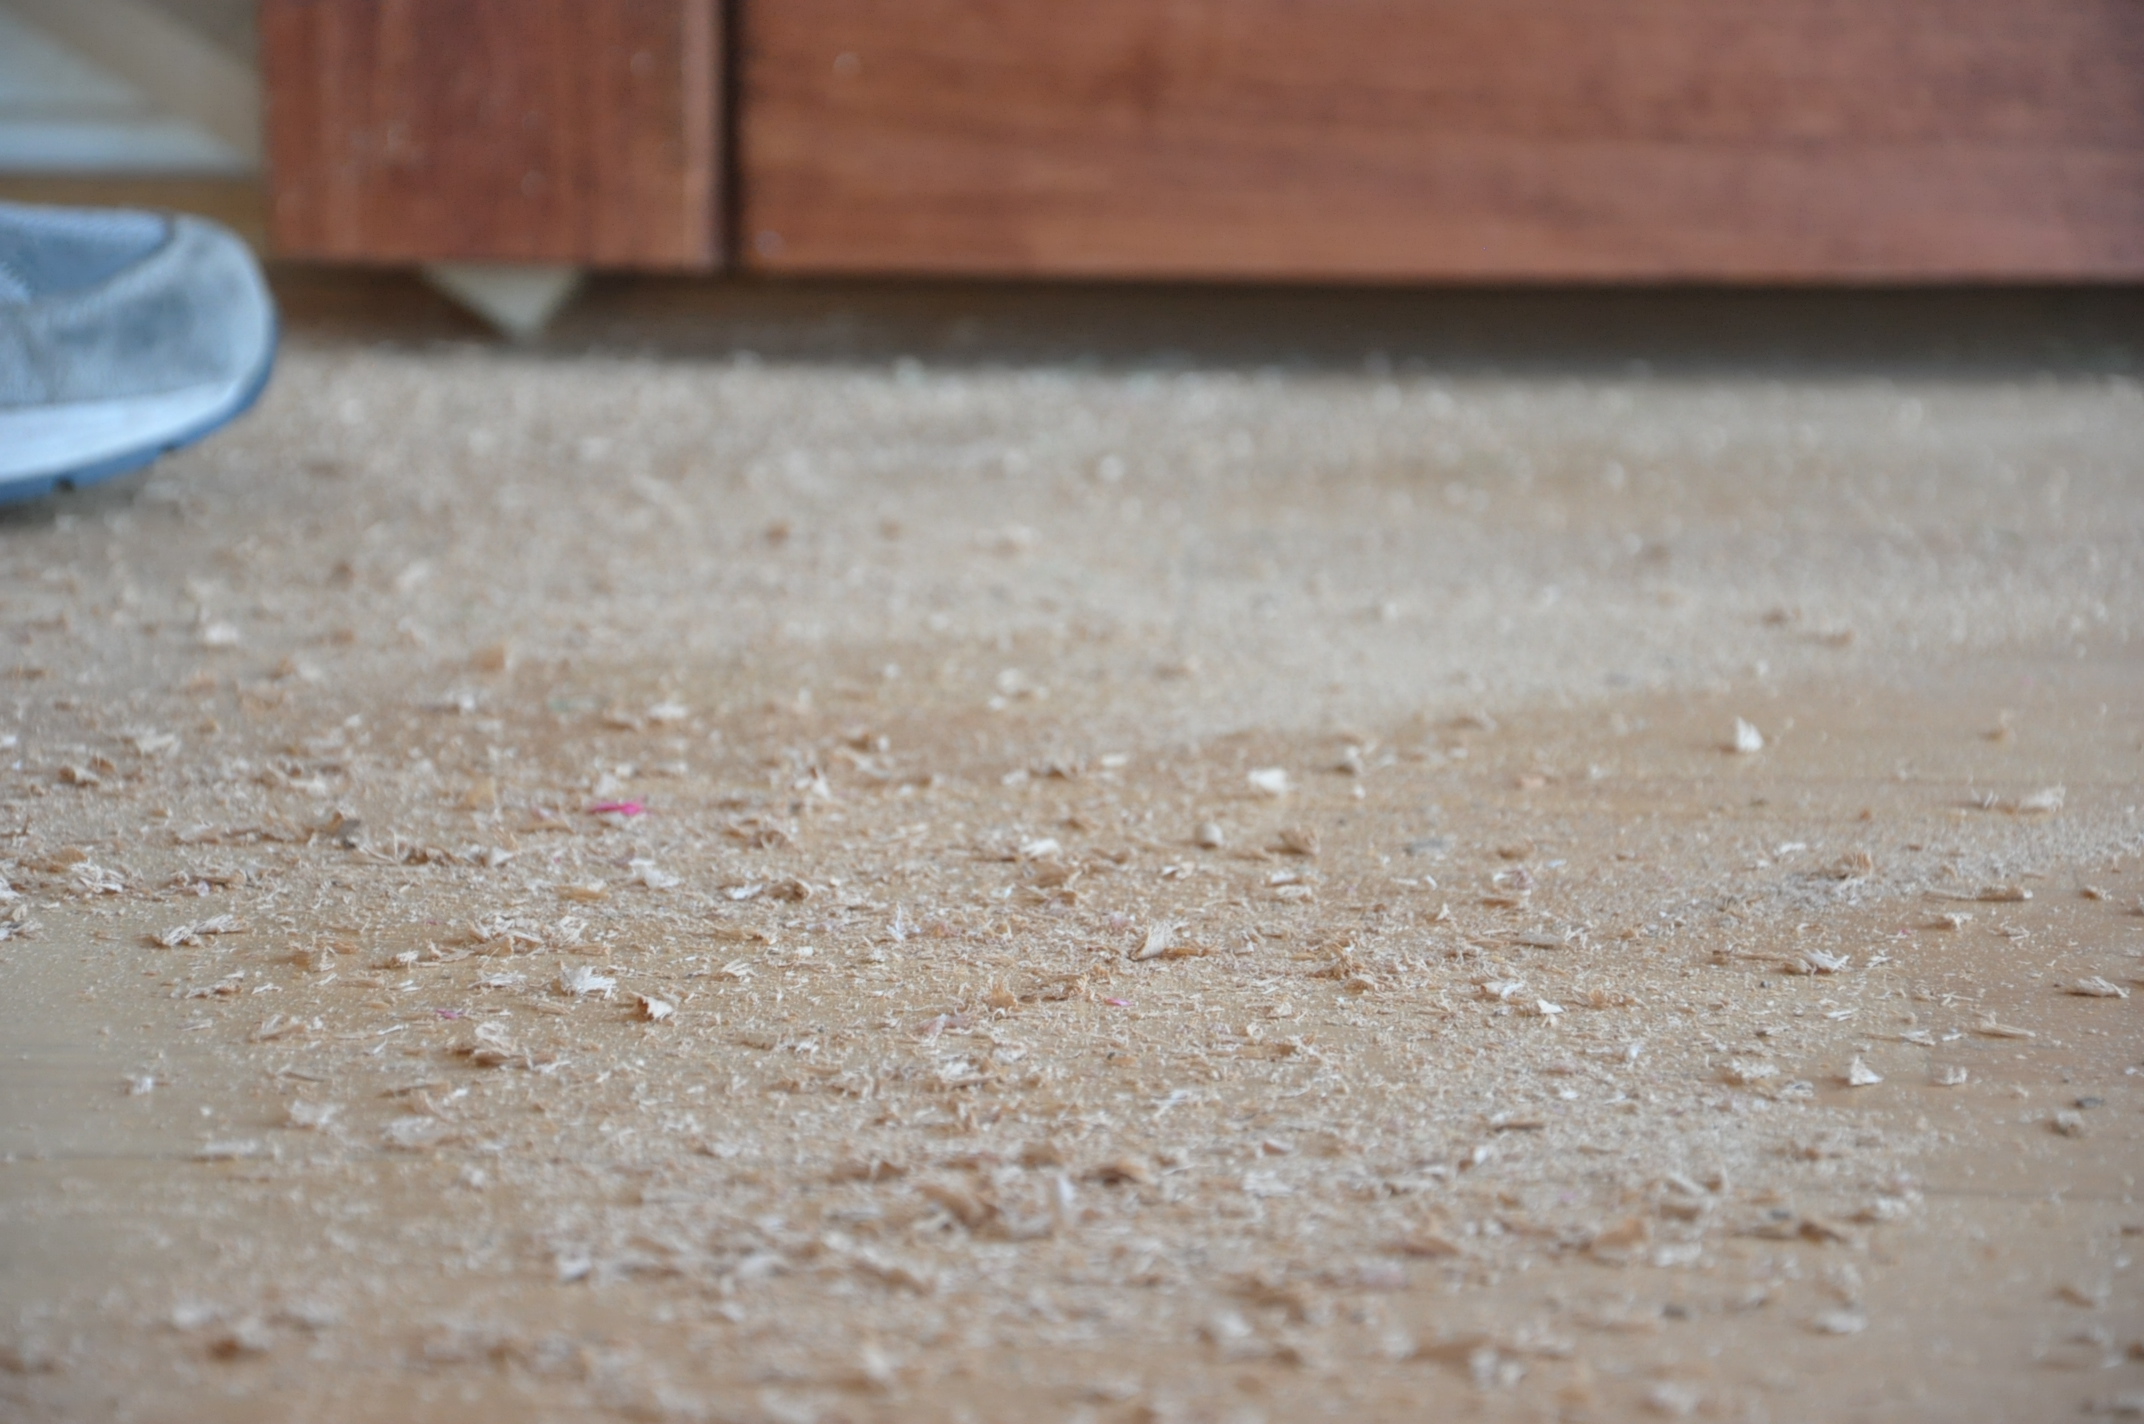
As you might imagine… this fun portion of the project left quite a mess!
However, with a little finesse…
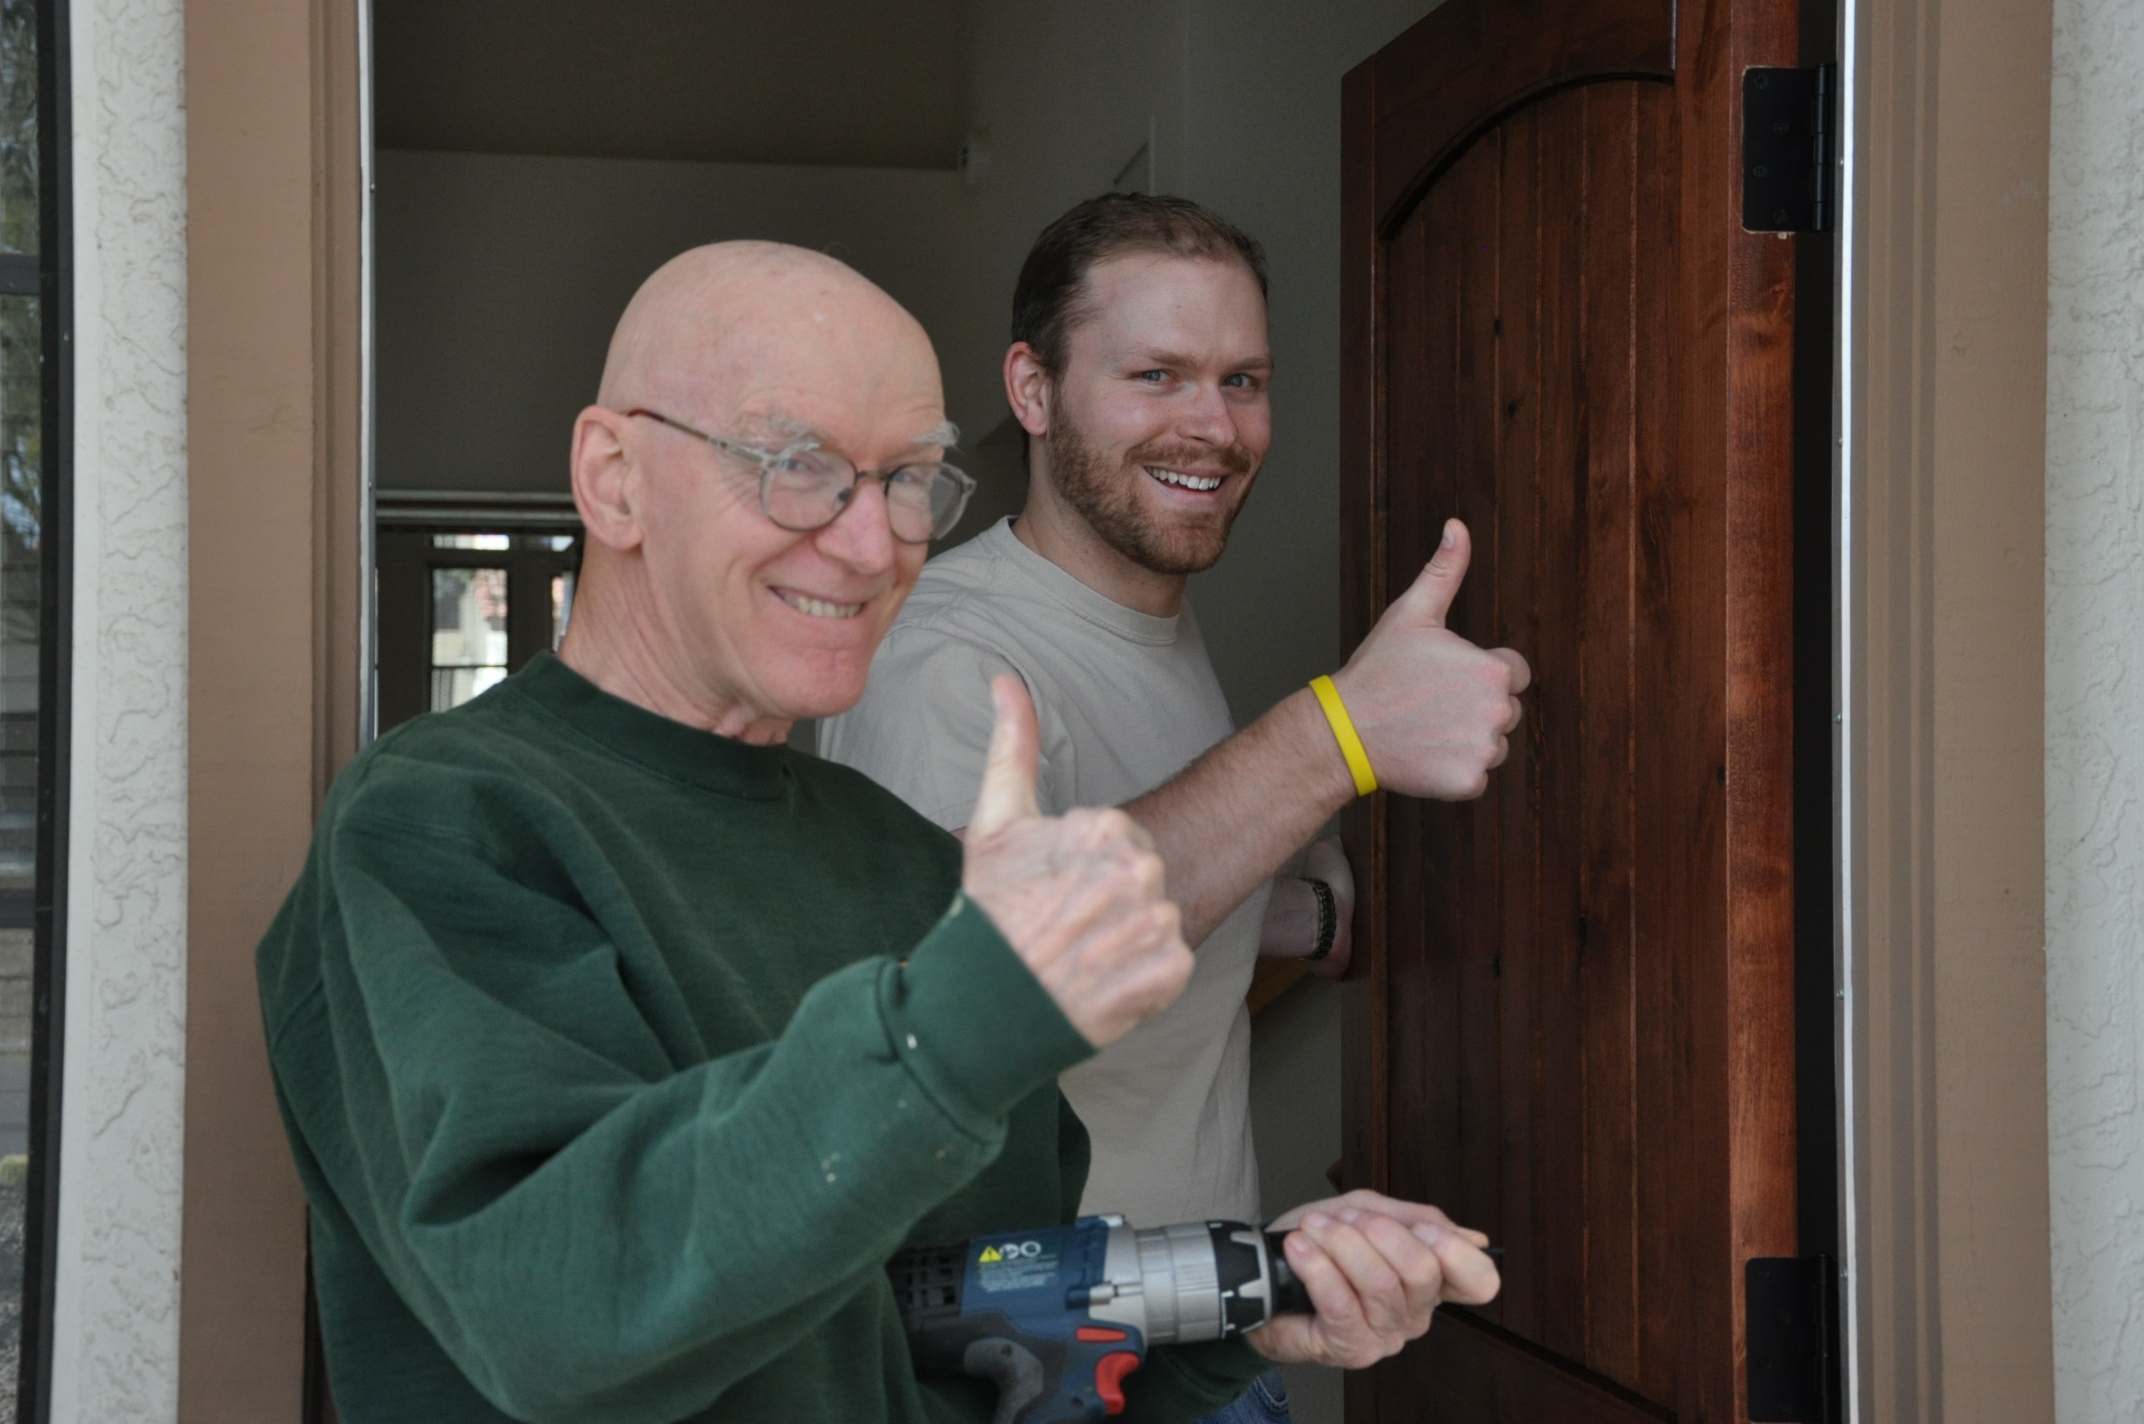
and a bit more time on the clock than anticipated… they had it all done!
Isn’t she gorgeous?
Humor us with one more look (as we said at the top of this post. we’re PROUD of this baby!):
Dreamy, isn’t it?!
Here’s the best part – how little we paid!
- Door = $170
- Stain = $7
- Urethane= $10
- Hardware = $126
- Hinge jig = $25
- Door knob installation kit = $9
TOTAL = $347
Let us know what you think! Could you tackle a project like this? (Let’s just say we’re glad we won’t have to do this again for another 25 years or so!)





5 Responses to Front Dreamy Dream